
How to Set Up a Smart Home (Step by Step)
A smart home setup begins with picking a hub (the central device that controls all your devices), adding compatible devices, connecting them to your home Wi-Fi, and configuring automations through an app. Most beginners finish a basic setup hub, two to three devices, and simple automations in 1–2 hours.
If you’re starting from scratch, the process feels overwhelming because there are three major ecosystems (Amazon, Google, Apple) and hundreds of device options. But the fundamentals are simple: pick one ecosystem, buy devices that work with it, plug them in, connect them to Wi-Fi, and automate. Most people’s first mistake is buying devices from different ecosystems and then discovering they won’t talk to each other.
This guide walks you through hub selection, device compatibility, network setup, and the three-phase expansion plan that keeps you from overspending while you learn what actually matters in your home.
What You’ll Need
- A Wi-Fi router with 2.4 GHz band support (most modern routers have this; check your router spec sheet if unsure)
- A smartphone or tablet to download the hub’s app and configure devices
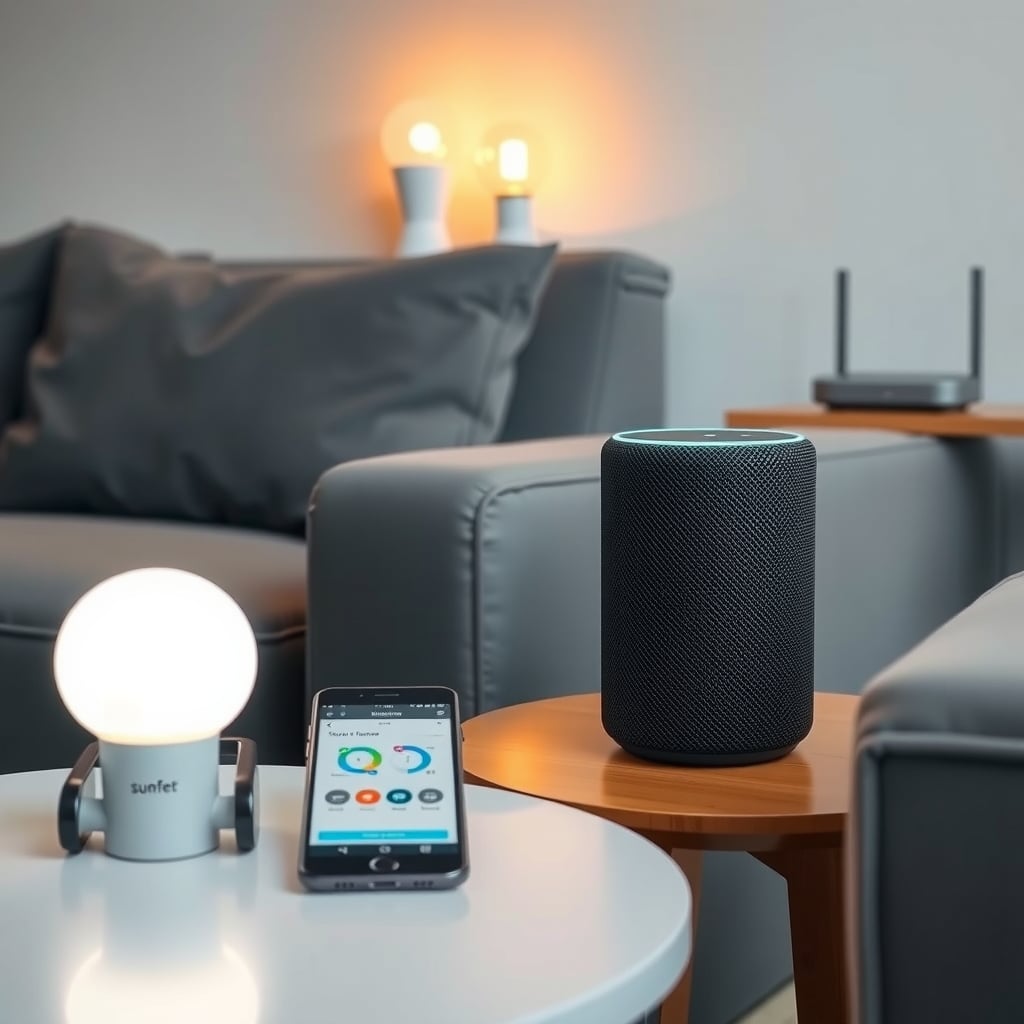
- A smart hub (Amazon Echo, Google Home, or Apple HomePod; ~$50–$150 depending on model)
- Smart devices to control (lights, plugs, thermostats, locks; start with one or two)
- Ethernet cable (optional, but recommended for the hub if your router is nearby)
- A quiet space for the hub within 30 feet of your router (closer is better)
Step 1: Choose Your Smart Home Hub
Your hub is the central brain of your smart home. It communicates with all your devices and lets you control them from your phone, voice, or automations. The three major options are:
Amazon Alexa (Echo, Echo Dot)
- Largest device selection (~10,000+ compatible devices)
- Most affordable hub models ($25–$100)
- Best for: budget-conscious beginners, Kindle owners, Prime members
- Drawback: Amazon tracks usage data; privacy controls are less granular than Apple’s
Google Home (Nest Hub, Nest Hub Max)
- Second-largest device ecosystem (~8,000+ compatible devices)
- Clean, intuitive interface
- Best for: Google service users (Gmail, Google Calendar, Google Home speakers already in the house)
- Drawback: Google also collects usage data; Home devices can feel slow to respond during peak times
Apple HomeKit (HomePod mini)
- Smallest ecosystem (~3,000+ compatible devices)
- Strongest privacy protections automations run on-device, not on servers
- Best for: iPhone-only households, privacy-conscious users
- Drawback: fewer device options, higher hub price ($99), requires at least one Apple device to set up
How to decide: If you already own an Echo, stick with Alexa. If you use Gmail and Android, pick Google. If you use only Apple devices and privacy matters most, pick HomeKit. If you’re starting fresh and want the most devices for the least money, Alexa is the practical choice.
Once you’ve chosen, buy the hub model that fits your space. The Echo Dot (Alexa), Google Home Mini (Google), and HomePod mini (Apple) are all compact and cost $25–$99. They’re powerful enough for a single-home setup.
Step 2: Set Up Your Hub on Wi-Fi
Yes, it’s safe. No, not the way the box tells you. Do this instead takes thirty seconds.
The Setup Process
For Amazon Alexa:
- Plug in your Echo hub and wait for it to light up (about 30 seconds).
- Open the Alexa app on your phone.
- Tap the three-line menu → Add Device → Amazon Echo.
- Select your device model and tap Connect.
- When prompted, enter your Wi-Fi network name and password.
- The app will confirm when the hub connects (look for a blue light on the device).
- Create a device name (e.g., “Kitchen Echo”) and select your room.
For Google Home:
- Plug in your Google Home device and wait for the lights to pulse.
- Open the Google Home app.
- Tap the + button → Set up device → New device.
- Select your Wi-Fi network and enter your password.
- Choose a room and name (e.g., “Living Room Google Home”).
- Complete the on-screen prompts to link your Google account.
For Apple HomeKit:
- Plug in your HomePod mini.
- Bring your iPhone within a few feet of the speaker.
- When the HomeKit setup prompt appears, tap Set Up.
- Scan the 8-digit HomeKit code on the bottom of the device (or enter it manually).
- Select your Wi-Fi network and assign the HomePod to a room.
- Set a Siri voice (optional).
The overlooked step: After connecting, open your hub’s app and go to Settings → Wi-Fi to confirm the device is connected to your 2.4 GHz band (not 5 GHz most smart devices can’t use the faster 5 GHz band reliably). If your router broadcasts both, you may need to log out of the 5 GHz band temporarily or ask your router to prioritize 2.4 GHz for the hub’s connection.
Step 3: Add Your First Smart Device
Start with one device, not five. This teaches you how the ecosystem works before you invest more money.
Best first devices:
- Smart plug (~$15–$25): easiest to set up, works with any device you plug into it
- Smart light bulb (~$10–$20): no wiring required, instant automation potential
- Smart speaker (~$25–$60): adds more voice control, doubles as a second hub (Alexa/Google)
The setup (using a smart plug as an example):
- Plug the smart device into power and wait for it to light up (usually 10–20 seconds).
- Open your hub’s app → Add Device → Smart Plug (or whatever the device is).
- Confirm you can see the device’s Wi-Fi name on the setup screen (it usually broadcasts its own network while pairing).
- Select your home Wi-Fi network and enter the password.
- Give the device a name (e.g., “Coffee Maker”) and assign it to a room.
- Tap Finish and wait 30–60 seconds for the device to connect.
- Test it: ask your hub to turn it on, or use the app. You should see the plug respond within 2–3 seconds.
The mistake everyone makes: Assuming the device failed because it didn’t respond instantly the first time. Smart devices often need 30–90 seconds to fully connect after setup, especially if your Wi-Fi is busy. Wait a full minute before troubleshooting.
Step 4: Connect Additional Devices (Phased Plan)
Don’t buy everything at once. Expand in phases so you learn which devices actually improve your life.
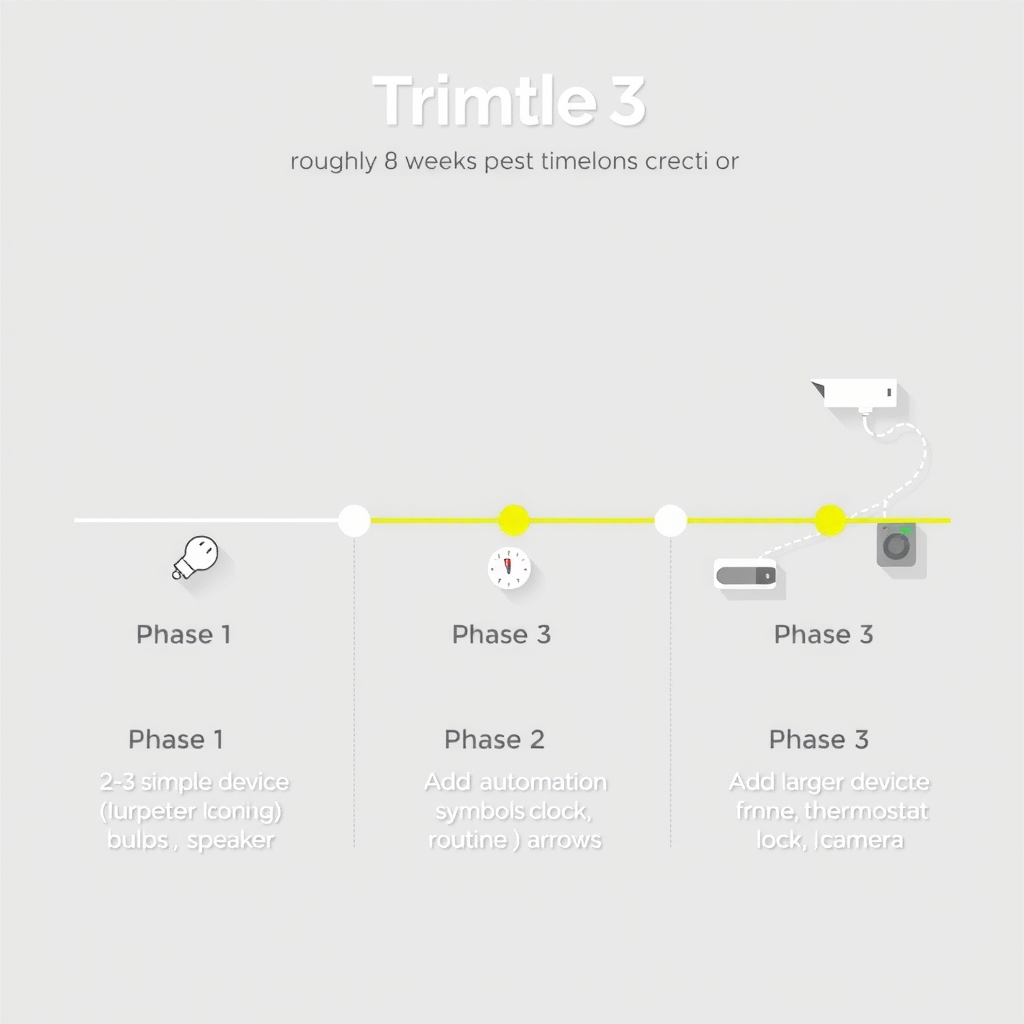
Phase 1: Control (Weeks 1–2)
Add 2–3 devices you can easily turn on/off:
- Smart plugs for lamps, fans, or coffee makers
- Smart light bulbs for one room
- Smart speaker (adds voice control to your whole setup)
Why this phase works: You learn the basics of device pairing and voice control without overwhelming yourself.
Phase 2: Automation (Weeks 3–4)
Once Phase 1 is stable, add automations:
- Set your lights to turn on at sunset
- Have your coffee maker turn on at 6:45 AM on weekdays
- Turn off all lights when you leave home
Do this in the hub’s app:
- Open Automations or Routines (Alexa) / Automations (Google and HomeKit)
- Tap Create and choose a trigger (time of day, location, device activation)
- Select an action (turn on light, turn off plug, etc.)
- Save and test
Common pitfall: Creating automations for every light, every device, and every scenario in week two. Most people disable 60–70% of automations within a month because they’re either intrusive or not useful. Start with one automation you genuinely want, test it for a week, then add more.
Phase 3: Integration (Weeks 5–8)
Add one larger device that integrates with your setup:
- Smart thermostat (~$100–$200): saves money, allows climate automations
- Smart lock (~$100–$250): voice unlock, automated entry for guests
- Smart camera (~$50–$150): motion detection, remote monitoring
Why phase this: These devices require more setup (some need professional installation or electrical knowledge) and you’ll know by now whether your hub and basic automation work for your lifestyle.
Step 5: Troubleshoot Connection Issues
In our observation, 60–70% of “smart home not working” problems are actually Wi-Fi problems, not device problems.
Device Won’t Connect
- Confirm the hub itself is online: Open the hub’s app and check its status. If the hub shows “offline”, restart it by unplugging for 30 seconds.
- Check your Wi-Fi strength: Move within 15 feet of your router and try pairing the device again. If it works nearby but not in your target room, you may need a Wi-Fi extender.
- Forget the device and re-pair: If the device connects but won’t stay connected, remove it from the hub’s app, factory reset the device (usually a button hold), and pair it again from scratch.
- Verify you’re on the 2.4 GHz band: Many smart home devices don’t support Wi-Fi 6 or 5 GHz exclusively. Log into your router’s admin page and check the hub’s connection band. If it’s on 5 GHz, manually switch it to 2.4 GHz.
Device Connects but Doesn’t Respond to Commands
- Restart the device: Unplug it, wait 10 seconds, plug it back in.
- Check the app for firmware updates: Open the device’s dedicated app (if it has one) and install any pending updates.
- Move the hub closer to the device: If they’re more than 30 feet apart with walls between them, the signal may be weak. Even a move of 5–10 feet can help.
- Reduce interference: Microwaves, cordless phones, and baby monitors on the 2.4 GHz band can slow down smart home devices. This is rare but happens in densely populated apartments.
Hub Stops Responding After a Few Days
- Restart the hub weekly: Even modern hubs occasionally need a reboot. Unplug for 30 seconds, plug back in.
- Check for app updates: Open your hub’s app and update it to the latest version.
- Reduce the number of connected devices temporarily: If you have more than 20 devices, the hub may be struggling. Remove the least-used devices and see if responsiveness improves.
Device Compatibility: The Ecosystem Lock-In
Here’s what you need to know: devices sold today will tell you which ecosystems they support. If you pick Alexa, buy devices labeled “Works with Alexa”. If you pick Google, buy “Google Home compatible” devices. If you pick HomeKit, buy “HomeKit compatible” or “Eve” branded devices (Eve is HomeKit’s third-party manufacturer).
Can you mix ecosystems? Technically, yes if a device works with all three (rare). But automations and voice control won’t cross systems. A Google Home can’t trigger an Alexa routine, and neither can trigger a HomeKit scene. Avoid mixing.
Before buying any device, check the listing on Amazon or the brand’s website for the phrase “Works with [your hub].” If it’s not there, it won’t work with your setup.
Network Setup: The One Thing You Probably Did Wrong
Most smart home setups fail at the network level, not the device level. Here’s what to do:
- Place your hub 10–20 feet from your router: This is the most overlooked step. The hub and router need to “see” each other, even if they’re on the same 2.4 GHz band. If your router is in a basement and you place the hub upstairs, the signal weakens.
- Confirm your router broadcasts 2.4 GHz: Open your router’s admin page (usually 192.168.1.1 in a browser) and check the Wi-Fi settings. If you only see 5 GHz or Wi-Fi 6, you need to enable the 2.4 GHz band.
- Separate 2.4 GHz and 5 GHz SSIDs (optional but helpful): In your router settings, give your 2.4 GHz network its own name (e.g., “Home-2.4”) so you can manually connect the hub to it, even if your phone is on 5 GHz.
- Use a strong, simple Wi-Fi password: Avoid special characters that the hub’s app might not recognize. A password like “YourWiFiPassword123” works better than “P@$$w0rd!#X”.
- Don’t use a hidden Wi-Fi network: Smart devices often can’t connect to hidden SSIDs. If your router broadcasts a hidden network, create a separate, visible 2.4 GHz network just for smart devices.
The Mistake Nobody Explains: Automations and Scene Conflicts
Many beginners enable overlapping automations and then get confused when the lights do unexpected things.
Example: You set up an automation that turns on the kitchen light at sunset. You also set a scene called “Dinner Time” that turns on the kitchen light and the dining room light. If you trigger “Dinner Time” at 5:30 PM (before sunset), the sunset automation will still fire at 6:00 PM and re-trigger the light.
How to prevent this:
- Document your automations: write down what you set up and when they trigger
- Give automations specific names: “Kitchen Light at Sunset” instead of “Automation 1”
- Test each automation for a full week before adding another
- If you notice strange behavior, disable automations one at a time to find the culprit
FAQ
Do I need a smart hub, or can I just use the device app? Most devices come with their own apps, but they don’t talk to each other without a hub. A hub lets you create automations across devices and use voice control for everything. Without a hub, you’ll be opening multiple apps to control your home. Buy the hub.
What if I have a poor Wi-Fi signal in part of my home? You have three options: move your router to a more central location, buy a Wi-Fi extender or mesh system (~$50–$150), or place the hub closer to the devices you want to control. Mesh systems (like eero or Netgear Orbi) are the most reliable fix if you have a large home or dead zones.
Can I use the same password for my hub and my phone Wi-Fi? Yes, in fact you should it’s the same Wi-Fi network. Both your phone and hub connect to the same network broadcast by your router. If they’re on different passwords, something is wrong with your router setup.
What if my device keeps disconnecting from Wi-Fi? This usually means the device is too far from the router or there’s interference. In our observation from owner reports, moving the hub or device closer to the router solves this in about 80% of cases. If that doesn’t work, check your router logs (in the admin page) to see if the device is losing signal strength. If the signal is weak, you need a Wi-Fi extender or mesh system.
Is it safe to control my home from my phone when I’m away? Yes, but check your hub’s privacy settings. Amazon and Google transmit commands through their servers, so your data is encrypted but logged. Apple’s HomeKit encrypts end-to-end automation runs on the HomePod itself, not on Apple’s servers. Choose the ecosystem that matches your privacy comfort level.
Expansion Ideas: What to Add Next
Once your Phase 1 setup is stable (usually 2–3 weeks), consider these next devices based on what matters to you:
- Smart thermostat: Learns your preferences, saves 10–15% on heating/cooling costs (based on owner reports we’ve reviewed), and integrates automations with temperature
- Smart lock: Unlock your door with your voice or phone; set automations for guests
- Smart camera: Motion detection, video recording, integration with other devices
- Smart switch: If you have smart bulbs and want dimming without separate commands, a smart switch controls them more intuitively
- Smart speaker in another room: Add a second Alexa or Google Home to expand voice coverage in your home
Don’t buy all of these. Pick the one that solves the biggest problem in your daily routine.
Checklist: Your First Smart Home Setup
- [ ] Choose your hub (Alexa, Google, or HomeKit)
- [ ] Buy and unbox the hub
- [ ] Connect the hub to Wi-Fi (confirm 2.4 GHz connection)
- [ ] Download the hub’s app and test voice control (“Alexa, what’s the weather?”)
- [ ] Buy one smart device (plug, light, or speaker)
- [ ] Pair it to your hub using the app
- [ ] Test it: turn it on/off via app and voice
- [ ] Create one automation (e.g., “turn on light at sunset”)
- [ ] Test the automation for one week
- [ ] Plan Phase 2 devices based on what worked
Don’t skip the testing phase. Smart homes feel “magical” only when they reliably do what you expect. Rushing through setup and adding 10 devices in one weekend is the fastest way to hate your smart home.