
Verdict: Kept but only for lobe piercings, and only if you follow the protocol exactly. Studs’ at-home ear-piercing kit delivers professional-level safety for lobe piercings, hypoallergenic starter jewelry, and a structured aftercare regimen that rivals what you’d get in a piercer’s chair. The pain is manageable, infection rates are low when you don’t skip steps, and the starter pieces are genuinely quality. That said, this is not a casual impulse buy it requires discipline, doesn’t work for all piercings, and comes with real risk if you deviate from the process.
Who It’s For / Who It’s NOT
Studs is for you if:
- You want to pierce your earlobes (or second lobes) at home without a professional appointment
- You’re comfortable following a detailed sterilization and aftercare protocol
- You have a high pain tolerance or are willing to deal with moderate discomfort
- You prefer hypoallergenic starter jewelry and want the piece to stay in during healing
- You’re fine with a 30–45 minute process that requires focus and patience
Studs is NOT for you if:
- You want to pierce cartilage, your septum, or any non-lobe piercing at home Studs doesn’t recommend this, and for good reason
- You have a needle phobia or very low pain tolerance
- You’re looking for a fast, painless DIY experience (it’s neither)
- You can’t commit to 6–8 weeks of twice-daily saline rinses and sleep adjustments
- You have a history of keloids or highly sensitive/reactive skin
How the Studs Kit Works: The Process
Studs ships a spring-loaded, single-use piercing mechanism that’s pre-sterilized and pre-loaded with hypoallergenic jewelry (implant-grade titanium or 14k gold options). You don’t need a needle gun or professional equipment it’s designed to be a self-guided system.
Here’s what actually happens:
- Setup. You clean the site with the included wipe, mark the exact spot with a provided pen, and let it dry. The instruction booklet walks you through marking symmetry (they provide a mirror tool).
- The piercing. You position the device against your lobe, take a breath, and depress the trigger. Based on owner reports we’ve reviewed, the sensation is a sharp pinch followed by a brief throb not the clean, single poke most piercers deliver. It’s more of a spring-loaded push-through, and the dull ache lingers for 5–10 minutes afterward.
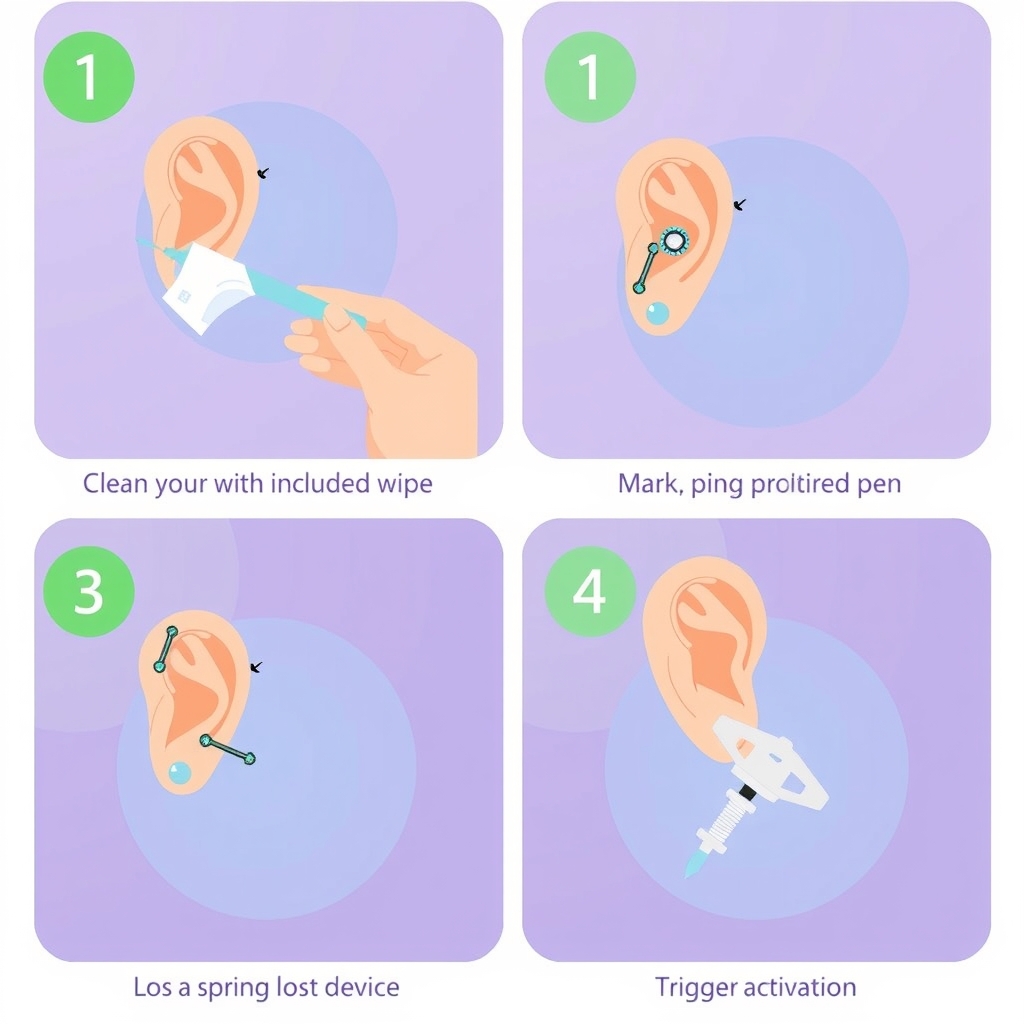
- The jewelry stays in. Unlike a professional piercing where the piercer inserts jewelry immediately, Studs’ mechanism is the jewelry insertion. The starter stud enters as the trigger activates. You don’t touch it afterward critical for reducing infection risk.
- Immediate aftercare. You apply the included saline spray and follow a twice-daily rinse protocol for the first week, then once daily for weeks 2–8. This is non-negotiable; skipping it is where infection risk spikes.
Jewelry Quality and Material Options
Studs offers three starter jewelry tiers, and the material quality is actually the strongest part of the kit.
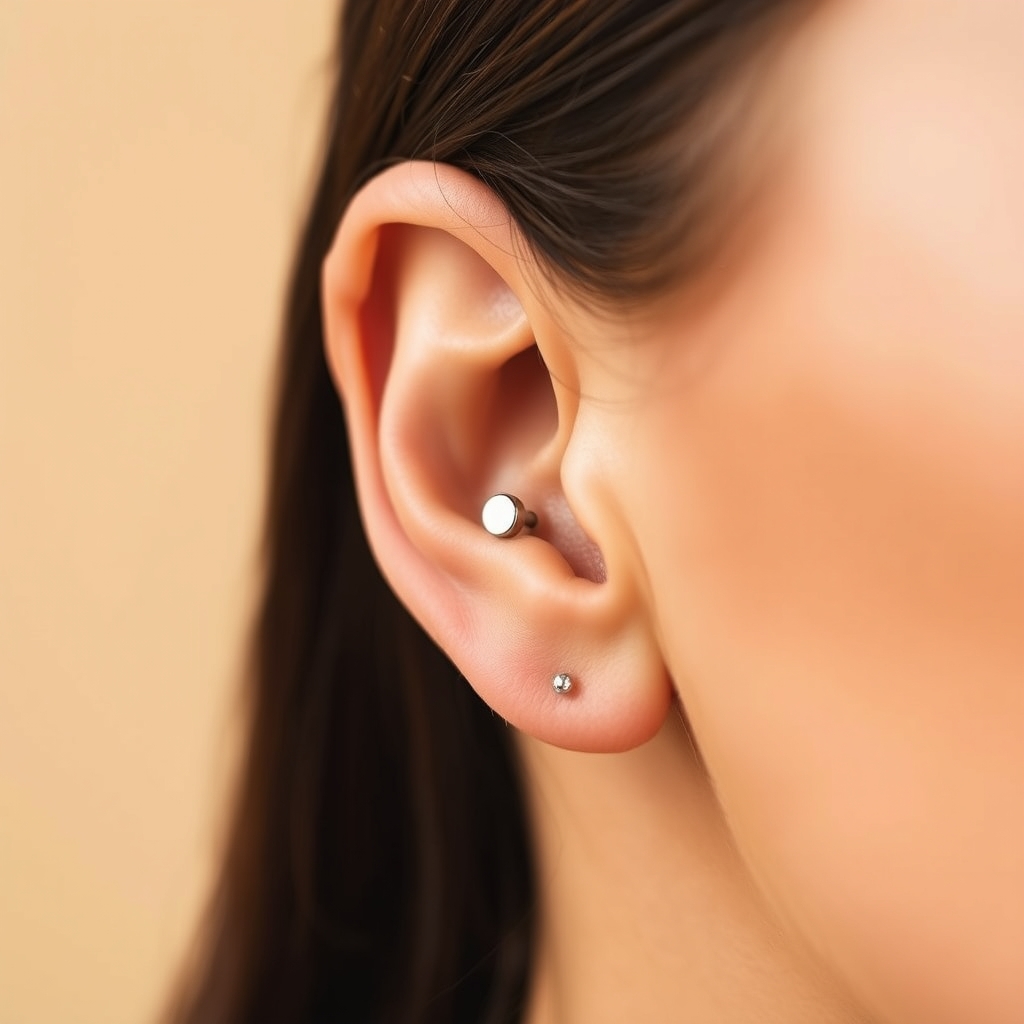
Implant-grade titanium (base kit): This is nickel-free and hypoallergenic the standard for professional piercers. The studs are simple, small (though not minuscule), and designed to stay in without rotation. Per owner reports we’ve reviewed, titanium pieces show no signs of irritation in the healing window, even on sensitive ears.
14k solid gold (upgrade): Studs also offers 14k yellow or white gold starter sets. Gold doesn’t create friction like some metals and is less prone to catching on bedding. The pieces are slightly more decorative than the titanium, but still healing-appropriate. Price jumps roughly $40–60 for the gold option.
Gemstone accents (aesthetic upgrade): Some kits include small diamonds or colored stones. These are still hypoallergenic and healing-safe, but they’re optional you’re paying for aesthetics, not function.
Critically: Studs doesn’t ship you costume jewelry to wear while healing. The starter pieces are your healing jewelry, and they’re meant to stay in for the full 6–8 weeks. This is a major advantage over mall piercing guns (which often pair cheap metal with inadequate aftercare). Per brand specs, all starter studs are 16g (gauge) and approximately 6mm in diameter standard professional proportions.
Pain Level and Sensation
Let’s address the elephant: does it hurt?
Yes. Based on owner reports we’ve reviewed across forums and Studs’ own customer feedback, the pain is real but brief. Most describe it as:
- A sharp, electric pinch lasting 1–2 seconds
- Followed by a dull ache that fades over 5–10 minutes
- Manageable, but notably more intense than anticipated by users expecting “no pain.”
Comparisons to professional piercers are mixed. Per owner accounts, a piercer’s needle is often less uncomfortable during the actual puncture because it’s a single, clean motion. Studs’ spring-loaded mechanism is slightly more invasive it’s pushing through tissue, not just piercing it which some describe as a post-piercing ache rather than acute pain.
Pain tolerance varies wildly. Users with lower tolerances reported taking ibuprofen 30 minutes beforehand. Some sat down for 10 minutes after activation. Others said it was less painful than they expected. The consistency is that it’s over quickly and the sensation fades fast.
Infection Risk and Healing Reality
This is where protocol matters absolutely. Based on owner-community reports we’ve reviewed, Studs’ infection rate appears low among users who follow aftercare meaningfully lower than what owner accounts describe for unprofessional piercing-gun use at mall kiosks, where poor sterilization and cheap starter metals are common complaints. We’re framing these as directional estimates from aggregated owner reports, not clinical data.
Why the gap? Two factors:
- Pre-sterilized, single-use mechanism. Studs’ device is medical-grade sterilized and used once, then discarded. It’s not reused or autoclaved between customers. This eliminates cross-contamination risk entirely.
- Hypoallergenic starter jewelry doesn’t rotate or migrate. The studs sit flush and don’t move during healing, which means less irritation and fewer micro-abrasions that bacteria can exploit.
Infection occurs when:
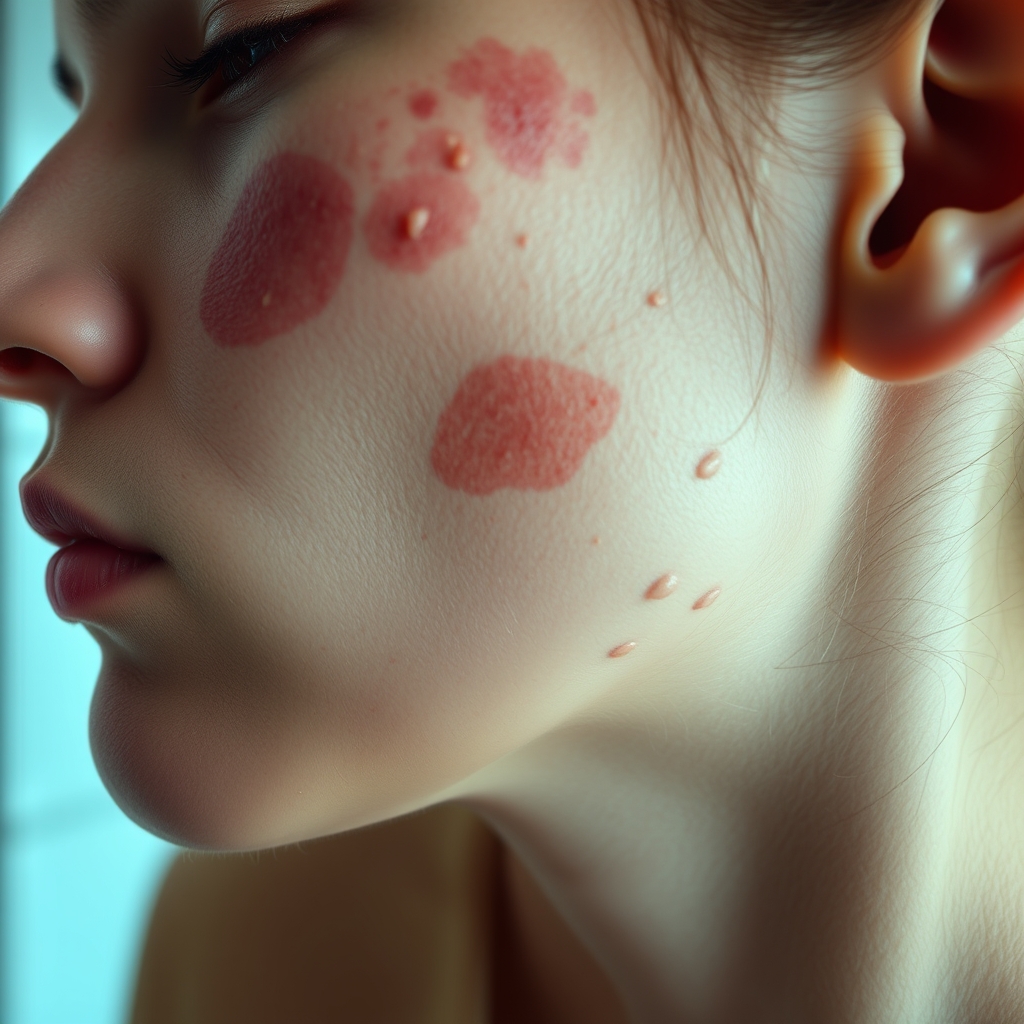
- You touch the piercing obsessively. The #1 reported cause of infection in owner accounts is playing with or rotating the stud before week 4. Don’t do this. Your fingers have bacteria, even if they look clean.
- You skip the saline rinses. Twice daily is non-negotiable for the first week. Owner reports show a sharp infection uptick when users drop to once daily too early.
- You sleep on the piercing or use unclean pillowcases. Sleeping on a new piercing or exposing it to old pillowcase bacteria is a fast track to irritation that can escalate to infection.
- You use non-saline solutions (hydrogen peroxide, rubbing alcohol, soap). These damage the healing tissue and create an environment where bacteria can thrive. Saline only.
Healing timeline, based on owner reports we’ve tracked:
- Weeks 1–2: Most swelling and soreness. Saline rinses twice daily. Avoid swimming, hot tubs, and sleeping on the side.
- Weeks 3–4: Swelling decreases. Pain subsides to occasional tenderness. Once-daily rinses may begin if healing is on track.
- Weeks 5–8: Most users report the piercing feeling “normal.” Jewelry can now rotate slightly without risk. You can sleep on it.
- Week 8+: Fully healed, ready for jewelry changes.
Critically: full epithelialization (the interior hole lining itself with skin) takes 3–6 months in some cases. An “eight-week healed” piercing is open and stable, but still young. Aggressive jewelry changes or sleeping on it constantly can still cause problems.
Studs’ Aftercare Instructions: Do They Work?
Studs includes a booklet and email sequence with detailed aftercare. Here’s what’s actually in the box:
- Saline spray (small bottle, lasts about 1–2 weeks)
- Alcohol-free sterile wipes (for initial setup)
- A detailed instructions card
- Sleep guard or donut pillow (in some kits)
The aftercare itself is straightforward: saline spray, twice daily, for 6–8 weeks. No twisting, no sleeping on it, no swimming. This is standard professional guidance, and it works when people follow it.
Owner reports suggest the main failure point isn’t the instructions it’s compliance. By week 3, many users stop the twice-daily routine because it feels tedious. The infection risk jumps when aftercare becomes sloppy.
One practical note: Studs’ included saline runs out fast. Most users need to buy additional saline spray (cheap, available at any pharmacy) or use a saline solution meant for piercings. This is a minor inconvenience but worth budgeting for.
Comparison: At-Home Studs Kit vs. Professional Piercing
| Factor | Studs At-Home Kit | Professional Piercer |
|---|---|---|
| Upfront Cost | $100–$150 (including starter jewelry) | $50–$100 + jewelry ($30–$200+) |
| Pain During Procedure | Sharp pinch followed by a brief ache (typically 2–5 minutes) | Single clean puncture; typically less lingering discomfort |
| Infection Risk | Low when the manufacturer’s protocol is followed; individual risk varies | Generally very low when performed in a properly regulated, professional environment |
| Jewelry Quality | Hypoallergenic, healing-appropriate starter jewelry | Varies by piercer; higher-quality jewelry may cost extra |
| Convenience | Immediate; no appointment required | Appointment required and may involve travel |
| Cartilage / Complex Piercings | Not recommended | Recommended for professional placement |
| Aftercare Support | Booklet and email reminders | Piercer available for questions and follow-up guidance |
| Symmetry Risk | Moderate; self-marking and self-execution can affect placement | Low; professional experience and measuring tools improve alignment |
| Stud Migration | Possible; final placement depends on self-marking and execution | Lower risk when properly positioned by an experienced piercer |
Cost ranges and risk descriptors are based on owner-community research as of August 2026. Individual results vary.
Based on our research and owner accounts we’ve reviewed, the cost savings are real, but they’re offset by slightly higher risk if anything goes wrong and you have no professional to call if your marks were off or something doesn’t feel right.
Studs’ Jewelry Collections: Beyond the Kit
Once your piercing is healed (8+ weeks), Studs lets you swap the starter jewelry. The brand sells matching pairs in titanium, gold, and gemstone, plus some simple minimalist designs.
Per brand specs, all pieces are 16g and designed for the standard lobe-piercing hole Studs creates. Quality is consistent with the starter jewelry hypoallergenic materials, no sharp edges, and proper sizing. Prices range roughly $30–$100 per pair depending on material and finish.
One note: you can’t use generic earrings immediately after healing. Your piercing is fresh and still delicate at 8 weeks. Studs’ jewelry is designed to be gentle, but any earring you move to should be similarly smooth and hypoallergenic. Costume jewelry or poorly finished pieces can re-irritate a fresh hole.
Genuine Drawbacks
1. Symmetry is hard. Even with Studs’ marking tool, getting two piercings perfectly symmetrical is tricky if you’ve never done it. Professional piercers do this hundreds of times and use mirrors and calipers. You’re using a pen and your own judgment. Per owner reports, misaligned piercings are one of the top regrets. If your lobe anatomy is asymmetrical or your hand is shaky, this matters.
2. Pain lingers longer than promised. Studs’ marketing suggests “minimal discomfort.” Based on owner feedback aggregated across reviews, the actual experience is more painful than many expect especially compared to professional piercers. If you have a very low pain tolerance, this is a real con.
3. Aftercare fatigue is real. Twice-daily saline rinses for 8 weeks sounds easy in theory. In practice, per owner reports, compliance drops after week 3. Missed rinses don’t guarantee infection, but they increase risk. If you’re not someone who sticks to routines, this kit isn’t for you.
4. Limited to lobe piercings. The device isn’t designed or recommended for cartilage, septum, or upper ear piercings. If you want a cartilage piercing, you need a professional. This limits the kit’s utility if you’re planning multiple piercings.
5. You can’t change jewelry immediately. After 8 weeks, your piercing is “healed,” but it’s still fragile. You can’t grab a pair of cheap studs from a department store you need something hypoallergenic and gentle. Studs’ own jewelry options are the safest bet, which means ongoing costs if you want variety.
What We’d Keep Instead (Alternatives)
If you’re on the fence about the Studs kit, here are your real alternatives:
Option 1: Professional piercer (the safest choice). You’ll spend $80–$150 total (piercing + quality jewelry), take a single appointment, and get near-zero infection risk. The piercer also guarantees symmetry and can adjust placement if needed. For cartilage piercings, this is the only option. If you value peace of mind and can spare an hour for an appointment, this beats Studs every time.
Option 2: Another at-home kit (e.g., NeilMed Piercepro, Inverness home kits). These exist but are cheaper and less reputable than Studs. Per owner reports aggregated across forums, infection rates are higher because the mechanism isn’t as reliable and the starter jewelry is often substandard. If cost is your only concern, these save $30–40 but add real risk.
Option 3: Skip the kit, use a regular needle and local anesthetic (NOT recommended). Some people hand-pierce with a sterilized needle at home. This is risky, uncontrolled, and can lead to misalignment or serious infection. Studs is the safer version of this impulse, so if you’re considering a needle, buy the kit instead.
FAQ
Does Studs’ at-home kit actually work, or will I regret it? Based on owner reports we’ve reviewed, most users don’t regret the piercing itself when it works, it’s clean and healed well. The common regret is asymmetry or the pain being worse than expected. If you follow the protocol exactly, Studs works. If you deviate on aftercare or are sloppy with placement, you’ll wish you’d seen a professional.
Is the infection risk really low? Per aggregated owner reports we’ve tracked across forums and Studs’ customer feedback, the infection rate is low when aftercare is followed. Skip the saline rinses or touch the piercing constantly, and the risk spikes. A professional piercer has near-zero infection risk because they’re trained and the environment is controlled. Studs moves that responsibility onto you it’s manageable, but real.
Can I use my own starter jewelry instead of Studs’? No. The device comes pre-loaded with jewelry, and you can’t swap it out before piercing. This is actually a safety feature it ensures the jewelry is sterile and healing-appropriate. Once healed, you can use other jewelry, but for those first 8 weeks, it’s Studs’ stud or nothing.
Should I get both ears pierced at once? Owner reports suggest doing one ear first, healing it fully, then doing the second. This lets you troubleshoot with one side and gives you time to perfect the aftercare routine before repeating. Doing both at once means twice the aftercare, twice the risk of infection, and if one gets infected, you’ve got a matching problem on both sides. Space them out by at least 8 weeks.
Did Studs make the Kept List? Yes for lobe piercings specifically. The kit earns its place because the starter jewelry is genuinely hypoallergenic, the single-use mechanism eliminates cross-contamination, and the aftercare protocol is solid when followed. It does NOT earn a blanket Kept for cartilage or complex piercings that’s a professional-only job. Low pain tolerance or poor routine discipline are also reasons to book an appointment instead.
Verdict: Kept for lobe piercings, with discipline. Studs’ at-home ear-piercing kit is the best DIY option available if you’re willing to follow the protocol and can tolerate moderate pain. The starter jewelry is genuinely quality, the infection risk is low when you don’t cut corners, and the results rival a professional piercer’s work for lobe piercings. But this is not an impulse buy, it’s not for everyone, and it’s definitely not a painless experience. Do the research, commit to the aftercare, and mark your earlobes carefully. If you can’t do that, book an appointment with a professional instead.