
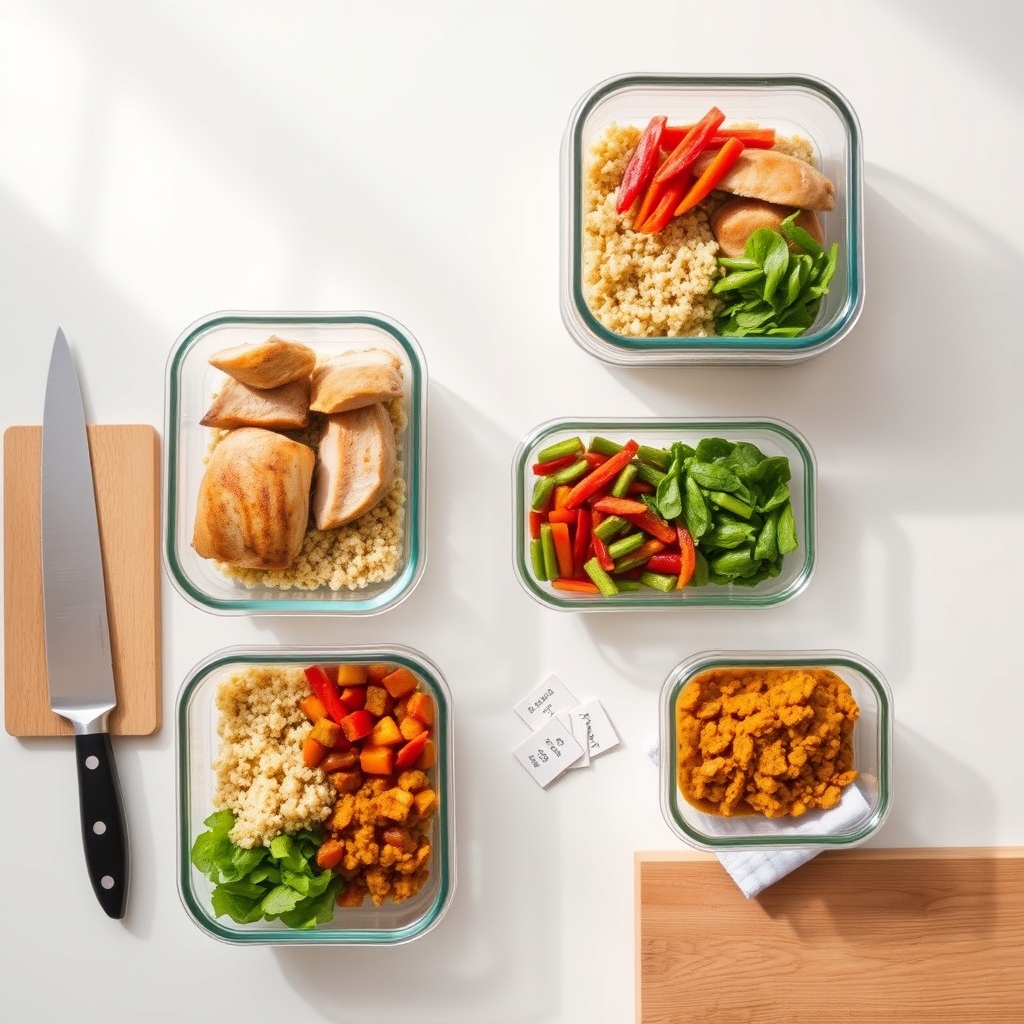
Meal prepping is planning, cooking, and portioning your meals in advance usually for one week so you have ready-to-eat or quick-to-finish dishes on hand. Done right, it takes 2–4 hours on a single day and eliminates daily cooking decisions, reduces food waste, and keeps you from reaching for takeout when you’re tired. Done wrong, you’ll end up with mushy vegetables, bland meals you refuse to eat, and containers of forgotten food in the back of your fridge.
This guide covers the full workflow: planning your menu, shopping efficiently, cooking in batches, storing safely, and choosing containers that actually work. We’ll also share five beginner-friendly recipes and the single biggest mistake that kills most meal-prep plans.
What You’ll Need to Meal Prep
You don’t need much to start.
Essential:
- A sharp knife and cutting board
- Mixing bowls (at least 2–3 large ones)
- Baking sheets or sheet pans
- A Dutch oven, large pot, or slow cooker for cooking in bulk
- Storage containers (see the containers section below)
- Labels and a marker (or a label maker)
Helpful but not required:
- A food scale (for portion consistency)
- A slow cooker or Instant Pot (dramatically speeds batch cooking)
- Freezer bags or vacuum-seal bags (for freezing portions)
- A blender or food processor (for sauces, dressings, grains)
- Parchment paper and aluminum foil (prevents sticking and cleanup)
Most of this you already own. If you’re starting from zero, you can meal prep with just a pot, a knife, and any airtight containers you have. The rest is a convenience upgrade.
Step 1: Choose Your Meal-Prep Day and Timeframe
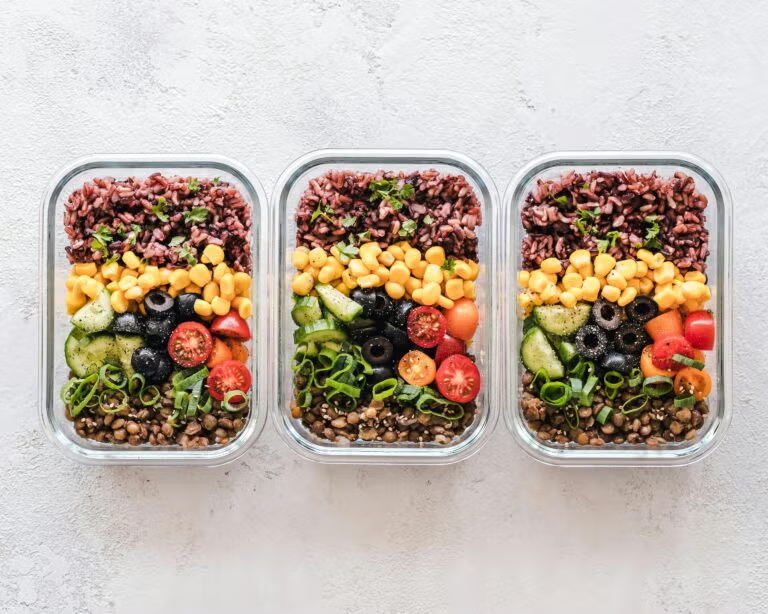
Meal-Prep Day and Timeframe: Pick one day each week usually a Sunday or your least busy weeknight to do all cooking at once. This concentrated effort is what makes meal prep actually save time throughout the week.
Decide what you’re prepping:
- Full prepared meals (breakfast, lunch, dinner eat straight from container)
- Mix-and-match components (cooked proteins, grains, vegetables, sauces stored separately so you can combine them)
- Breakfast and lunch only (dinner made fresh)
Full prepared meals are easiest for beginners because there’s no assembly required. Mix-and-match offers more variety but takes slightly longer on prep day. Be honest about how much time you actually have and how much complexity you’ll maintain.
Step 2: Plan Your Menu Around Foods That Hold Well
Menu Around Foods That Hold Well: Not all foods survive the fridge well. Soggy salads, mushy vegetables, and separated sauces kill meal prep faster than anything else.
Foods that hold well (3–4 days refrigerated, based on standard food-safety guidance):
- Grains: brown rice, quinoa, farro, pasta, couscous
- Proteins: grilled chicken, baked fish, ground turkey, roasted tofu, hard-boiled eggs, beans
- Sturdy vegetables: roasted Brussels sprouts, broccoli, carrots, cauliflower, bell peppers, green beans
- Legumes: lentils, chickpeas, black beans
- Sauces and dressings: marinara, pesto (added just before eating), Thai peanut sauce, vinaigrettes
Foods that don’t hold well (eat same day, store separately, or freeze):
- Leafy greens and soft salads (wilt in 1–2 days)
- Fried foods (become soggy)
- Delicate fish (falls apart after 2 days)
- Soft cheeses (can get grainy)
- Creamy dressings on salads (separate until you eat)
The rule: keep wet and dry separate until you eat, and choose sturdy vegetables over delicate greens.
Use a Simple Planning Framework
For each day, plan:
Breakfast: One recipe repeated 5–7 times (e.g., egg muffins, overnight oats, breakfast burritos)
Lunch: 2–3 recipes, made in larger batches (e.g., Monday–Wednesday is one bowl, Thursday–Friday is another)
Dinner: 2–3 recipes, or mix-and-match components (grilled chicken + two grain options + three vegetable options)
This reduces cooking complexity and shrinks your ingredient list. You’re not making seven different dishes; you’re making two to three in large batches.
Step 3: Write Your Shopping List (Organized by Store Section)
Organize by the layout of your grocery store to save time and avoid missed items.
Produce:
- Vegetables you’ll cook (carrots, broccoli, peppers, onions)
- Garlic and ginger
- Limes or lemons
Protein:
- Chicken breasts or thighs
- Ground meat or tofu
- Eggs
- Canned beans or lentils
Grains/Pantry:
- Rice, quinoa, or pasta
- Oats
- Canned tomatoes
- Oils, vinegars, soy sauce
Dairy/Frozen:
- Cheese (if using)
- Yogurt or milk
- Frozen vegetables (backup if fresh won’t be ready)
Buy proteins in bulk you’ll use them. Buy one to two produce items per week rather than seven different vegetables; rotating two vegetables keeps prep manageable.
Step 4: Prep Your Workspace and Ingredients
Clean your entire kitchen workspace. Set out all the tools you’ll use: cutting board, knives, mixing bowls, pans, and a trash bowl for scraps.
Wash and cut all vegetables before you start cooking. This takes 20–30 minutes but is the biggest mental hurdle get it done first. Dry vegetables thoroughly after washing; wet vegetables won’t brown well and tend to spoil faster.
Measure out dry ingredients (grains, spices) into bowls. Line your sheet pans with parchment paper if you’re roasting vegetables.
Step 5: Start Cooking (Multitask to Save Time)
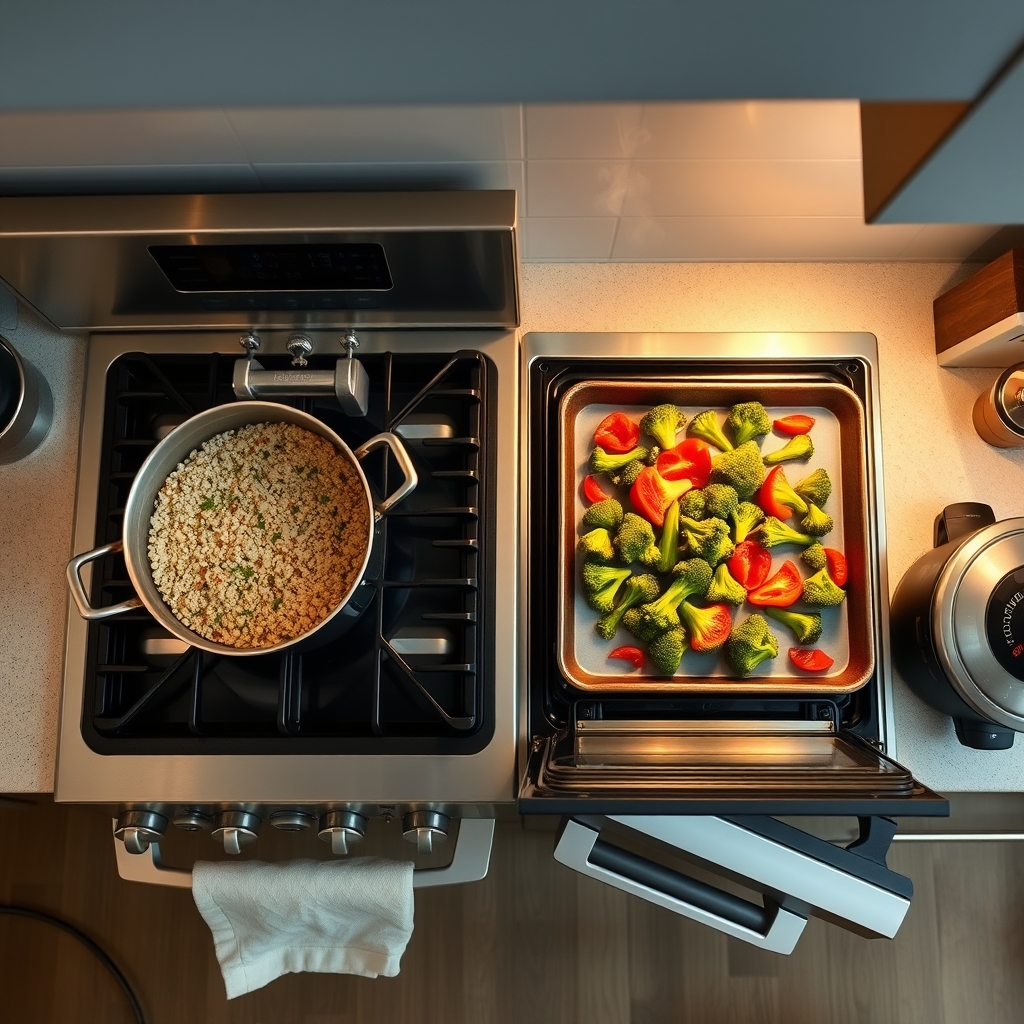
This is where a slow cooker or Instant Pot saves hours. While your slow cooker handles the protein, roast vegetables in the oven and cook grains on the stovetop simultaneously.
Sample cooking timeline (3 hours total):
0:00 – Start slow cooker with chicken and broth (4 hours on low)
0:10 – Preheat oven; toss vegetables with oil and roast for 35–45 minutes
0:15 – Start pot of rice or quinoa (20–30 minutes)
0:20 – Make sauces (peanut, tomato, tahini) while rice cooks
0:30 – Hard-boil eggs if using
0:45 – Vegetables done; move to cooling; check rice
1:00 – Rice done; spread on sheet pan to cool faster
1:15 – Slow cooker chicken done; shred if needed
1:30 – Everything cooked and cooling; begin portioning
Don’t wait for one dish to finish before starting the next. Every minute of overlap saves you meaningful time on the back end.
Step 6: Cool Everything Completely Before Storing
This step takes thirty seconds to set up and protects both your food’s texture and safety.
Hot food will steam inside a sealed container and create condensation, which softens food and can accelerate spoilage. The practical fix: spread cooked grains and proteins on sheet pans and leave them at room temperature for 15–20 minutes, or place them uncovered in the fridge for 10 minutes, until completely cool to the touch before sealing.
As a general food-safety practice, don’t leave cooked food at room temperature for more than 2 hours total the USDA’s FoodSafety.gov covers the full guidance if you want specifics. For most meal-prep purposes, a 15–20 minute cool-down on the counter before sealing is all you need.
Step 7: Portion into Containers
Use a kitchen scale if you want consistent portions, or eyeball it: a closed fist of grain, a deck-of-cards-sized protein, and a handful of vegetables per container is a rough guide.
If you’re doing mix-and-match components, use divided containers or separate containers:
- One container: cooked grain
- One container: protein
- One container: vegetables
- One container: sauce (add when you eat)
This prevents flavors from muddying and keeps everything fresh longer.
Step 8: Label and Date Everything
Write the date prepared and the meal name on each container. A simple label reads: “Chicken + Rice + Broccoli | Prep: 6/10 | Use by: 6/14.”
Forgetting what something is or when you made it is the second-biggest reason meal prep fails. Three seconds with a label prevents a whole container from being wasted.
Step 9: Store Safely in the Refrigerator or Freezer
Refrigerator Storage Guidelines
Most cooked meals last 3–4 days in the fridge, consistent with standard food-safety guidance (USDA FoodSafety.gov is the authoritative reference if you want to verify specific foods). Place containers on the middle shelf where the temperature is most consistent. Don’t cram them against the back wall or stack them in the door door temperature fluctuates.
Generally accepted safe timeframes:
- Cooked grains: 3–4 days
- Cooked proteins (chicken, fish, ground meat): 3–4 days
- Roasted vegetables: 3–4 days
- Cooked legumes: 3–5 days
- Sauces and dressings: 5–7 days (keep separately)
- Hard-boiled eggs: 5–7 days
- Breakfast meals (egg muffins, breakfast burritos): 3–4 days
If you’re prepping more than 4 days’ worth, freeze the extras.
Freezer Storage Guidelines
Freezing extends meals to 2–3 months. Freeze meals in flat containers or freezer bags flat bags thaw faster and take up less space. Label with the date and contents.
What freezes well:
- Grain bowls (freeze the grain and protein separately from vegetables if possible)
- Curries and stews
- Chili, beans, and legume-based dishes
- Baked chicken and ground meat
- Breakfast burritos
What doesn’t freeze well:
- Cooked rice (becomes mushy; freeze cooked grains only if absolutely necessary)
- Pasta in sauce (becomes waterlogged)
- Soft vegetables or salads
- Creamy sauces (may separate)
Thaw overnight in the fridge, then reheat. Don’t thaw at room temperature.
Choosing the Right Meal-Prep Containers
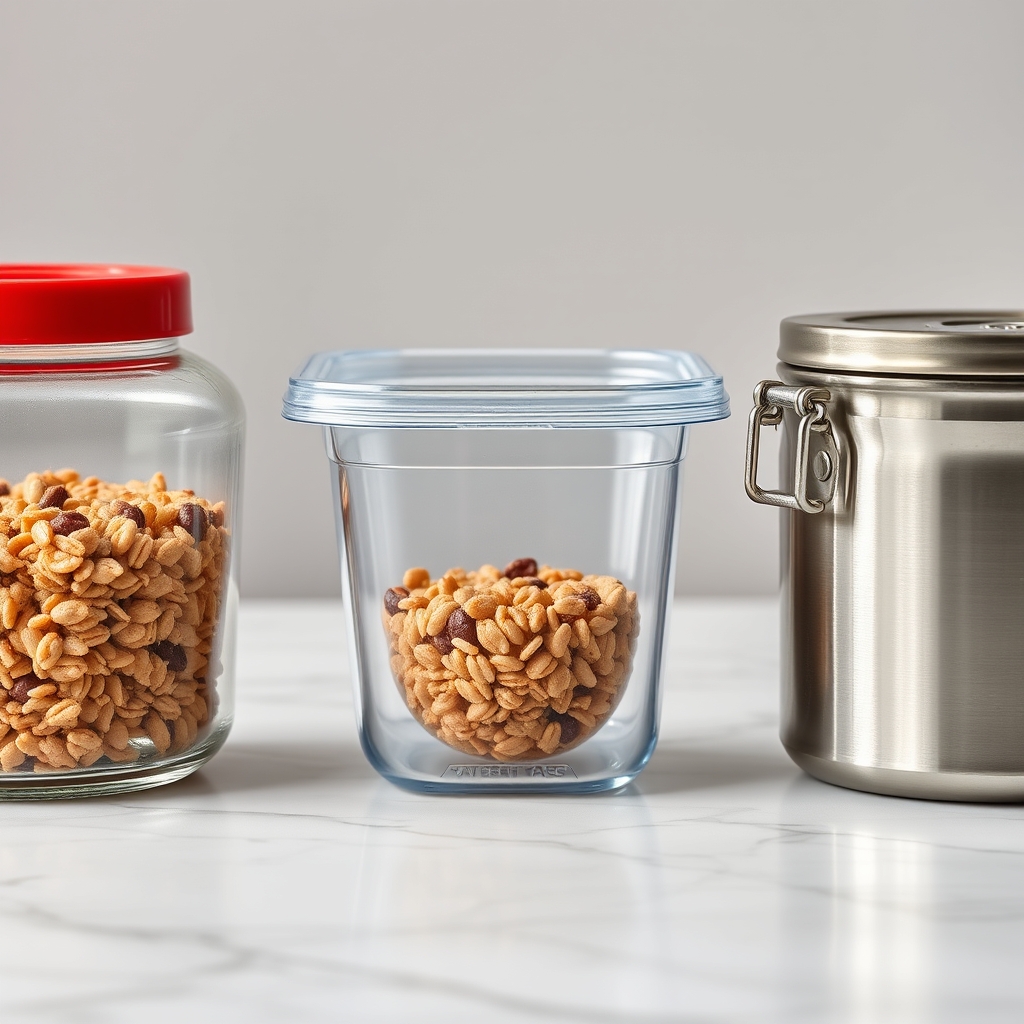
A good container keeps food fresh, stacks neatly, and doesn’t absorb odors. The best options:
Glass Containers (Pyrex, Rubbermaid Brilliance)
- Pros: Don’t stain or absorb odors; microwave and oven safe; last for years
- Cons: Heavier; can break; more expensive up front
- Best for: People who reheat in the microwave or oven
BPA-Free Plastic Containers (Rubbermaid, Sistema, OXO)
- Pros: Lightweight; dishwasher safe; affordable; stackable
- Cons: Stain over time; absorb odors; less durable than glass
- Best for: Beginners; people who eat from containers without reheating
Stainless Steel Containers (Monchari, LunchBots)
- Pros: Durable; don’t absorb odors; lightweight; premium feel
- Cons: Expensive; can’t microwave; harder to see contents
- Best for: People who prefer to reheat in the oven or on the stovetop
The actual recommendation: start with glass. Spend $30–50 on three to four Pyrex containers with lids. They’ll last five years and perform consistently. Once you’re in the habit, add plastic for convenience or stainless steel if you prefer.
5 Beginner-Friendly Meal-Prep Recipes
These five recipes hold well, reheat easily, and don’t require special cooking skills.
Recipe 1: Sheet Pan Chicken Fajita Bowls
Ingredients (makes 4–5 servings):
- 1.5 lbs chicken breast, diced
- 2 bell peppers (any color), sliced
- 1 large onion, sliced
- 2 tbsp olive oil
- 2 tsp cumin, 1 tsp chili powder, ½ tsp garlic powder
- Salt and pepper to taste
- 2 cups cooked rice or quinoa
- Lime, cilantro, optional toppings
Method:
- Preheat oven to 400°F.
- Toss chicken, peppers, and onion with oil and spices on a sheet pan.
- Roast for 25–30 minutes until chicken is cooked through.
- Cool completely on the pan.
- Portion into containers with rice; add lime and cilantro when eating.
Storage: 3–4 days refrigerated; freezes well for up to 2 months.
Recipe 2: Overnight Oats (Breakfast)
Ingredients (makes 4 servings):
- 2 cups rolled oats
- 2 cups Greek yogurt or milk
- ¾ cup chia seeds (optional, for added protein)
- ½ cup honey or maple syrup
- 2 tsp vanilla
- Pinch of cinnamon
- Toppings: berries, granola, nuts (add fresh)
Method:
- Mix oats, yogurt, chia seeds, honey, vanilla, and cinnamon in a large bowl.
- Divide into four containers.
- Refrigerate overnight.
- Add toppings and eat cold, or reheat with a splash of milk.
Storage: Up to 5 days refrigerated.
Recipe 3: Lentil and Vegetable Curry
Ingredients (makes 5 servings):
- 2 tbsp oil
- 1 onion, diced
- 2 cloves garlic, minced
- 1 tbsp curry powder
- 1 can coconut milk
- 2 cups vegetable broth
- 1.5 cups dry lentils (red or brown)
- 2 cups diced vegetables (carrots, sweet potato, spinach)
- Salt and pepper to taste
Method:
- Heat oil in a large pot; sauté onion and garlic 2 minutes.
- Add curry powder and cook 1 minute until fragrant.
- Add coconut milk, broth, lentils, and vegetables.
- Simmer 25–30 minutes until lentils are tender.
- Season and cool completely.
- Portion with or without rice.
Storage: 4 days refrigerated; up to 2 months frozen.
Recipe 4: Baked Turkey Meatballs
Ingredients (makes 20–24 meatballs, 4–5 servings):
- 1.5 lbs ground turkey
- ½ cup panko breadcrumbs
- ¼ cup grated Parmesan
- 1 egg
- 2 cloves garlic, minced
- 1 tsp Italian seasoning
- Salt and pepper
- Marinara sauce for serving
Method:
- Preheat oven to 400°F.
- Mix all ingredients gently in a bowl.
- Form into 1½-inch balls and place on a parchment-lined sheet pan.
- Bake 18–20 minutes until cooked through.
- Cool and portion with pasta, rice, or vegetable noodles.
Storage: 3–4 days refrigerated; up to 2 months frozen.
Recipe 5: Roasted Vegetable and Grain Bowls
Ingredients (makes 4 servings):
- 4 cups mixed vegetables (broccoli, Brussels sprouts, cauliflower, carrots), chopped
- 2 tbsp olive oil
- 1 tsp garlic powder, salt, pepper
- 3 cups cooked quinoa or brown rice
- ½ cup tahini dressing (¼ cup tahini, 2 tbsp lemon juice, 1 clove garlic, water to thin)
- Toppings: seeds, nuts, feta or chickpeas
Method:
- Preheat oven to 425°F.
- Toss vegetables with oil and seasonings.
- Roast 25–30 minutes, stirring halfway.
- Cool completely.
- Assemble bowls: grain, vegetables, tahini drizzle, toppings added before eating.
Storage: 3–4 days refrigerated (store dressing separately).
The Biggest Mistake: Choosing Meals You Don’t Actually Want to Eat
The single reason meal prep fails isn’t poor planning or inadequate storage it’s prepping meals you’re bored to death by Wednesday.
You can’t sustain a meal-prep habit if you dread opening the container. So when you’re planning, ask yourself: Would I order this at a restaurant? If the answer is no, don’t prep it.
Common mistakes:
- Prepping “healthy” meals that taste like cardboard (unseasoned chicken and steamed broccoli)
- Making five different meals because you wanted variety, then getting exhausted
- Following someone else’s meal-prep list instead of your own preferences
The fix: Choose two to three recipes you genuinely like, season them well, and repeat them. Real food tastes good. If your prepped meals are bland, you’ll eat takeout instead. Spend 2 extra minutes on seasoning and flavor it’s the highest-ROI minute you’ll spend.
Printable Meal-Prep Checklist
One Week Before:
- [ ] Decide on 2–3 recipes
- [ ] Write shopping list
- [ ] Check fridge for items you already have
The Night Before:
- [ ] Buy groceries
- [ ] Wash all vegetables and pat dry
- [ ] Gather containers and labels
Meal-Prep Day:
- [ ] Clear and clean workspace
- [ ] Measure dry ingredients
- [ ] Start slow cooker or pot with long-cooking item
- [ ] Preheat oven and roast vegetables
- [ ] Cook grains
- [ ] Make sauces
- [ ] Cool everything 15–20 minutes
- [ ] Portion into containers
- [ ] Label with date and meal name
- [ ] Store in fridge (middle shelf) or freezer
Common Questions About Meal Prepping
Can I meal prep if I have a small fridge?
Yes. Prep only 3–4 days instead of a full week, and freeze the rest. Or do mix-and-match components in smaller containers. You don’t need a huge fridge to meal prep you just need smart portioning.
Is it okay to reheat food multiple times during the week?
No. Reheat once, from fridge to eating. Reheating the same container multiple times raises food-safety risk. If you want a meal hot on day 1 and cold on day 3, portion them into separate containers on prep day.
Can I use disposable containers instead of reusable ones?
Yes, but they’re less economical over time. A pack of disposable containers costs $5–10 and lasts one use; a glass container costs $10–15 and lasts five years. For occasional meal prep, disposable works. For a regular habit, invest in reusable.
What if I don’t like eating the same meal five days in a row?
Do mix-and-match components instead. Cook two proteins, two grains, and three vegetables, then combine them differently each day. It’s still bulk cooking, but you get more variety.
How do I know if my meal-prepped food has gone bad?
Trust your senses. If it smells off, looks moldy, or tastes sour, don’t eat it. If it looks and smells fine but you’re unsure: if you prepped it on day 1, day 4 or later is risky for most foods. When in doubt, throw it out.
Final Checklist: Am I Meal Prepping Correctly?
If you can answer yes to these five things, you’re doing it right:
- You choose meals you actually want to eat. Boredom kills meal prep faster than any other reason.
- You cool food completely before storing it. Condensation is the enemy of texture.
- You label every container with the date. This prevents mystery food.
- You store on the middle fridge shelf, not the door. Temperature consistency matters.
- You use food within 3–4 days in the fridge, or freeze the rest. This is the practical safety boundary.
Do these five things, choose recipes with sturdy ingredients, and pick containers that work for your lifestyle. Meal prep will save you time, money, and the daily decision fatigue of “what’s for dinner?”