
What Is a Smart Home Setup, and What Can You Actually Do Without Professional Help?
A smart home setup is a collection of internet-connected devices you control remotely or set to run automatically lights, locks, thermostats, cameras, speakers. You don’t need a contractor, a full house rewire, or months of planning. Most beginner systems start with 3–5 devices, live entirely in your WiFi network, and cost between $150 and $500 to assemble.
The real question isn’t if you can do this yourself you can. It’s which devices actually work together and make your life easier instead of creating frustration. That’s what we’ll cover here.
What You’ll Need (Tools & Materials)
Physically, almost nothing:
- A functioning WiFi network (2.4 GHz works; 5 GHz alone will exclude many smart home devices)
- A smartphone (iOS or Android) to set up and control devices
- A power outlet (for your hub or bridge device, if your chosen ecosystem requires one)
- Bluetooth or WiFi connectivity (one or the other in every room where you place a device)
- Optional: a small Phillips or flathead screwdriver (only if you’re mounting wall switches or sensors most devices don’t require installation beyond plugging them in)
You do not need:
- A dedicated smart home hub (though some ecosystems like Apple Home, Amazon Alexa, or Google Home benefit from one)
- Permanent installation or hardwiring
- Networking knowledge or IT skills
- Professional electrician approval for most plug-and-play devices
Understanding the Three Budget Tiers
Smart home spending breaks into three realistic starting points. Pick one, start there, and expand later. Prices below reflect typical retail as of August 2026.
Budget Tier 1: $150–$250 (The Minimal Start)
This is the smallest entry point proof of concept. You’re testing whether you actually like home automation before spending more.
What you get:
- One smart speaker (Amazon Echo Dot, Google Home Mini, or Apple HomePod mini) as a control hub
- 2–3 smart plugs (control any existing device by turning power on/off remotely)
- 1 smart light bulb or 1 smart light switch (bedroom or living room)
- 1 motion sensor or door/window sensor (for automation routines)
Real-world example: You control your bedroom lamp from your phone, set it to turn on at sunrise, and get a notification when someone opens your front door.
Ecosystem to choose: Amazon Alexa is the most forgiving for beginners because Echo Dot devices are affordable, widely compatible with third-party devices, and rarely require a hub though buying one later improves reliability.
Budget Tier 2: $350–$600 (The Functional Home)
You’ve decided you like the idea. Now you’re building something that actually reduces friction in your daily routine.
What you get:
- A smart display (Echo Show, Google Home Hub, or iPad for Apple Home) as your primary hub
- 4–6 smart plugs or smart bulbs for commonly used appliances and lights
- A smart thermostat (Ecobee, Nest, or equivalent)
- 2–3 automation sensors (motion, door/window, temperature)
- 1 smart lock (for front door or garage entry)
Real-world example: Your thermostat adjusts to 68°F when you leave and returns to 72°F before you get home. Lights turn on in the hallway when motion is detected at night. Your front door unlocks when you arrive within 500 feet of home.
Ecosystem to choose: Stick with your Tier 1 choice (Alexa, Google, or Apple). Mixing ecosystems works but complicates setup and reduces automation options.
Budget Tier 3: $700–$1,200+ (The Integrated Home)
You’re now automating multiple rooms, adding cameras, and building routines that actually change how you live.
What you get:
- A dedicated smart hub (Amazon Alexa Hub, Google Nest Hub Pro, or Apple HomePod mini)
- Smart lighting throughout 3–4 rooms (bulbs or switches)
- A smart thermostat with remote monitoring
- 2–3 cameras (indoor, outdoor, or doorbell)
- 2–3 smart locks (front door, garage, secondary doors)
- 5–8 automation sensors (motion, contact, temperature, humidity)
- A smart speaker in 2+ rooms
Real-world example: When you leave home, doors lock, lights turn off, thermostat drops to eco mode, and cameras begin recording. When you arrive, gates unlock, foyer lights turn on gradually, and the thermostat starts warming. If motion is detected outside between 10 PM and 6 AM, you get an instant alert with a camera snapshot.
Ecosystem choice: If you’ve stuck with Tier 1 and 2, expand within that ecosystem. Adding a second ecosystem at this scale creates complexity you don’t need.
Step 1: Choose Your Ecosystem (Alexa, Google Home, or Apple Home)
This is the single most important decision because it locks in compatibility for every device you buy next.
The comparison:
| Criteria | Amazon Alexa | Google Home | Apple Home |
|---|---|---|---|
| Device Cost | Lowest | Mid-range | Highest |
| Third-Party Compatibility | Widest | Wide | Narrower, but improving |
| Privacy Defaults | Opt-in | Opt-in | Opt-in / encrypted |
| Automation Complexity | Simple routines | Routines + automations | Automation-first; most powerful |
| Setup Difficulty | Easiest | Easy | Moderate; requires Apple account |
| Free-Tier Limitations | Minimal | Minimal | Requires a Home hub; iPad may be used in supported setups |
The real advice: If you already own a smartphone (iPhone, Android, or Pixel), start with that ecosystem’s native home system. If you use Android and don’t have strong privacy concerns, Alexa has the most third-party device support and the friendliest price. If you use iPhone, Apple Home’s automation is powerful but requires patience learning it. Google Home splits the difference but is most useful if you use Google services (Gmail, Calendar, Photos).
Don’t overthink it you can switch ecosystems later, and many devices work with multiple hubs simultaneously.
Step 2: Buy Your Hub (or Choose Not To)
Your hub is the device that stores your automations and keeps them running when you’re away from home. Not all ecosystems require one, but having one makes everything more reliable.
Alexa: You can start without a hub using an Echo Dot, but upgrade to an Echo Hub or Echo Show 8 later for local processing and offline automations.
Google Home: No hub required, but a Nest Hub or Nest Audio set to “Do Not Disturb” mode works as one.
Apple Home: Requires a hub use an iPad on a charger, an Apple TV, or a HomePod mini ($99 as of August 2026). This is the barrier to entry for Apple Home. If you don’t have one of these, budget $100–$150 extra.
Action: Plug in your hub, download the companion app (Amazon Alexa, Google Home, or Home app), and sign in with your account. The app will guide you through WiFi setup. Don’t skip this the hub is what lets you control your home remotely, not just from your phone on the same WiFi network.
Step 3: Add Your First Smart Plug
Smart plugs are the safest, fastest way to begin. Plug one into an outlet, plug an existing device into it (a lamp, fan, coffee maker), and you can now turn that device on or off remotely.
How to do this:
- Unbox the smart plug and press the power button once it will enter pairing mode (look for a blinking light).
- Open your hub’s app (Alexa, Google Home, or Apple Home).
- Select “Add Device” or “+” and choose “Smart Plug” or “Unknown Device” the app will scan for unpaired devices on your network.
- Select the plug from the list and follow the on-screen prompts to name it (“Bedroom Lamp”, “Coffee Maker”, etc.).
- Assign it to a room in your app so it appears alongside other devices in that space.
- Test it by tapping the on/off icon in the app. The device should respond instantly.
The common mistake: Plugging the smart plug into an outlet controlled by a wall switch, then wondering why turning off the switch breaks the whole system. Smart plugs need constant power to work. Never plug a smart plug into a switched outlet unless that switch is permanently on.
A real caveat: Smart plugs draw a small amount of power even when the connected device is off in our research, standby draw is typically in the range of 0.3–0.5 watts, though this varies by model. That’s normal and, based on standard consumer electronics safety guidance, not a fire concern under typical home conditions. It is, however, a reason not to put one on every outlet in your home. Choose outlets for frequently used devices (coffeemaker, TV, white noise machine) rather than things that are already easy to turn off manually.
Step 4: Add Your First Smart Light Bulb or Switch
Lights are the second-most satisfying starting point because you get instant visual feedback.
Bulb vs. switch which should you choose?
- Smart bulbs ($15–$30 each, as of August 2026): Screw into any existing lamp or fixture. No rewiring. Instant. Great for renting.
- Smart switches ($30–$50 each, as of August 2026): Replace the physical wall switch. Control multiple bulbs at once. Permanent. Requires you to turn off power at the breaker (not hard, but worth knowing).
For beginners, start with a smart bulb. It’s reversible, requires zero installation skills, and works instantly.
How to install a smart bulb:
- Turn off the lamp at the physical switch (this is important for safety and because some bulbs don’t initialize well with power on).
- Unscrew the old bulb and screw in the smart bulb by hand snug but not cranked tight.
- Turn the lamp back on at the physical switch. Wait 10–15 seconds for the bulb to initialize (you may see it blink or flicker briefly).
- Open your hub’s app and add a device as before.
- Name it (“Bedroom Lamp”, not just “Light”) and assign it to the room.
- Test it by tapping the on/off icon and also by using the physical switch it should work both ways.
Pro tip: Smart bulbs work best with traditional incandescent or halogen lamp fixtures. LED-heavy or CFL fixtures sometimes cause compatibility issues. If you buy a bulb and it flickers or won’t turn on reliably, swap the fixture type before returning the bulb.
Why the physical switch still works: Smart bulbs don’t replace the physical switch they supplement it. If you turn off the wall switch, the bulb loses power and turns off. If you then turn the switch back on, the bulb comes back on. This is a feature, not a bug: visiting guests can still control your lights normally.
Step 5: Create Your First Automation (Motion-Activated Lights)
This is where smart home becomes automatic set it once and it just works.
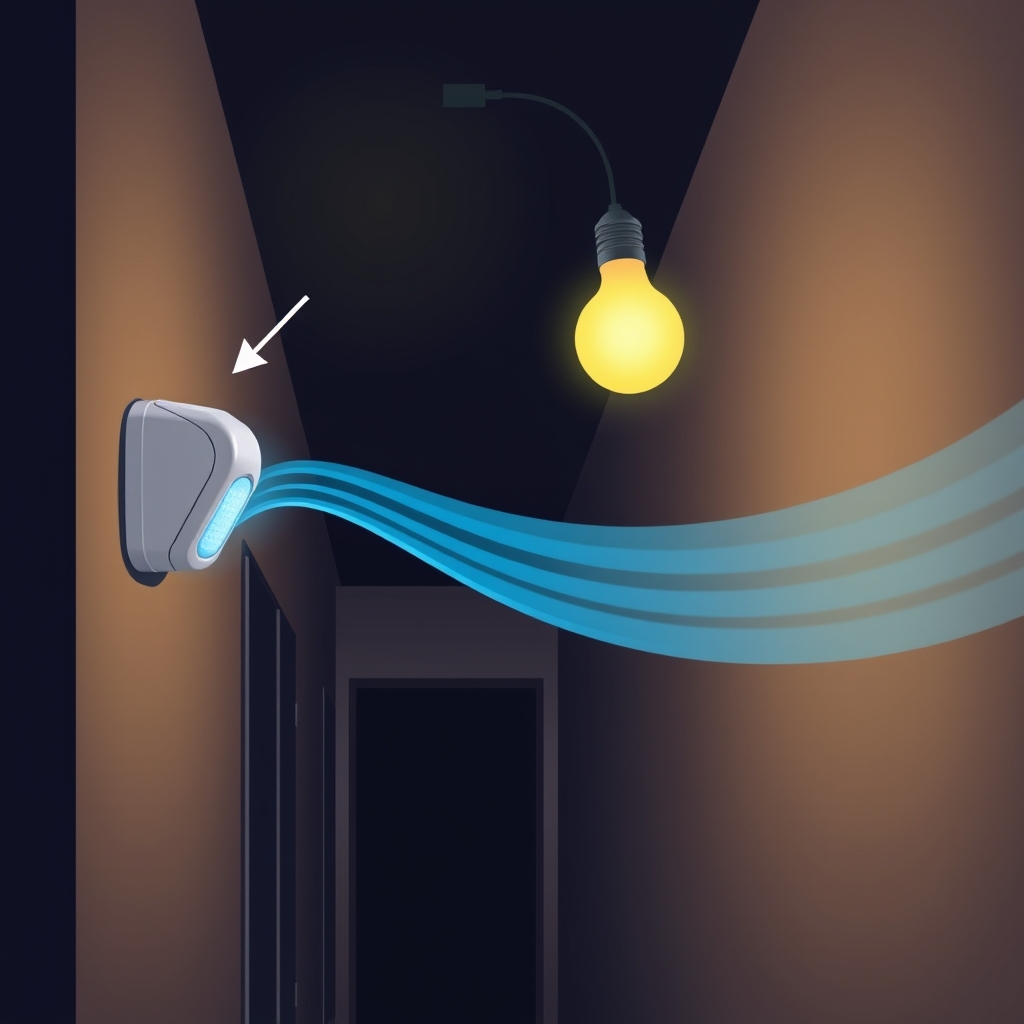
You’ll need: Your smart bulb from Step 4 + a motion sensor ($15–$30, as of August 2026).
How to set it up:
- Add the motion sensor to your app the same way you added the smart plug: unbox it, put it in pairing mode, scan for it in the app, name it (“Hallway Motion”), and assign it to a room.
- Open the Automation or Routine section in your app (this is called “Routines” in Alexa, “Automations” in Google Home, and “Automations” in Apple Home).
- Create a new automation and choose the trigger: “Motion detected” (the motion sensor).
- Set the conditions: “If motion is detected between 8 PM and 6 AM” (optional but useful this prevents lights turning on at noon).
- Set the action: “Turn on Bedroom Lamp to 50% brightness.”
- Optional: add a second action to turn the light off 5 minutes after motion stops being detected.
- Save and test by walking in front of the motion sensor the light should turn on.
The step nobody explains: Motion sensors have a cooldown period (usually 30 seconds to 2 minutes) before they can trigger again. If you walk into the hallway, the light turns on. You stand still for 30 seconds. You take one more step, the motion sensor resets, and the light stays on. This is by design and prevents the light flickering every time you twitch. If your automation feels clunky, it’s usually because the cooldown is too long check the sensor’s settings in the app.
Step 6: Add a Smart Speaker for Voice Control
Once you have 3–4 devices working, add a smart speaker (Echo Dot, Google Home Mini, or HomePod mini). This lets you say “Alexa, turn on the bedroom lamp” instead of opening an app.
How to set it up:
- Unbox the speaker and plug it in.
- Hold the setup button (usually on top or the back) for 3–5 seconds until you hear a prompt or see a light pattern.
- Open the hub’s app and scan for the new device.
- Select it, give it a name (“Bedroom Speaker”), and assign it to a room.
- It will ask to confirm your WiFi password and any Amazon or Google account login.
- Test voice commands: “Turn on the bedroom lamp.” “What’s my temperature?” “Set a timer for 10 minutes.”
A non-obvious thing: Voice control only works reliably if the speaker is in the same room as the devices, or if you’ve set up a hub (from Step 2). If you’re in the living room and your speaker is in the bedroom, voice commands to devices in other rooms may fail. This is why a central hub matters it lets every speaker talk to every device, no matter where they are.
Step 7: Expand Gradually Using This Phased Approach
Don’t buy everything at once. Follow this order:
Month 1–2 (Tier 1):
- Hub or hub-capable speaker
- 2–3 smart plugs
- 1–2 smart bulbs
- 1 motion sensor
Month 3–4 (Tier 2 additions):
- Smart thermostat (saves money on heating/cooling in the long run)
- Door/window sensors (for security automations)
- 2–3 more smart bulbs or a smart light switch
- Second smart speaker in a different room
Month 5+ (Tier 3 additions):
- Smart lock
- Security cameras (indoor and/or outdoor)
- Additional motion and contact sensors
- Smart blind controller (if you have motorized blinds)
Why this order matters: Each step builds on the previous one. You learn how your first devices work before adding complexity. You also see ROI (return on investment) smart plugs and motion sensors teach you whether automation is actually useful for you, preventing expensive mistakes later.
The Biggest Mistake People Make When Starting Out
Buying all devices at once and trying to set them up in one sitting.
This almost always results in: frustrated setup because half the devices won’t pair, automations that don’t work because the hub wasn’t fully initialized, and devices sitting in boxes for months because the learning curve felt too steep.
Instead, add 1–2 devices, get comfortable with them, automate them, and then add more. This also spreads cost and lets you return anything that doesn’t fit your actual routine.
Common Smart Home Setup Questions
Q: Do all smart home devices need to connect to my WiFi?
Most do, but some use Bluetooth or a proprietary connection (Zigbee or Z-Wave) and connect to your hub, which then talks to WiFi. For beginners, assume WiFi. If a device is labeled “Requires Hub” or “Zigbee-enabled”, it’s a specialty device don’t buy it until you understand why you need it.
Q: What happens if my WiFi goes down?
Local automations (motion sensor triggering lights in the hub’s local network) keep working. Remote control (turning on lights from your phone while you’re away) stops working until WiFi is back. This is why a dedicated hub helps it stores your automations locally.
Q: Can I use devices from different brands together (Alexa + Google Home)?
Yes, most devices work with multiple hubs. But your automations (routines) won’t talk across platforms an Alexa routine can’t control a Google-exclusive device. For beginners, stick to one ecosystem to avoid this mess.
Q: Is it safe to leave smart home devices plugged in all the time?
Yes, modern smart devices have low-power modes and thermal protection built in. Leaving them plugged in is generally safer than constantly unplugging and replugging them. Based on standard consumer electronics safety guidance, a properly functioning smart device draws minimal power in standby and does not pose a fire risk under normal home conditions though as with any electrical device, you should avoid covering devices or blocking airflow around them.
Q: How much should I budget for my first smart home setup?
Start with $200–$300 for a functioning Tier 1 system (hub, 2–3 plugs, 1 bulb, 1 sensor). Expand to $500–$600 over the next few months if you like it. Don’t exceed $1,000 in year one you’re learning what you actually want to automate, and spending more than that before you know your needs won’t make you happier.
What to Avoid When Buying Your First Devices
- Mixing ecosystems too early. Pick Alexa, Google, or Apple and stick with it for at least six months before branching out.
- Assuming expensive = better. A $50 smart thermostat and a $200 smart thermostat often do the same job. Expensive usually means more features you won’t use.
- Buying a “smart home starter kit” from unfamiliar brands. Stick to Amazon, Google, Apple, Ecobee, Lutron, or Aqara for your first devices these have wide ecosystem support and reliable customer service.
- Installing smart switches before you’re comfortable. Start with smart bulbs. Switches are a natural second step once you know you like the system.
- Expecting privacy out of the box. All smart home devices collect some data. Read the privacy settings in your app and disable features you don’t want (local recordings, activity logs, etc.). This takes 10 minutes and is worth it.
Next Steps: Building on Your Foundation
Once you have 4–5 devices working and you understand automation basics, you’re ready to expand to specific rooms: a smart kitchen (plugs for appliances, displays for recipes), a smart bedroom (smart lights, sleep tracking sensors), or a smart security setup (locks, cameras, door sensors).
The same principle applies everywhere: start small, test, and expand only when you actually use what you’ve built.