
A functional home office is built on three foundations: a layout that fits your space, lighting that reduces eye strain and shadows, and storage organized by access frequency. You can design a productive workspace in 4–6 hours of setup, depending on your room size and whether you’re starting from scratch or reconfiguring an existing space.
What You’ll Need
Before you start moving furniture, gather these tools and materials:
- Measuring tape (at least 12 feet)
- Pencil and paper or a simple floor-plan sketch app (many are free)
- Desk and chair (existing or to acquire)
- Lighting task lamp, desk lamp, or monitor light (more on types below)
- Storage: shelves, filing cabinet, drawer organizers, or baskets
- Cable management supplies: clips, sleeves, or cable boxes ($5–$20 total)
- Optional but helpful: monitor stand, desk mat, keyboard tray
Don’t buy anything yet measure your space first.
Step 1: Measure Your Space and Identify Your Zone
Take out a measuring tape and record the dimensions of the room or area where you’ll work. Note the locations of windows, electrical outlets, doors, and any fixed furniture (built-in shelves, radiators, etc.).
Sketch a simple floor plan on paper or use a free app like Floorplanner or Canva’s floor-plan tool. This 15-minute step prevents the most common mistake: buying a desk that’s too large, placing it in the wrong spot, or discovering mid-setup that your cable doesn’t reach the outlet.
Identify three zones in your future layout:
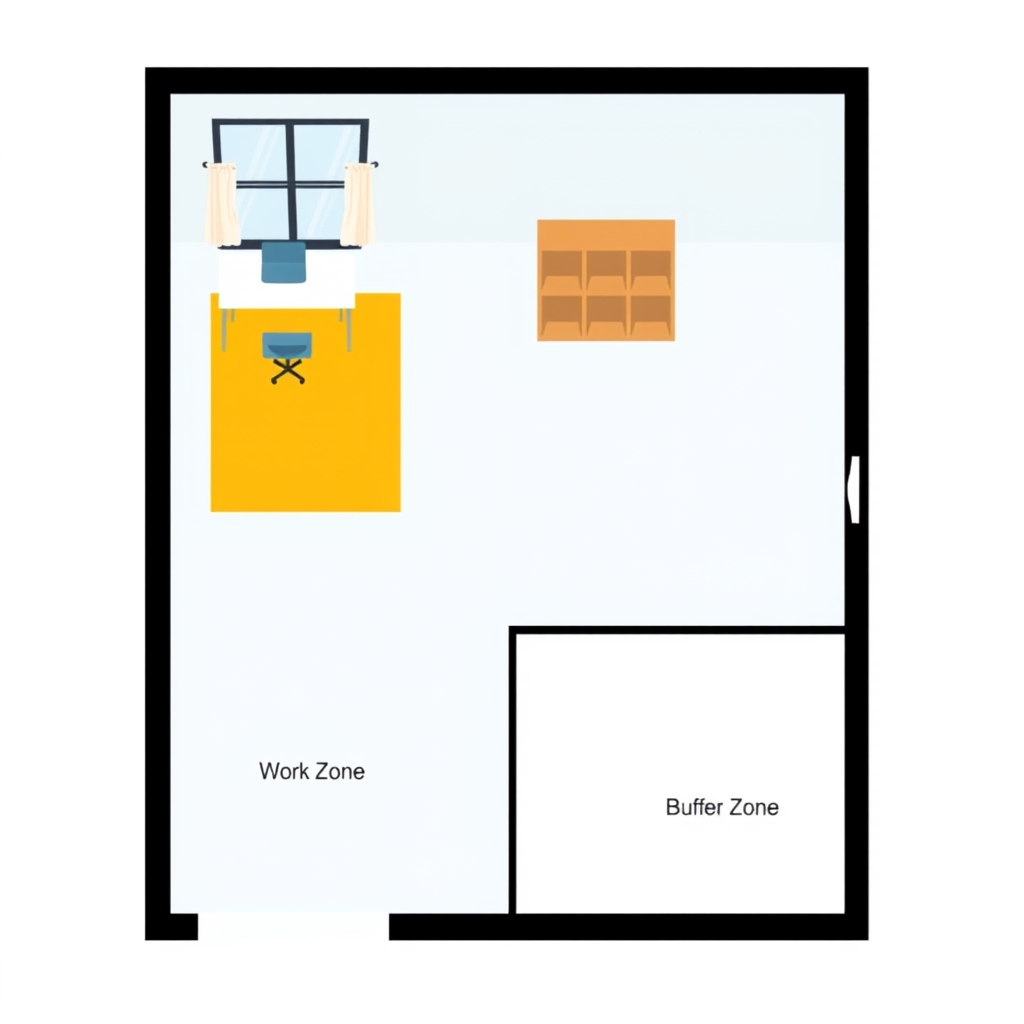
- Work zone: desk, chair, and monitor area where you’ll spend 6–8 hours per day.
- Storage zone: shelves, filing, or cabinets for supplies and documents.
- Buffer zone: empty space or low-traffic area to prevent a cramped, cave-like feeling.
If you have a dedicated room, all three zones fit comfortably. If you’re working in a corner of a bedroom or living room, the storage zone may be a single compact shelf, and the buffer zone is simply keeping one side of the desk open.
Step 2: Position Your Desk for Light and Ergonomics
Your desk placement is the single most important decision you’ll make. Follow this hierarchy:
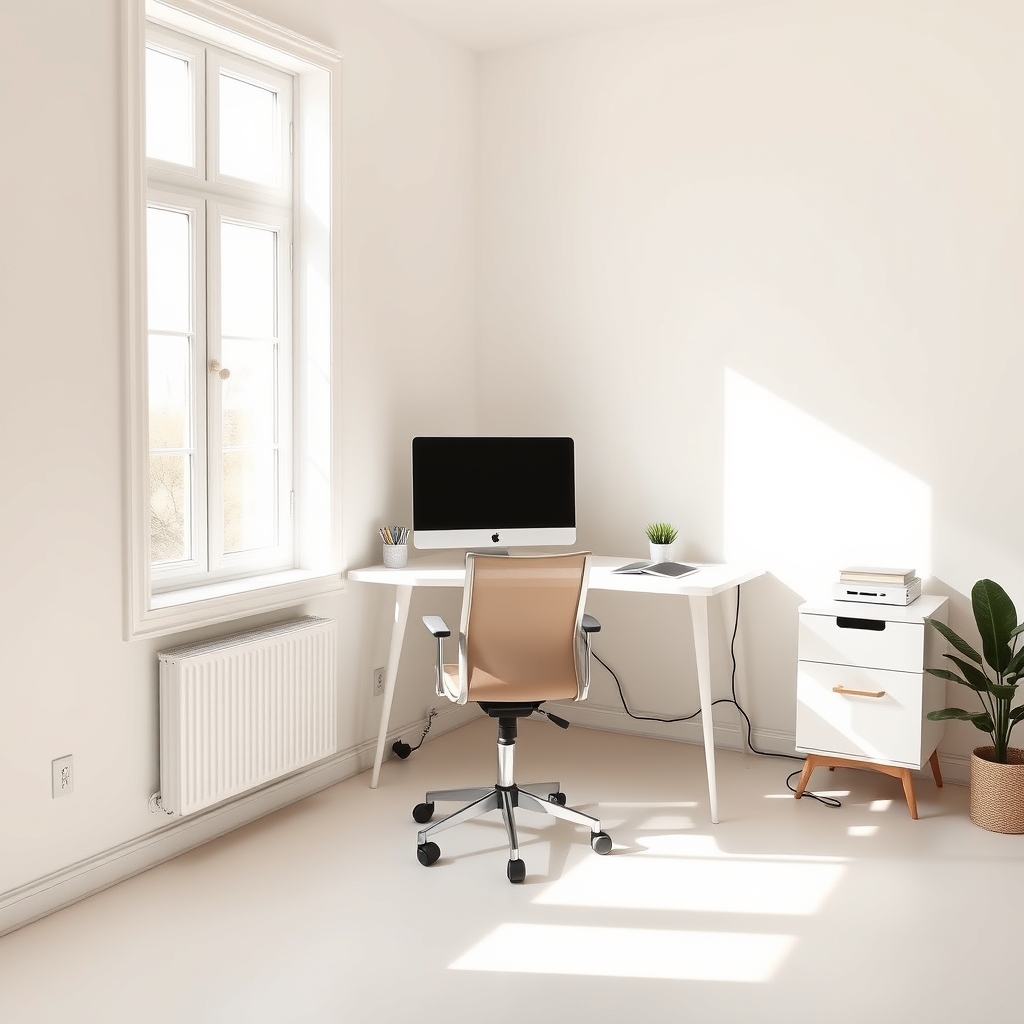
- Position for natural light: Face a window or sit perpendicular to it. Never put your desk facing a window directly sunlight on your monitor screen causes glare and eye strain. A window to your side or behind you provides ambient light without washing out your screen.
- If no natural light is available: Place your desk wherever it’s furthest from dark walls and closest to a wall-mounted light source or task lamp location.
- Sit with your back to the room: This helps you focus and gives you sightlines to notice movement (which reduces the “workspace anxiety” of sudden office visitors or family members).
- Keep the desk 18–24 inches from the nearest wall, if possible, so cables can run behind without being crushed.
If your space is tiny (under 80 square feet), you may not have all these options. Prioritize this order: (1) a window to the side or behind you, (2) back to the room, (3) as far as possible from the darkest wall. Trade-offs are normal.
Step 3: Choose and Position Your Chair
Your chair matters more than your desk. You’ll spend 8+ hours a day in it, and a poor chair causes neck pain, lower-back tension, and headaches.
Buy or use a chair that supports these adjustments: strong>
If you’re buying, budget $150–$300 for a chair that, based on owner reports and product longevity data, tends to hold up through 3–5 years of daily use. If you’re repurposing a dining chair or older office chair, test it for a full workday first — soreness or numbness after 4 hours is a sign you need to upgrade.
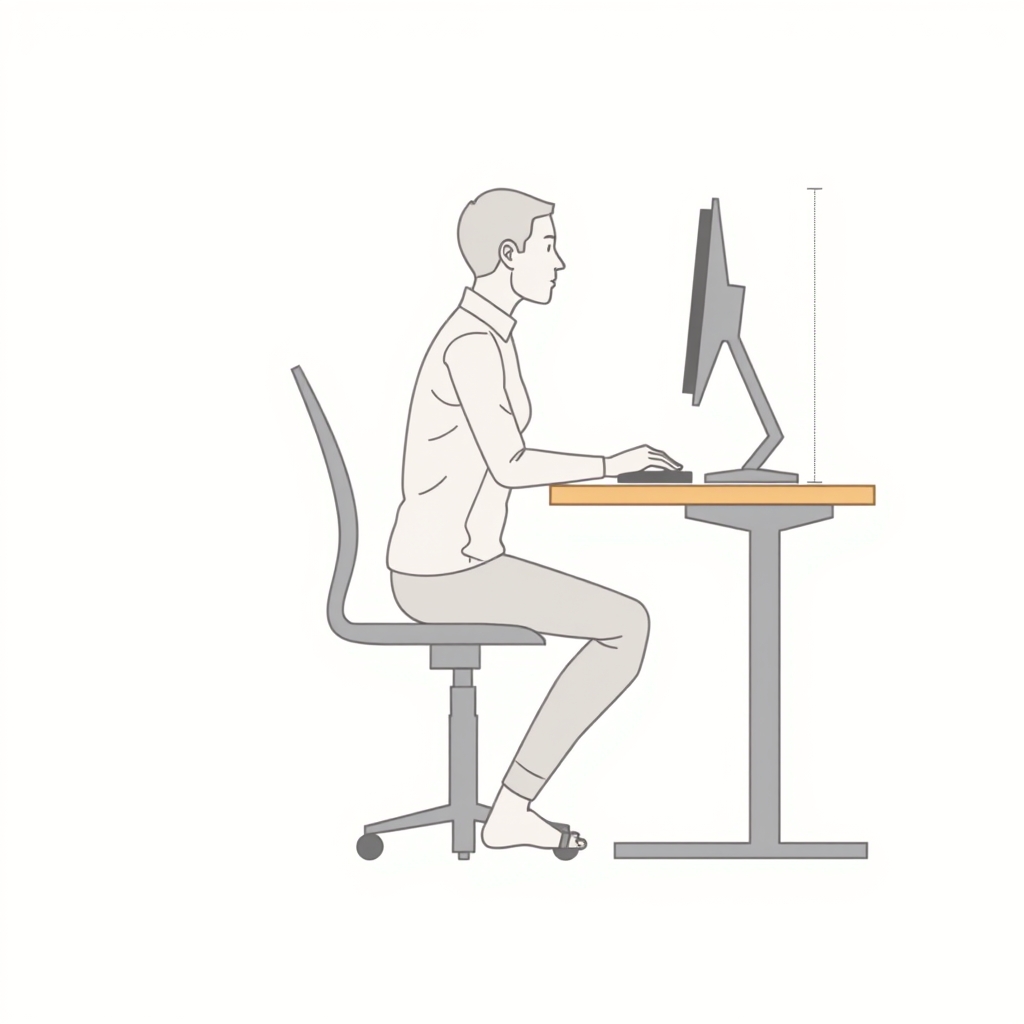
Position the chair directly at your desk so your elbows are at desk height when your arms hang at your sides. Adjust the seat height after the desk is in place.
Step 4: Set Up Your Monitor and Keyboard Height
This step prevents repetitive strain injuries and reduces neck strain.
Correct positioning:
- Monitor: Top of screen at or slightly below eye level. A commonly cited guideline places the screen 20–26 inches from your eyes (roughly an arm’s length) — test this range and adjust for your own vision and monitor size. If your monitor is too low, use a monitor stand, arm, or a stack of books.
- Keyboard and mouse: At a height where your elbows are bent at 90 degrees and your wrists are straight (not angled up or down). Most people need to raise their keyboard 2–4 inches using a keyboard tray, desk riser, or monitor stand with a shelf.
- Desk surface: 29–30 inches high is a standard dimension for commercial desks. If yours is lower (like a dining table at 28 inches), a keyboard tray becomes essential.
In small spaces, a height-adjustable monitor arm and a compact keyboard with a wrist rest will save space and improve comfort.
Step 5: Plan and Install Lighting
Lighting is the second-most important factor in comfort and productivity. Poor lighting causes headaches, eye strain, and a depressed mood.
Understand the three types of lighting:
- Ambient (background) light: General illumination from overhead fixtures or lamps. Too dim and you’ll strain your eyes; too bright and you’ll get a washed-out, anxious feeling.
- Task lighting: Focused light on your desk, monitor, or document area. A desk lamp or monitor light that doesn’t glare on your screen.
- Natural light: Sunlight from windows (your best option, but often inconsistent).
Install or add lighting in this order:
- Assess natural light: Spend a workday in your space and note times of day when the screen is hard to see, or when shadows fall on your desk. Most people need supplemental light by late afternoon.
- Add overhead ambient light if missing: A ceiling fixture or track light that distributes light evenly. Avoid harsh, bare fluorescent tubes — warm LEDs (2700–3000K color temperature) feel more natural than cool white (5000K+) unless you prefer bright daylight.
- Add a desk lamp or monitor light: Position it to the side of your monitor (usually the left for right-handed people, right for left-handed). The lamp should illuminate your desk without creating glare on the screen. Test angles before mounting permanently.
- Reduce glare: If your monitor is near a window and you still see glare, add a simple roller shade, curtain, or gloss-reducing screen protector.
In small apartments, a desk lamp alone is often enough if it’s warm-toned (2700K) and has a fabric shade to diffuse light evenly. In larger rooms, pair a desk lamp with a wall-mounted picture light or floating shelf light above your desk.
Step 6: Create Storage Organized by Frequency of Use
Storage that’s poorly organized wastes time and makes your workspace feel chaotic. Organize by access frequency, not category.
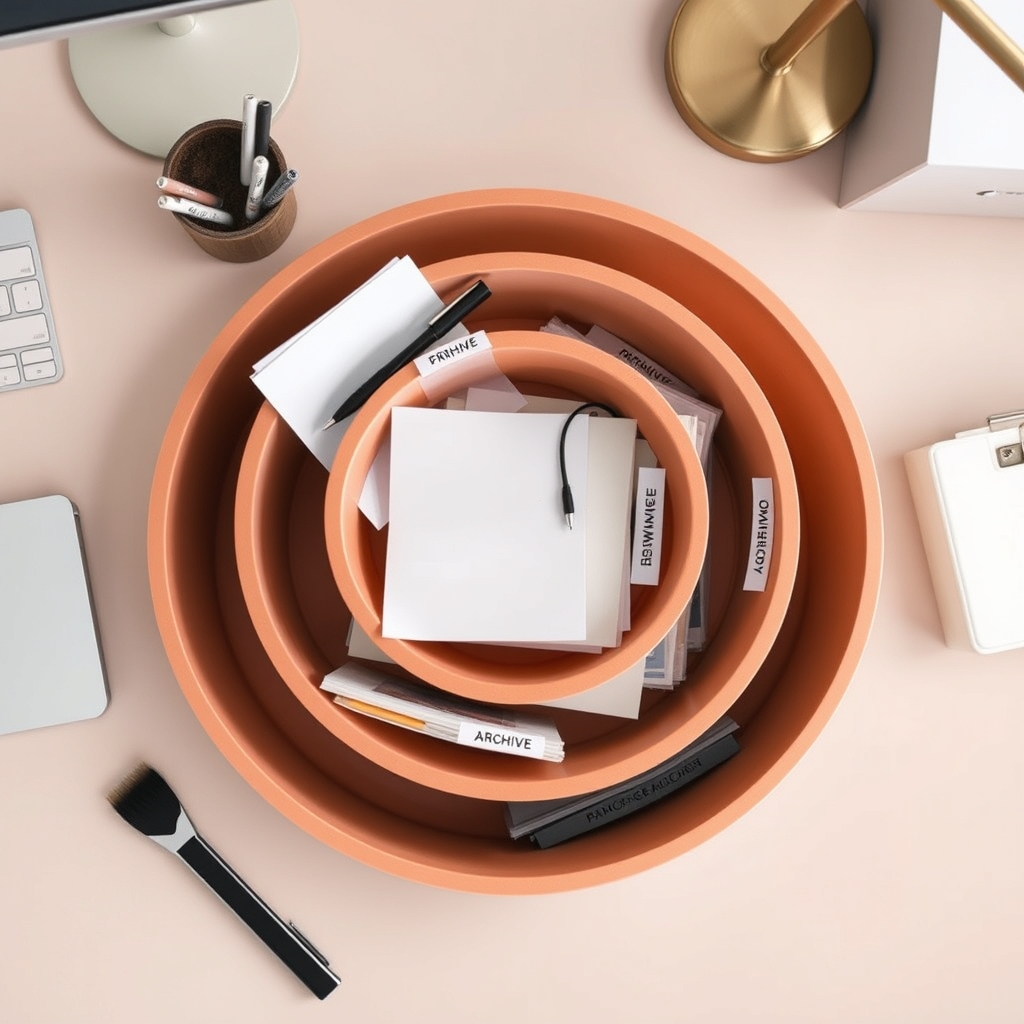
Three-zone storage system:
- Zone 1 (daily items): Pen holder, notepad, headphones, charger. Keep these within arm’s reach on your desk or in a small container on a shelf at eye level.
- Zone 2 (weekly or monthly items): Spare paper, files you check regularly, printer supplies. These go in drawers, on lower shelves, or in labeled bins within 3 feet of your desk.
- Zone 3 (archive or rare access): Tax documents, old project files, backup supplies. Store these in a filing cabinet, closet, or under-desk storage away from your immediate work zone.
By space size:
- Small corner setup (under 50 sq ft): One narrow shelf above or beside the desk, one small filing cabinet or storage box underneath. Use vertical space aggressively — wall-mounted shelves, pegboards, or magnetic strips for cables and small tools.
- Spare room setup (100+ sq ft): Shelving unit on one wall, a filing cabinet in a corner, and a small bookcase for reference materials. This gives you breathing room and prevents the feeling of being surrounded by work.
- Apartment setup (50–80 sq ft, shared room): A slim shelving unit behind or beside the desk, wall-mounted organizers, and a closed storage box that doubles as a side table. Use doors or curtains to hide clutter when you’re not working.
Labeling trick: Once everything has a home, label drawers and bins so you (or anyone else who borrows supplies) can return items to the right place. Takes 5 minutes and saves hours of searching later.
Step 7: Manage Cables and Cords
Visible cables create visual clutter and waste time untangling them. This step takes 15–30 minutes but pays off in reduced frustration.
- Trace each cable: Identify what plugs into what. Group cables by device (monitor, speakers, charger, router, etc.).
- Secure cables behind the desk: Use adhesive clips, cable sleeves, or zip ties to run cables along the back of the desk leg or the wall. Leave 1–2 inches of slack so you can move the desk if needed.
- Label cables at the plug end: Use small labels or colored tape so you know what each cord does. When something fails, you can unplug with confidence.
- Use a power strip with a switch positioned under the desk or on a cable hook. This lets you turn everything off at once when you leave.
- Hide the power strip: A small cable box or even a shoebox with holes cut in the sides keeps cords out of sight and organized.
In tight spaces, use adhesive-backed cable clips along the underside of the desk surface — they’re invisible but keep wires tidy.
Step 8: Test Your Setup for a Full Workday
Before you call it done, sit down and work for 2–4 hours. Note what feels off:
- Is your neck strained? Move the monitor higher or lower.
- Are your wrists sore after typing? Your keyboard is too high or too low.
- Is there a glare on the screen? Adjust the lamp angle or add a shade.
- Are you reaching for items constantly? Move them closer or reorganize zones.
- Do you feel anxious or drained? Lighting may be wrong, or the space feels too cluttered.
Small adjustments now prevent weeks of discomfort and resentment toward the space.
Common Mistakes to Avoid
Mistake 1: Buying a desk before measuring. Many people purchase a large desk that dominates the room and leaves no buffer zone. Measure first, then decide if an L-shaped desk, corner desk, or simple 48-inch table fits better.
Mistake 2: Putting the monitor too low or too far away. Your eye line should be at the top third of the screen. If you’re looking down or straining forward, you’ll develop headaches within days.
Mistake 3: Relying only on overhead lighting. Overhead light creates shadows on your desk and washes out your monitor. Always pair it with a task lamp.
Mistake 4: Ignoring the chair. You can survive a cheap desk, but a cheap chair will cause pain. Invest here.
Mistake 5: Overcomplicated storage. Bins, shelves, and organizers that require you to file things “correctly” often end up unused. Simple, visible storage (open shelves, clear containers) is more maintainable.
Layout Diagrams: By Space Size
Small Apartment Corner (50–60 sq ft)
┌─────────────────────────────────┐
│ Window                          │
├─────────────────────────────────┤
│                                 │
│   ┌─────┐                       │
│   │Shelf│ (wall-mounted)        │
│   └─────┘                       │
│     DESK                        │
│   ┌─────────┐                   │
│   │  Chair  │                   │
│   └─────────┘                   │
│     (filing box under desk)     │
│                                 │
└─────────────────────────────────┘
Setup notes: Desk perpendicular to window, single shelf above for storage, chair backed to door, small filing box slides under desk when not in use.
Spare Room (120+ sq ft)
┌──────────────────────────────────┐
│ Window                           │
├──────────────────────────────────┤
│   ┌──────────┐                   │
│   │ Shelving │                   │
│   │  unit    │                   │
│   └──────────┘                   │
│                                  │
│      DESK                        │
│     ┌──────┐                     │
│     │Chair │                     │
│     └──────┘                     │
│                                  │
│     ┌──────────────┐             │
│     │ Filing cab.  │ (corner)    │
│     └──────────────┘             │
│                                  │
└──────────────────────────────────┘
Setup notes: Shelving along one wall, desk perpendicular to window, filing cabinet in far corner, buffer space on opposite side of desk from shelving.
FAQ
Q: How much should I spend on a home office setup? A budget of $500–$1,200 gets you a solid desk ($150–$400), chair ($150–$300), lighting ($50–$150), and storage ($100–$300). You can start with less if you repurpose existing furniture and buy gradually, or spend more if you prefer premium materials or custom pieces. Prioritize the chair and lighting — these affect your comfort and health most directly.
Q: Can I use a standing desk to improve my health? A standing desk is not inherently better than sitting; the benefit comes from switching positions throughout the day. If you stand all day, you’ll develop lower-back and foot strain. Use a sit-stand desk or a fixed desk with good ergonomics, and take regular breaks (5 minutes every hour) to move around. In practice, standing for roughly 2–3 hours per day while rotating with seated work tends to feel better than staying locked in either position — though the right balance varies by person.
Q: What color should I paint the walls? Neutral, matte finishes (soft whites, pale grays, warm beiges) reduce glare and feel calm. Avoid glossy or bright-white paint, which reflects light harshly. If you like color, cooler tones (soft blues, greens) tend to feel more focused; warmer tones (warm grays, terracotta) feel cozier. Test paint samples in your space under both natural and artificial light before committing.
Q: How do I separate my work zone from the rest of my room? Use visual or physical boundaries: a room divider, curtain, shelving unit, or even a rug that defines the work zone. If you share a bedroom, a simple pull-down shade or sliding curtain behind the desk signals “work mode” and helps you mentally leave when the day ends. This is more important for focus and sleep quality than most people realize.
Q: Is a monitor arm worth it? Yes, especially in small spaces or if you use two monitors. A monitor arm frees up desk space, allows you to position the screen at the correct height without a bulky stand, and costs $30–$100. If you’re cramped for space, this is a better investment than an under-desk shelf.
Last checked: June 2026
Setting Up Your Office: Next Steps
You now have a functional home office. Over the next 2–3 weeks, notice what you’d change:
- If you find yourself reaching for items constantly, move them closer.
- If you’re tired by mid-afternoon, experiment with lighting adjustments.
- If your back or neck hurts after a few days, you likely need to raise or lower something — don’t ignore it.
Your workspace should feel like a tool that supports your work, not a constraint. Small adjustments beat major renovation, and the best office is the one you’ll actually use every day.