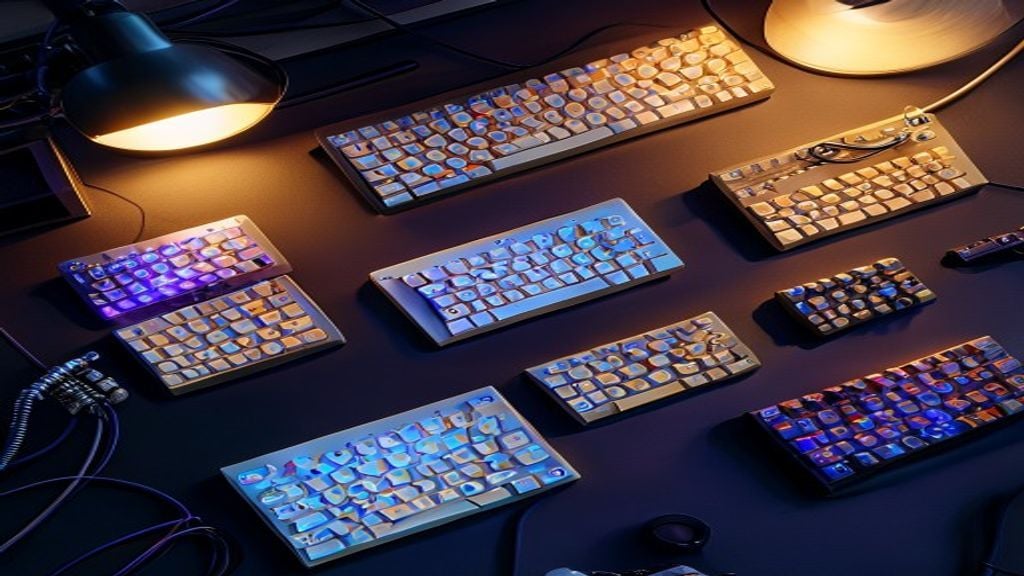

If you’ve browsed mechanical keyboard communities or build guides, you’ve probably hit a wall of unfamiliar terminology actuation force, stabilizers, cherry profile, hot-swap sockets. This glossary breaks down the essential terms you need to understand switch types, keyboard layouts, and the customization components that let you build or upgrade a keyboard to your exact specs.
How We Researched This Glossary
This glossary draws on industry-standard terminology from mechanical keyboard manufacturers (Cherry, Gateron, Omron), keyboard design conventions, and patterns observed across builder communities and retail specifications. We’ve defined 30+ terms using the language actually used by manufacturers and keyboard enthusiasts, with examples tied to real product categories and use cases. Last checked: July 2026.
Switch Types and Characteristics
Actuation Force
Actuation force is the amount of pressure (measured in grams) required to trigger a keystroke. Once you press a key down this far, the switch registers you don’t need to bottom out the switch completely.
In plain terms: Think of it as how hard you have to squeeze a trigger to fire a gun; you don’t pull all the way back, just far enough.
Why it matters to buyers: A heavier actuation force (say, 70g) reduces accidental key presses and is preferred by gamers who rest their fingers on the keyboard. A lighter actuation force (45g) reduces finger fatigue and appeals to typists who work long hours. Based on published switch specifications, mechanical keyboard switches typically range from 35g to 80g actuation force, depending on the switch type and intended use.
Related terms: Bottom-out force, travel distance, tactile bump, linear switches
Bottom-Out Force
Bottom-out force is the total pressure needed to fully depress a switch to its limit. This is heavier than actuation force because you’re pressing all the way down.
In plain terms: The full squeeze, not the trigger pull the point where the switch bottoms out against the keyboard plate.
Why it matters to buyers: If you’re a heavy typist or gamer, bottom-out force tells you how much impact your fingers will absorb on each keystroke. Higher bottom-out forces feel more resistant and can reduce fatigue for some users; lower forces feel more responsive and can reduce strain for others. Across published switch specifications, bottom-out force is typically 10–20g heavier than actuation force.
Related terms: Actuation force, travel distance, switch weight
Travel Distance
Travel distance is how far a key moves from its resting position to fully bottoming out, measured in millimeters. Most mechanical switches travel 3.5–4.0 mm; laptop keyboards typically travel around 1.5 mm.
In plain terms: The depth of the keypress how much the key moves when you hit it.
Why it matters to buyers: Longer travel (4.0 mm) gives a more deliberate, tactile typing feel and can reduce typos. Shorter travel (3.5 mm) speeds up keystroke repetition and appeals to fast typists and competitive gamers. You’ll feel the difference immediately if you switch between those two ends of the range. Per published specifications from major switch manufacturers, travel distance is one of the first specs listed and directly affects how a keyboard feels.
Related terms: Actuation force, switch profile, linear switches, tactile switches
Linear Switches
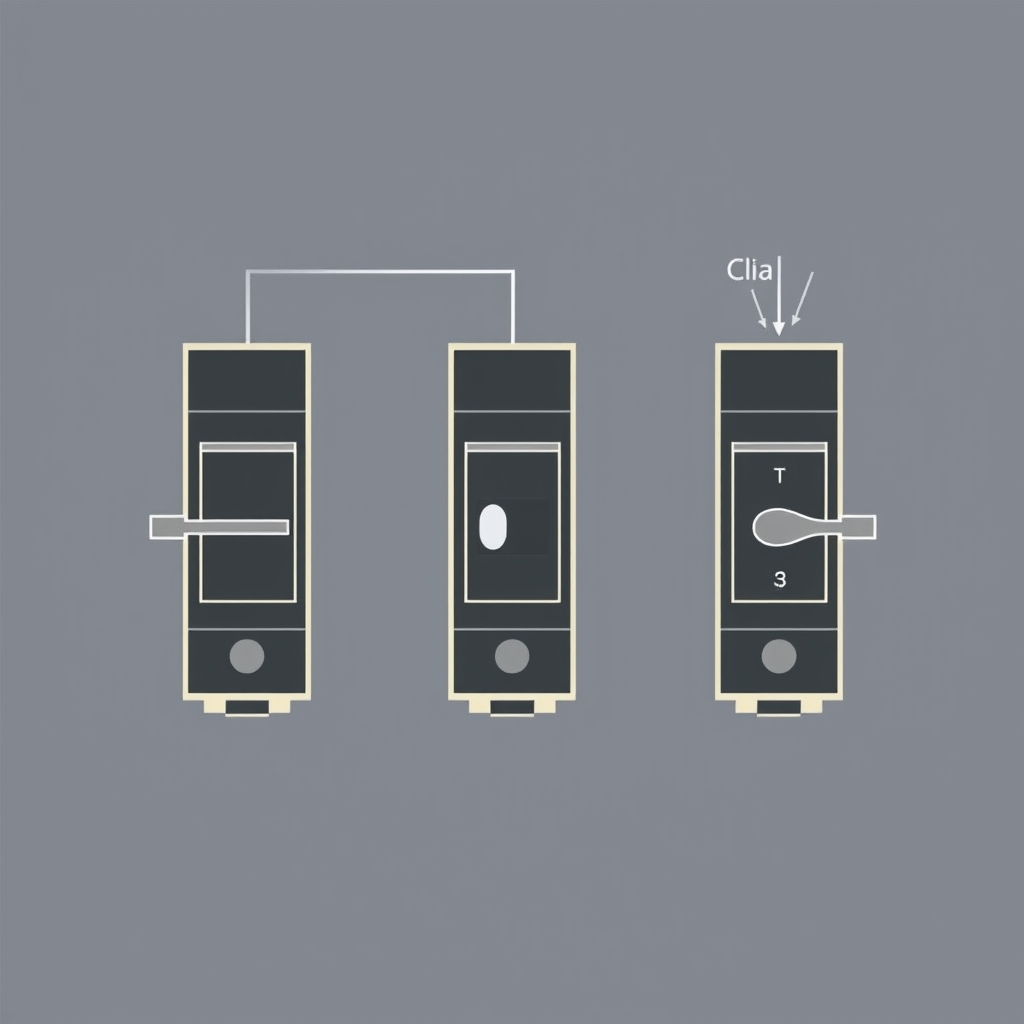
Linear switches move smoothly from top to bottom with no tactile bump or audible click the keystroke is a straight, uninterrupted line. Examples include Cherry MX Red and Gateron Yellow.
In plain terms: Like sliding a door on a well-oiled track; no resistance, just smooth travel.
Why it matters to buyers: Linear switches are fastest for rapid keystrokes (gaming, fast typing) and produce the least noise, making them ideal for shared spaces. The downside is no tactile feedback you can’t feel when a keystroke registers, only hear it. Gamers favor linear switches for competitive FPS and fighting games; office workers often dislike them because the smoothness makes accidental key presses more common.
Related terms: Tactile switches, clicky switches, actuation force, sound profile
Tactile Switches
Tactile switches have a physical bump in the middle of the keystroke that you can feel, but they do not make an audible click. Cherry MX Brown and Gateron Brown are the classic tactile switches.
In plain terms: Like a slightly bumpy road you feel a little jolt when you hit the bump, but no loud sound.
Why it matters to buyers: Tactile switches give you feedback (you feel when you’ve actuated the key) without the noise of clicky switches. They’re the middle ground: quieter than clicky switches, more feedback than linear switches. Typists who want to minimize noise without sacrificing feel often choose tactile switches. They’re also popular among coders and writers who spend long sessions at the keyboard.
Related terms: Linear switches, clicky switches, tactile bump, sound profile
Clicky Switches
Clicky switches combine a tactile bump with an audible mechanical click sound when the switch actuates. Cherry MX Blue and Kailh Box White are well-known clicky switches.
In plain terms: A physical bump and a loud “click” sound, like an old typewriter key.
Why it matters to buyers: Clicky switches are the loudest and most tactile great for typists who love the feedback and the sound (and who don’t share a desk). They’re a poor fit for shared offices or late-night typing. Based on owner reports in keyboard communities, clicky switches earn enthusiastic endorsements from writers and journalists but consistent complaints from office workers and anyone with a cohabiting partner.
Related terms: Tactile switches, linear switches, tactile bump, sound profile, noise level
Cherry MX
Cherry MX is the original mechanical switch design, manufactured by Cherry (a German company) since 1985, and the de facto standard for switch compatibility in the mechanical keyboard industry. Cherry MX switches come in several varieties: Red (linear), Brown (tactile), and Blue (clicky) are the most common.
In plain terms: The baseline switch that all other switches are compared to like a reference platform everyone else designs around.
Why it matters to buyers: If a keyboard says “Cherry MX compatible,” it means the switch stem uses Cherry’s standardized cross-shaped design, so you can swap in third-party stabilizers, keycaps, and switches from other manufacturers. Cherry MX switches are more expensive than clones (Gateron, Kailh), but they’re reliable and widely available. Understanding Cherry MX terminology helps you shop across brands.
Related terms: Gateron, Kailh, switch stem, hot-swap sockets, stabilizers
Tactile Bump
A tactile bump is a physical resistance or protrusion inside a tactile or clicky switch that your finger can feel when pressing the key. The bump occurs mid-travel, at the actuation point.
In plain terms: A small notch or hump you feel when pressing down, like the difference between a smooth slide and a slide with a small bump on it.
Why it matters to buyers: The size and shape of the tactile bump determine how pronounced the feedback feels. A subtle bump (Gateron Brown) feels smooth and refined; a sharp bump (Holy Panda) feels pronounced and aggressive. If you type for 8+ hours a day, a well-tuned tactile bump can reduce finger strain by giving you positive confirmation that each key was pressed, so you don’t accidentally press harder.
Related terms: Tactile switches, clicky switches, sound profile, travel distance
Switch Stem
A switch stem is the vertical post inside a mechanical switch that rises and falls with each keystroke, activating the electrical contact and registering the key press. Cherry MX stems are cross-shaped; other designs vary.
In plain terms: The pushbutton part that moves up and down like the rod inside a pen you click to write.
Why it matters to buyers: The switch stem determines which keycaps and stabilizer components are compatible. A Cherry MX cross-stem is compatible with almost all third-party keycaps and components, giving you the most customization options. Proprietary stem designs (like Logitech’s on some models) lock you into manufacturer-approved parts. If customization is a goal, Cherry-stem-compatible switches and keyboards are your safest bet.
Related terms: Hot-swap sockets, keycaps, stabilizers, Cherry MX
Hot-Swap Sockets
Hot-swap sockets are small connector slots on the keyboard PCB (circuit board) that let you remove and insert switches without soldering switches simply click in and out. Most modern custom keyboards use hot-swap sockets; older, cheaper, or gaming-focused boards are usually soldered.
In plain terms: Instead of solder, the switches just snap in like LEGO blocks.
Why it matters to buyers: Hot-swap sockets are the single biggest factor that makes a keyboard “customizable.” Without them, you’d need a soldering iron to change switches, which requires skill and time. With hot-swap, you can swap your entire switch set in minutes. If you think you might want to experiment with different switches or sell your keyboard later, a hot-swap board is worth the extra cost.
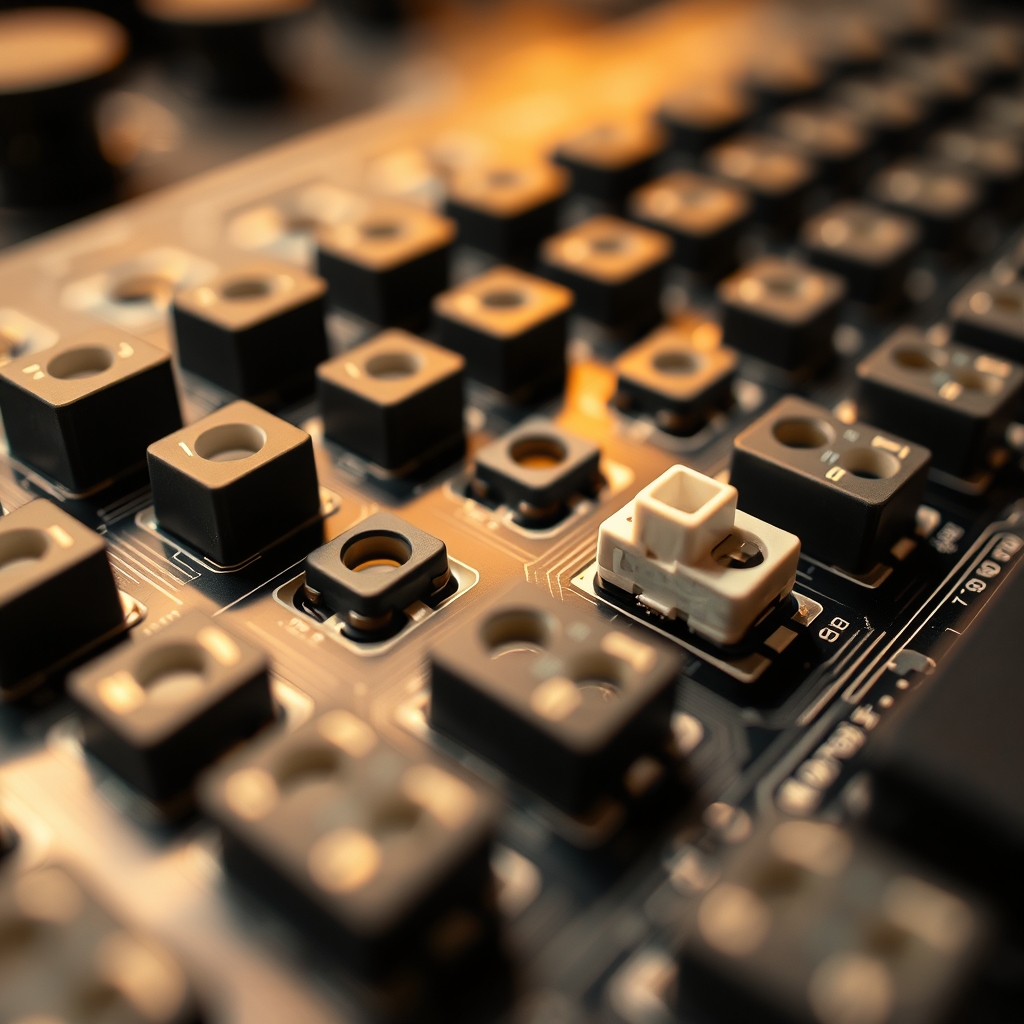
Related terms: Stabilizers, PCB, keyboard layout, switch stem
Stabilizers
Stabilizers are additional components mounted on the PCB that support wider keys (spacebar, shift, enter) and prevent them from tilting or getting stuck. They come in several types: plate-mounted, PCB-mounted, and screw-in.
In plain terms: Scaffolding that keeps long keys from wobbling or tilting when you press one side of the key.
Why it matters to buyers: Cheap stabilizers rattle, stick, and make wide keys feel spongy. High-quality stabilizers (like GMK or Durock) feel smooth and tight. If you want to upgrade a keyboard, replacing stabilizers is often the highest-impact change per dollar. Screw-in stabilizers are removable and can be lubricated and adjusted, making them the best option for customization.
Related terms: PCB, switch stem, lube, case, keycaps
Keyboard Layouts
Full-Size (100%)
A full-size keyboard includes all standard keys: letters, numbers, function keys, arrow keys, a separate numpad on the right, and dedicated media controls. It’s 104–108 keys total.
In plain terms: The layout of a traditional office keyboard everything you’d find on a 1990s desktop keyboard.
Why it matters to buyers: Full-size keyboards are best if you do data entry, spreadsheet work, or need arrow keys and media controls within arm’s reach. They take up the most desk space and can feel oversized for gaming or travel. If you use a numpad regularly, losing it (as in smaller layouts) is painful; if you never touch it, it’s wasted real estate.
Related terms: TKL, 75%, 60%, compact, keycap set compatibility
Tenkeyless (TKL or 87-key)
A tenkeyless keyboard removes the numpad (number pad) but keeps function keys, arrow keys, and all alphanumeric keys. It typically has 87 keys.
In plain terms: A full-size keyboard with the numpad chopped off popular in competitive gaming and office use.
Why it matters to buyers: TKL keyboards are the sweet spot for most users: compact enough to fit on a gaming desk or in a backpack, but with all the keys you actually use daily. Arrow keys and function keys stay at full size. If you don’t use the numpad and want to save desk space, TKL is the default recommendation.
Related terms: Full-size, 75%, 60%, compact, arrow keys
75% Layout
A 75% keyboard compresses the function row, arrow keys, and navigation keys into a single column, eliminating gaps between key clusters. It typically has 84 keys and takes up slightly less space than TKL.
In plain terms: A TKL keyboard with all the gaps squeezed out, so everything is packed closer together.
Why it matters to buyers: 75% layouts look sleek and space-efficient without sacrificing core functionality. They’re popular in the custom keyboard community because they hit a balance between compact and usable. The trade-off: keys are closer together, which can increase the learning curve if you’re used to full-size or TKL spacing. 75% keycap sets are less common than full-size or TKL, so customization options are slightly more limited.
Related terms: 60%, TKL, compact, keycap compatibility, row 1 keys
60% Layout
A 60% keyboard removes function keys (F1–F12), arrow keys, and navigation keys, keeping only the letters, numbers, and basic modifiers. It typically has 60–61 keys.
In plain terms: A keyboard with just the essentials like a laptop keyboard, but mechanical.
Why it matters to buyers: 60% keyboards are the smallest layouts that still feel “normal” to type on. They’re ideal for travel, streaming setups, and gaming. The trade-off is significant: you lose arrow keys and function keys, so you have to use keyboard layers (holding a modifier key and pressing another key to access missing functions). If you rely on arrow keys or F-keys, 60% will frustrate you. If you’re willing to learn layers, 60% is compact and highly customizable.
Related terms: Layers, 75%, compact, keycap sets, function keys
Keycap Set Compatibility
Keycap set compatibility refers to whether a set of keycaps will fit the switches and key sizes in your specific keyboard layout. Different layouts need different key counts and profiles.
In plain terms: The keycaps you buy for a 60% keyboard won’t cover a full-size keyboard because there are different numbers and sizes of keys.
Why it matters to buyers: Before buying a keycap set, verify it includes the keys for your layout. A “full-size set” includes the numpad; a “TKL set” does not. A “60% set” is much smaller. Mixing keycaps from different sets requires research because key profiles, row heights, and compatibility vary.
Related terms: Keycap profile, row, full-size, TKL, 75%, 60%
Keycaps and Aesthetics
Keycap
A keycap is the removable plastic or resin cover that sits on top of a switch stem, displaying the character or symbol you’re typing. It’s the visible, functional top of each key.
In plain terms: The plastic cap you see on a keyboard key the part with the letter, number, or symbol printed or molded on it.
Why it matters to buyers: Keycaps are the easiest way to customize a keyboard’s look and feel. They come in hundreds of materials, profiles, printing styles, and color schemes. Budget keycaps (thin ABS plastic) sound hollow and wear down faster than premium keycaps (PBT plastic, double-shot or dye-sublimated), which feel denser and last considerably longer. Swapping keycaps doesn’t require soldering and takes minutes, making it the entry point for keyboard customization.
Related terms: Keycap profile, profile height, Cherry profile, SA profile, MT3 profile
Keycap Profile
A keycap profile is the shape and height of keycaps across the keyboard rows, affecting how the keys feel and look. Common profiles include Cherry, OEM, SA, MT3, and DSA.
In plain terms: The slope and height of the keys like the difference between a flat keyboard and one with graduated heights.
Why it matters to buyers: Different profiles have different ergonomics and aesthetics. Cherry profile (low, sculpted) feels familiar and looks sleek. OEM profile (taller, sculpted) is the default on most keyboards. SA profile (very tall, sculpted) is dramatic and appealing but can feel awkward if you’re used to lower profiles. Trying a new profile is a good way to experiment with comfort; if you hate it, keycaps are easy to swap.
Related terms: Keycap, row, sculpted, spherical, DSA, Cherry MX
Double-Shot Keycaps
Double-shot keycaps are made by injection-molding two layers of plastic (one for the key body, one for the legends/characters) together, so the lettering never wears off. The legends are literally a different color plastic inside the cap.
In plain terms: Two pieces of plastic fused together like a sandwich, where the top layer is the letter and the bottom is the key color.
Why it matters to buyers: Double-shot keycaps are more durable than printed keycaps; the lettering doesn’t fade from heavy use. They’re also more expensive. If you plan to use a keyboard for several years and want legends to stay sharp, double-shot is worth the upgrade. Most premium keycap sets use double-shot; budget sets use printing or dye-sublimation.
Related terms: Dye-sublimated keycaps, printed keycaps, ABS, PBT, legends
Dye-Sublimated Keycaps
Dye-sublimated keycaps use heat and ink vapor to permanently stain the plastic, embedding legends and colors into the surface so they won’t peel or fade. Unlike printing, the dye is absorbed into the plastic itself.
In plain terms: Like dyeing a t-shirt the ink is baked into the plastic itself, not painted on top.
Why it matters to buyers: Dye-sublimation sits between printing and double-shot in terms of durability and cost. It’s typically less expensive than double-shot but more durable than simple printing. Dye-subbed keycaps can achieve vibrant colors and complex artwork (like detailed illustrated scenes) that double-shot molding can’t replicate. If you want durability, artistic designs, and reasonable cost, dye-sublimated keycaps are a solid middle-ground choice. The limitation: achieving very light legends on dark PBT plastic is difficult with this process.
Related terms: Double-shot keycaps, printed keycaps, legends, keycap material
Cherry Profile
Cherry profile is a low, gently sculpted keycap shape where each row slopes slightly down toward the spacebar, designed to follow the natural curve of your fingers. It’s one of the most widely available keycap profiles.
In plain terms: Keys that slope gradually, like steps going down toward your thumbs.
Why it matters to buyers: Cherry profile is familiar to most typists because it’s the default on many Cherry keyboards. It’s low enough to feel comfortable for fast typing and high enough to provide good feedback. If you’re new to custom keycaps, Cherry profile is a safe first choice it won’t feel alien or awkward. Most keycap sets come in Cherry profile or OEM profile.
Related terms: Keycap profile, OEM profile, SA profile, DSA profile, row
OEM Profile
OEM profile is a taller, sculpted keycap shape that’s the de facto standard on most original-equipment-manufacturer keyboards worldwide. Rows are more steeply angled than Cherry profile.
In plain terms: A taller, more dramatic slope like a theater balcony that steps down more steeply.
Why it matters to buyers: OEM profile is what most people are familiar with from retail keyboards. It provides good ergonomics for long typing sessions and a familiar feel. Many keycap sets default to OEM profile. If you’ve never tried custom keycaps, OEM profile is the safest choice for a smooth transition. The trade-off: OEM is taller than Cherry, so if you prefer a flatter keyboard, you might find it awkward.
Related terms: Keycap profile, Cherry profile, SA profile, row
SA Profile
SA profile is a tall, rounded, spherical keycap shape inspired by vintage typewriter keys, with a pronounced curve and significant height variation between rows. Each row is dramatically different in height.
In plain terms: Tall keys with a rounded, typewriter-like feel very distinctive and retro-looking.
Why it matters to buyers: SA profile has strong aesthetic appeal and is beloved by keyboard enthusiasts who want a vintage, artisanal feel. The trade-off is ergonomics: the high profile can cause wrist strain if you’re not using a wrist rest, and the steep row variation can feel awkward during the transition. SA keycaps are also often produced in limited group buys, making them more expensive and harder to find than Cherry or OEM sets. If you love the look and are willing to adjust your hand position, SA is rewarding.
Related terms: Keycap profile, Cherry profile, sculpted, spherical, vintage
Customization and Build Terms
Stabilizer Lube (Lube)
Stabilizer lube is a silicone or plastic-safe lubricant applied to stabilizer components (bars, housing, wire) to reduce friction, eliminate rattling, and create a smoother, quieter keypress. Common lubes include Krytox, Tribosys, and 3204.
In plain terms: Grease for your stabilizers reduces squeaking and rattling, like oiling a door hinge.
Why it matters to buyers: Lubed stabilizers feel dramatically smoother and quieter than dry stabilizers straight from the factory. Based on community reports, lubing stabilizers typically costs under $30 in materials and takes around 30 minutes, but the quality-of-life improvement rivals swapping switches entirely. Apply a thin, even coat to each stabilizer bar and housing, wipe off excess, and let it dry before assembly. Overdoing it will make keys feel sluggish.
Related terms: Stabilizers, switch lube, case lube, dampening
Switch Lube
Switch lube is a silicone lubricant applied inside a mechanical switch (on the stem, rails, and housing) to reduce friction and create a smoother, quieter keystroke. Lubed switches feel noticeably smoother and sound deeper.
In plain terms: Grease inside the switch reduces the scratchy feeling and sound you get with a dry switch.
Why it matters to buyers: Lubing switches is the most time-intensive keyboard customization but also one of the most transformative. A linear switch that feels rough and scratchy becomes noticeably smoother after lubing. Most enthusiasts lube their own switches to save money versus buying pre-lubed switches. If you’re building a custom keyboard from scratch, factor in the time commitment lubing a full set of switches by hand takes patience. The payoff in feel and sound is real.
Related terms: Stabilizer lube, switch smoothness, linear switches, sound profile
PCB (Printed Circuit Board)
A PCB is the circuit board that sits underneath the switches and registers keypresses by detecting when switch contacts close. Most modern keyboard PCBs are programmable via USB and can be customized with firmware.
In plain terms: The “brain” of the keyboard the circuit board that detects when you press a key and tells your computer.
Why it matters to buyers: A high-quality PCB supports hot-swap sockets (easy switch swapping) and programmable features like remapping keys or creating custom layers. Cheaper boards have soldered switches and limited customization. If you want a customizable keyboard, a PCB with hot-swap support and programmable firmware is essential.
Related terms: Hot-swap sockets, firmware, stabilizers, case, layout
Case
A keyboard case is the plastic or aluminum housing that holds the PCB, stabilizers, and switches together, forming the physical structure of the keyboard. Cases come in various materials, thicknesses, and acoustic properties.
In plain terms: The box that holds all the keyboard’s internal parts like the chassis of a car.
Why it matters to buyers: Case material significantly affects how a keyboard sounds and feels. Aluminum cases are rigid and produce a deeper, more resonant sound. Plastic cases are lighter and cheaper but can sound hollow or plasticky. A 2-piece case (top and bottom) is easiest to assemble; a gasket-mounted case is more complex but offers better acoustic tuning. If you’re building a custom keyboard, the case is one of your biggest aesthetic and sonic choices.
Related terms: Case material, gasket mount, PCB, stabilizers, acoustic dampening
Gasket Mount
A gasket-mounted keyboard uses strips of silicone or rubber between the PCB and case, allowing the board to flex slightly with each keypress, reducing rigidity and creating a softer, more bouncy feel. Gasket mounting is an alternative to rigid top-mount and more compliant than a floating mount.
In plain terms: Springy strips between the PCB and case that absorb shock, like a car suspension.
Why it matters to buyers: Gasket mounting is popular in high-end custom keyboards because it creates a distinctive, smooth, bouncy keystroke feel. The downside: more complex assembly and higher cost. If you like a “mushy” or “floaty” keystroke feel, gasket mounting delivers. If you prefer a crisp, direct feel, rigid mounting is better.
Related terms: Top-mount, floating mount, PCB, case, acoustics
Firmware
Firmware is the software that runs on a keyboard’s PCB, controlling how keys are mapped, how layers work, and how programmable features (like macros or RGB lighting) behave. Common firmware platforms include QMK and VIA.
In plain terms: The “operating system” of your keyboard code that tells the keyboard what each key does.
Why it matters to buyers: Programmable firmware lets you remap keys, create custom layers (a second or third “sheet” of key functions), and set up macros (sequences of key presses). QMK is open-source and powerful but requires some comfort with configuration files; VIA is a graphical alternative that’s easier for non-programmers. If you want to customize your keyboard beyond buying new switches and keycaps, understanding firmware is essential.
Related terms: QMK, VIA, layers, macros, PCB
Layers
Layers are alternate key mappings on a programmable keyboard; pressing a layer key (like a modifier) temporarily changes what all other keys do, letting a 60% keyboard access arrow keys or function keys without physical keys. A keyboard can have multiple layers depending on its firmware.
In plain terms: Like switching worksheets in a spreadsheet same keyboard, but different functions on each “layer.”
Why it matters to buyers: Layers are how 60% and compact keyboards stay functional without physical arrow keys. By holding a layer key (often called a “Lower” or “Raise” key) and pressing another key, you access a secondary function. Layers take time to learn but are powerful for customization. If you’re considering a compact layout, understanding layers is crucial.
Related terms: Firmware, macros, QMK, VIA, 60% layout
Macro
A macro is a single keypress that triggers a pre-programmed sequence of multiple keypresses or commands. For example, a macro could type a frequent phrase, launch an application, or execute a game combo.
In plain terms: One key that does the work of ten like a shortcut that plays back a recorded sequence.
Why it matters to buyers: Macros are useful for gaming (execute complex combos with one press), content creation (insert boilerplate text), and productivity (trigger copy-paste sequences). Most programmable keyboards support macros via firmware like QMK or manufacturer software. If you use the same keystroke sequences repeatedly, macros can save time and reduce repetitive strain.
Related terms: Firmware, layers, QMK, VIA, programmable
RGB Lighting (or Just RGB)
RGB lighting is red-green-blue LED backlighting or underglow on a keyboard, allowing millions of color combinations and dynamic lighting effects. Controlled via firmware or proprietary software.
In plain terms: Fancy colored lights inside your keyboard you can make them different colors and animate them.
Why it matters to buyers: RGB lighting is purely aesthetic and doesn’t affect typing performance. Budget keyboards sometimes use RGB to justify higher prices; premium keyboards often skip it to keep costs and complexity down. If you stream, record videos, or just enjoy the aesthetics, RGB is a nice-to-have. If you’re prioritizing typing quality and build simplicity, RGB is a distraction.
Related terms: Backlighting, underglow, firmware, aesthetics
Mount Type (Top-Mount, Bot-Mount, Gasket, Floating)
Mount type describes how the PCB is attached to the case rigid (top-mount), fixed-bottom (bot-mount), springy (gasket), or partially floating. Different mounts produce different typing feels and acoustics.
In plain terms: How the circuit board is held inside the case bolted in, floating on strips, or somewhere in between.
Why it matters to buyers: Top-mount is the most common and most rigid, producing a crisp typing feel. Gasket mounting is popular in customs for a bouncier feel. Floating mounts offer a middle ground. Beginners often don’t notice the difference, but enthusiasts have strong preferences. If you’re building your first custom, top-mount is a safe starting point; if you want to experiment with feel, gasket mounting is the natural next step.
Related terms: Gasket mount, case, PCB, acoustics, typing feel
Keyboard Building and Maintenance
Typing Feel
Typing feel describes the subjective sensation of pressing keys how smooth, tactile, bouncy, or crisp the keystroke feels. It’s influenced by switch type, lube, case, PCB mounting, and stabilizers.
In plain terms: How good it feels to type on a keyboard like how different cars feel to drive.
Why it matters to buyers: Typing feel is highly subjective and personal. Some people love a smooth, linear feel; others want pronounced tactile feedback. Building a custom keyboard is partly about chasing your ideal typing feel. Testing switches in-store or borrowing from friends before committing to a full set is worthwhile; based on owner reports, most people are happiest when their typing feel matches their use case (gaming vs. typing vs. coding).
Related terms: Linear switches, tactile switches, lube, case, gasket mount, acoustics
Sound Profile (or Acoustics)
Sound profile refers to the overall acoustic signature of a keyboard the pitch, volume, and character of the typing sound. Influenced by switch type, keycap material, case material, and lube.
In plain terms: What your keyboard sounds like low and deep, high and clicky, soft and muted, and so on.
Why it matters to buyers: Some people love a loud, crisp clicky sound; others want a quiet, muted typing experience. Clicky switches are loud; linear switches can be muted or thock-y depending on keycap material. Aluminum cases produce deeper sounds; plastic cases can be more resonant. Customizing a keyboard’s sound is part of the appeal. Trying different switch types, keycap materials, and cases will let you dial in your ideal sound.
Related terms: Clicky switches, linear switches, tactile switches, keycap material, case material
Thock (or Thocc)
“Thock” is enthusiast slang for a deep, satisfying, resonant keystroke sound the acoustic holy grail for keyboard hobbyists. A high-quality linear switch in an aluminum case with premium PBT keycaps is often described as “thock-y.”
In plain terms: A deep, pleasant sound when you type more satisfying than a thin “tap.”
Why it matters to buyers: Enthusiasts spend real money chasing a specific acoustic profile, and “thock” is the most sought-after. Aluminum cases, lubed linear switches, and PBT keycaps all contribute to a thock-y sound. It’s purely aesthetic, but if you’re drawn to the craft of mechanical keyboards, understanding sound is part of the hobby.
Related terms: Sound profile, linear switches, aluminum case, PBT keycaps, acoustics
Stabilizer Rattle
Stabilizer rattle is an undesirable rattling or metallic noise that occurs when a stabilizer is loose, dry, or poorly built. Common on keyboards with low-quality stabilizers.
In plain terms: A subtle “jiggle” sound from the spacebar or shift when you press it annoying and a sign of poor stabilizer quality.
Why it matters to buyers: Rattle is one of the first things to address when improving a keyboard’s sound profile. Lubing stabilizers, upgrading to screw-in stabilizers, or adding foam to the case are all common fixes. If a keyboard has obvious stabilizer rattle out of the box, it’s a red flag that other components may be similarly low-quality.
Related terms: Stabilizers, stabilizer lube, screw-in stabilizers, acoustics, sound profile
Keycap Wear
Keycap wear is the degradation of keycaps over time legends fading, shine marks from finger oils, and plastic thinning from heavy use. Budget keycaps (ABS plastic) show wear faster than premium keycaps (PBT, double-shot).
In plain terms: Your keys getting shiny and worn, like the WASD keys on a heavily used gaming keyboard.
Why it matters to buyers: If you type intensively every day, investing in durable keycaps (PBT double-shot or dye-sublimated) is worthwhile over a multi-year horizon. Based on owner reports in keyboard communities, thin ABS keycaps often feel sticky and look visibly worn within a year of heavy use, while quality PBT keycaps hold up considerably longer. If you’re building a custom keyboard you plan to keep long-term, premium keycaps are a sensible upgrade.
Related terms: PBT keycaps, ABS keycaps, double-shot keycaps, dye-sublimated keycaps, legends
PBT vs. ABS
PBT (polybutylene terephthalate) is a durable, textured plastic that resists wear and shine; ABS (acrylonitrile butadiene styrene) is cheaper and smoother but yellows and wears faster. Most premium keycaps are PBT; most budget keycaps are ABS.
In plain terms: PBT is high-quality plastic that lasts; ABS is cheaper plastic that wears.
Why it matters to buyers: PBT keycaps cost more than ABS but last longer community consensus puts the durability gap at roughly 2–3x, though that varies by use. PBT also has a slightly textured, matte feel; ABS is glossier and smoother. If you’re investing in a custom keyboard, PBT is worth the upgrade. The one genuine downside: PBT plastic is harder to dye-sublimate in certain colors, so PBT sets can be more limited in color options than ABS.
Related terms: ABS keycaps, keycap durability, double-shot keycaps, dye-sublimated keycaps
Case Foam
Case foam is acoustic dampening material (usually polyurethane or EVA foam) placed between the case and PCB to absorb sound and reduce case resonance. Sometimes called “case tape,” though foam and tape are technically different materials with different effects.
In plain terms: Squishy foam inside the keyboard case that absorbs sound, like soundproofing insulation in a recording booth.
Why it matters to buyers: Case foam is one of the cheapest and most accessible ways to improve a keyboard’s sound profile. It muffles hollow or pingy tones and can push a plastic case closer to the deeper sound of an aluminum one. The trade-off: too much foam can make keystrokes feel dead and muted rather than satisfying. Most enthusiasts start with a thin layer and adjust from there. If your keyboard sounds hollow or echoey, case foam is a logical first fix.
Related terms: Acoustics, sound profile, PCB, case, dampening