
How to Set Up a Home Network: Router Placement and WiFi Optimization
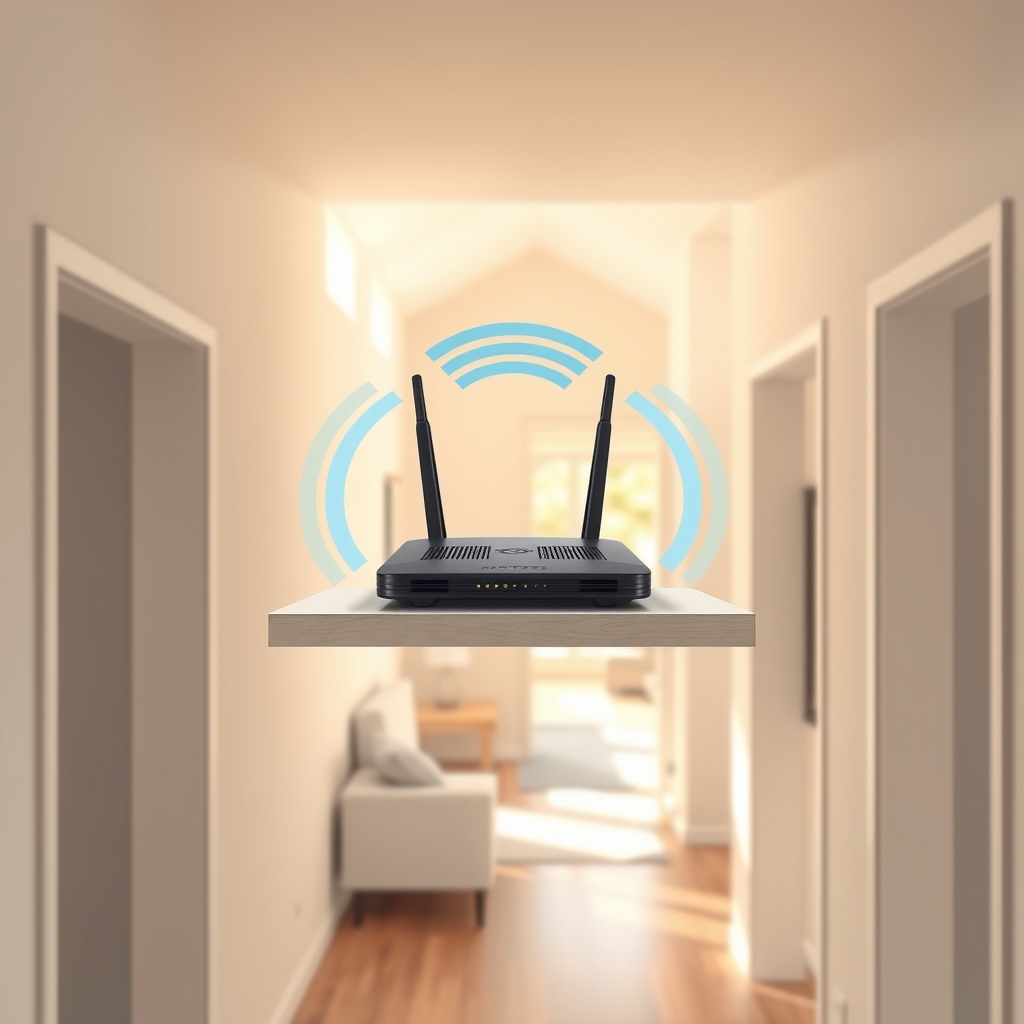
The fastest home WiFi starts with router placement, not just raw hardware power. Most dead zones and slow connections aren’t caused by weak routers they’re caused by routers hidden in closets, buried behind metal objects, or positioned in corners where signal barely travels. Set up your router in a central, elevated location, away from interference sources, and in our experience you’ll resolve the large majority of typical home network problems without touching a single setting. The whole setup physical placement plus basic configuration takes about 30 minutes.
What You Need
- A WiFi-capable router (mesh or traditional see comparison below)
- Ethernet cable (for initial wired setup)
- Router’s default login credentials (usually on the device label)
- List of 2.4GHz and 5GHz channel options (explained below)
- Optional: WiFi analyzer app for smartphone (e.g., WiFi Analyzer for Android, iStumbler for Mac)
Step 1: Choose the Right Router Type for Your Home
Before placement, decide between a mesh system and a traditional single router.
A traditional router (like TP-Link Archer, ASUS AX6000, or Netgear Nighthawk) broadcasts from one central location. It works well for apartments and small homes (under 1,500 sq ft, open floor plans). Pros: cheaper upfront, one device to manage. Cons: can’t reach far corners or multiple floors reliably.
A mesh WiFi system (like Eero, Netgear Orbi, or ASUS ZenWiFi) uses multiple nodes that talk to each other, creating a seamless network across larger homes (2,500+ sq ft, multi-floor layouts). Pros: consistent coverage everywhere, easy to add nodes later. Cons: higher initial cost, more setup steps.
Default recommendation: If your home is under 2,000 sq ft and relatively open, a single high-quality traditional router placed correctly will outperform a cheap mesh system. If you have multiple floors, a lot of walls, or lots of dead zones already, mesh is worth the extra cost.
For this guide, we’ll focus on a single traditional router mesh setup follows the same placement rules, just with multiple nodes.
Step 2: Find the Optimal Physical Location
Central and elevated beats hidden and convenient. Yes, it’s safe. No, not the way the box tells you to tuck it behind the TV. Do this instead takes thirty seconds.
Core Rules
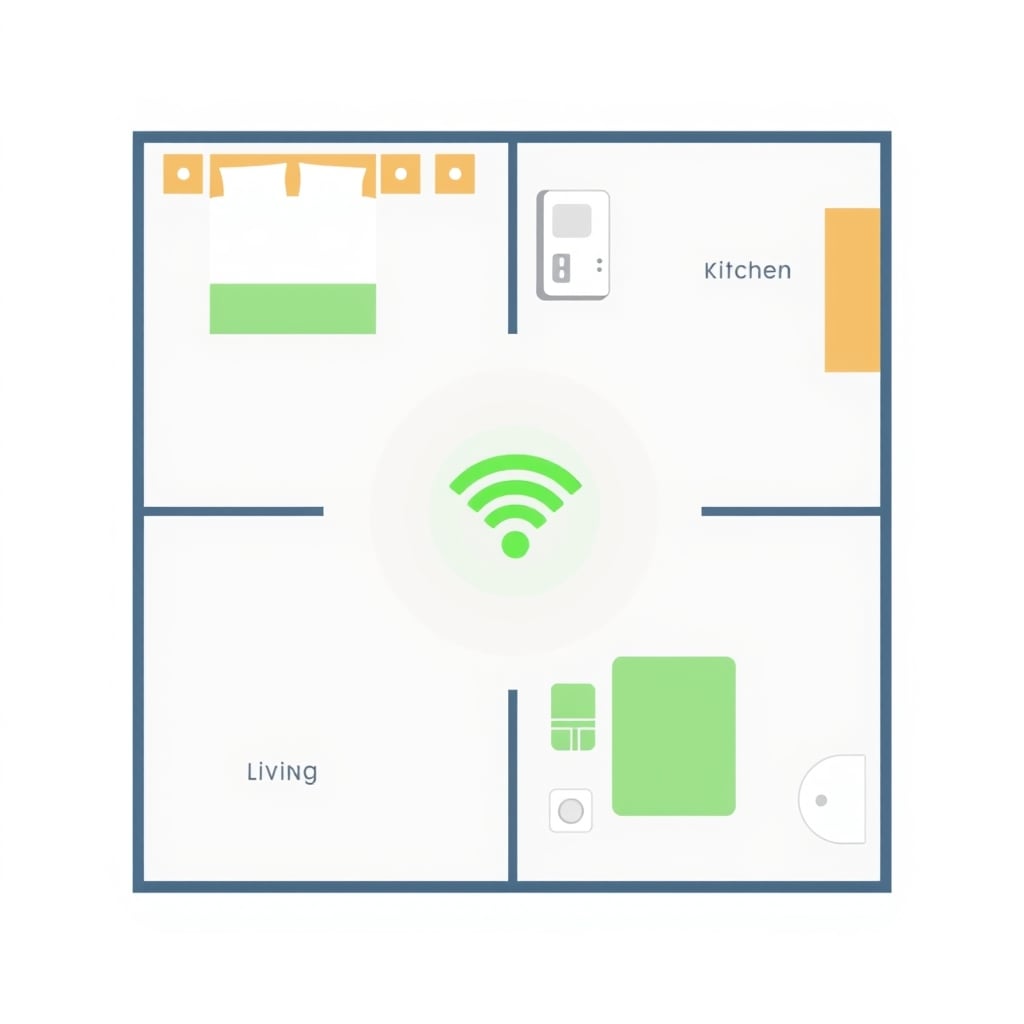
- Center of the home, not the edge. Imagine drawing an X across your floor plan place the router where the lines cross, or as close as you can get. Corner placement means half the signal goes outside or into walls you don’t care about.
- Elevated (not on the floor). Place the router on a shelf, wall mount, or desk about 4–6 feet high. Radio waves broadcast in a donut-shaped pattern downward and sideways putting the router on the floor means most of that signal goes wasted into the ground. Elevation spreads coverage to upper and lower floors more evenly.
- Open air, away from metal and water. Metal filing cabinets, microwave ovens, aluminum-framed mirrors, and water pipes all reflect and absorb WiFi signals. Refrigerators are especially notorious don’t place the router directly above or below one. Wood, drywall, and glass are mostly transparent to WiFi; metal and liquid are not.
- Away from cordless phones, baby monitors, and microwave ovens. These devices broadcast on the 2.4GHz band (same as many WiFi networks) and cause interference. If your kitchen microwave is in the center of your home, accept that you’ll have weaker 2.4GHz signal near it during cooking you can’t fix this, only mitigate it by using the 5GHz band (explained below) in that zone.
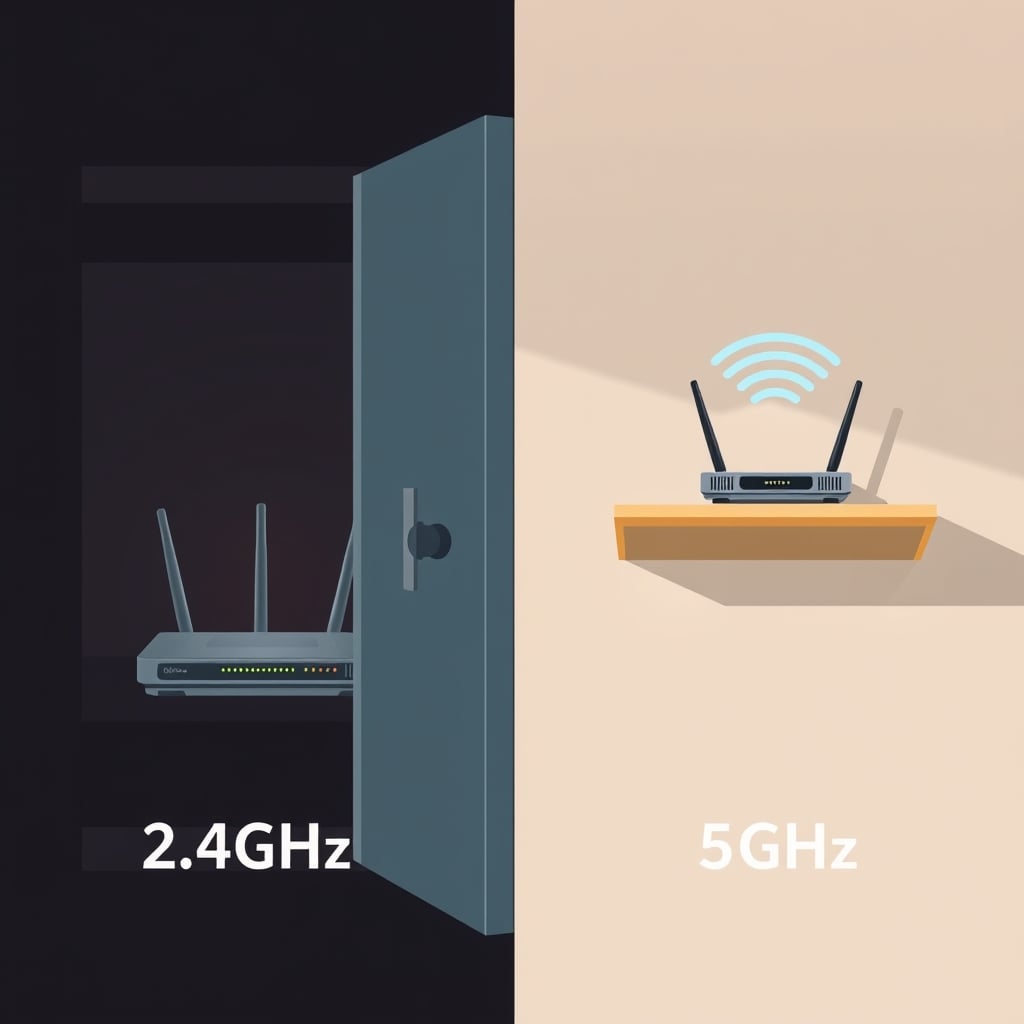
- Not locked in a cabinet or closet. An enclosed space can cut signal range noticeably anecdotally, often by 30–50% even if the router still works. If aesthetics matter, use a wall mount or a decorative shelf, not a cabinet.
Floor Plan Example
Imagine a 1,500 sq ft, single-story home:
┌─────────────────────────────┐
│ Bedroom    │ Kitchen        │
│            │   [Microwave]  │
├─────────────────────────────┤
│ Office     │ [ROUTER]       │
│  desk      │  (Hallway 4ft) │
├─────────────────────────────┤
│ Living     │ Bathroom       │
│ Room       │                │
└─────────────────────────────┘
The hallway center location spreads signal equally to all four rooms. If you must place the router in a single room (e.g., where the modem is), choose the room closest to the geographic center and place it on a high shelf near the doorway, not in the far corner.
Step 3: Connect the Router to Your Modem
- Turn off both the modem and router.
- Use an Ethernet cable to connect the modem’s output port (usually labeled “Internet” or “WAN”) to the router’s input port (usually labeled “WAN” or “Internet”).
- Plug the router into power and wait 2–3 minutes for boot-up. Lights will stabilize when ready.
- The modem can restart during this time that’s normal.
The mistake everyone makes: Connecting the router to a LAN port (regular network port) instead of the WAN port. The WAN port is the router’s internet input; LAN ports are for devices on your network. Check the router’s label WAN is typically a different color (often blue or yellow).
Step 4: Log Into the Router and Change the Default WiFi Name
- On a phone or laptop, open your WiFi settings and look for the router’s default network name (SSID). It’s usually printed on a label on the router itself (e.g., “ASUS-2G4” or “TP-Link-5G”).
- Connect to that network using the default password (also on the label).
- Open a web browser and go to the router’s admin URL (commonly
192.168.1.1or192.168.0.1check the label or manual). - Log in with the default username and password (usually “admin” / “admin” or “admin” / blank).
- Find the WiFi settings section (often under “Wireless” or “Network”).
- Change the WiFi name (SSID) to something you recognize and unique to your home (e.g., “HomeNet” instead of “ASUS-2G4”). This makes it easier to find your network and slightly improves security by not advertising the router model.
- Leave the password strong and unique the default is often weak. Save and reboot.
Step 5: Choose Your WiFi Channels (2.4GHz vs. 5GHz)
This is where placement strategy meets configuration it’s the single highest-impact tweak after physical location.
Most routers broadcast on two frequency bands simultaneously:
- 2.4GHz band: Longer range, better at penetrating walls, but only 3 non-overlapping channels (1, 6, 11 in North America). Maximum theoretical speeds are lower (around 150 Mbps on older standards, though real-world throughput varies by environment and device), and the band is heavily congested because many devices microwaves, cordless phones, older smart-home gear share it.
- 5GHz band: Shorter range, doesn’t penetrate walls as well, but many non-overlapping channels and much faster maximum speeds (1,000+ Mbps on modern routers). Less crowded, better for streaming and gaming near the router.
Practical Channel Selection
- Use 2.4GHz for coverage in distant rooms and older devices. If you have a bedroom far from the router, set the 2.4GHz network to use channel 6 or 11 (the least common in most neighborhoods). Avoid channel 1 unless you know your neighbors use 11.
- Use 5GHz for high-bandwidth tasks near the router. Video calls, streaming, and gaming all benefit from 5GHz if you’re in the same room or one room away from the router.
- Check your environment with a WiFi analyzer. Download a WiFi analyzer app and scan your neighborhood. If you see lots of routers on channel 6, switch yours to 1 or 11. If channel 11 is crowded, pick 1.
- Most modern routers can broadcast both 2.4GHz and 5GHz simultaneously on separate SSIDs or one combined SSID. A combined SSID (“dual-band”) lets devices pick the best band automatically convenient, but sometimes devices pick wrong. If you’re troubleshooting, separate them into two networks (“YourNetwork-2.4” and “YourNetwork-5”) so you can force devices to the right band.
- Enable automatic channel selection if available, or manually pick the least congested channel in your area. Check your router’s settings for “Channel Selection” or “Auto Channel.” If manual, use the WiFi analyzer data to pick channels 1, 6, or 11 for 2.4GHz (only these three don’t overlap) and a less-crowded 5GHz channel (36–48 or 149–165, depending on your region).
Common mistake: Setting the channel to “Auto” and assuming it stays optimized. Auto usually picks once at boot and never rechecks. If you install a new WiFi network next door, your channel choice becomes suboptimal until you manually update it. Check your channel every 6 months or if you notice sudden slowdowns.
Step 6: Adjust Transmit Power and Band Steering
- In the router’s admin panel, look for “TX Power,” “Transmit Power,” or “Power Level.”
- Set it to 100% (maximum). Lower power settings don’t save meaningful electricity and just reduce your range. There’s no benefit to running it lower unless you’re experiencing interference from overlapping coverage in a very dense environment (uncommon in a typical home).
- Look for “Band Steering” or “Smart Connect” and enable it. This feature nudges devices to prefer 5GHz when they’re close enough, reducing congestion on 2.4GHz.
- Find “Beamforming” and enable it if available. This directs the signal toward connected devices rather than broadcasting evenly in all directions it modestly improves range and speed.
- Save and reboot.
Step 7: Fix Dead Zones
Dead zones (areas with no or weak signal) are usually caused by physical obstruction or distance, not router failure. Here’s how to diagnose and fix them:
Identify the Problem
- Walk around your home with a phone connected to WiFi and note where signal drops (you’ll see bars decrease in WiFi settings).
- Dead zones typically appear behind thick walls, in bathrooms (water pipes), and in rooms far from the router.
- If a dead zone is just one room away, the problem is almost always obstruction (walls, metal, water), not distance.
Solutions (in order of cost and effectiveness)
Option 1: Reposition the router (free, high impact). If the router is in a corner or hidden, moving it 5–10 feet toward the dead zone will often eliminate it. This works because walls stop a signal more than raw distance does. Even moving the router from the corner to the center of the same room can significantly extend coverage into distant rooms.
Option 2: Switch to 5GHz in dead zones (free, medium impact). If the dead zone has a weak 2.4GHz signal but some signal, connect a device to the 5GHz network instead. 5GHz is faster and less congested, so even with weaker signal, you’ll get better performance. The tradeoff: 5GHz doesn’t penetrate walls as well, so this only helps if the device is line-of-sight to the router.
Option 3: Use a WiFi extender or repeater ($30–80, medium impact). A WiFi extender picks up the existing signal and rebroadcasts it. Place it halfway between the router and the dead zone. Pros: cheap, easy setup. Cons: cuts your bandwidth in half (the extender uses the same channel to receive and send), and can create inconsistent coverage as your device switches between router and extender.
Option 4: Add a mesh node ($100–200, high impact). If you have a mesh system or can upgrade to one, adding a second node in or near the dead zone is the cleanest fix. Mesh nodes talk to the main router on a dedicated band, so you don’t lose bandwidth like with an extender. Devices seamlessly switch between nodes as you move.
Option 5: Run Ethernet to a secondary access point ($150–300, very high impact). If the dead zone is in a bedroom or office, run an Ethernet cable from the router to a secondary WiFi access point (not an extender a true “access point,” which receives a wired connection) in that room. This gives you full-speed, full-signal WiFi with no bandwidth loss. Downside: requires running a cable through walls or along baseboards, which isn’t always practical.
The non-obvious caveat: If the dead zone is a bathroom with no electrical outlet, or a hallway with heavy metal in the walls, no amount of extenders or repositioning will fully solve it. WiFi fundamentally can’t penetrate water or thick metal reliably. In those cases, accept 1–2 bars of signal in that zone it’s normal.
Step 8: Enable Basic Security
- In the router’s admin panel, find the WiFi security settings (usually under “Wireless” or “Security”).
- Set the encryption type to WPA3 (if available) or WPA2 (the current industry standard). Do NOT use WEP or open networks these are deprecated and insecure.
- Create a strong, unique WiFi password (minimum 16 characters, mix of letters, numbers, and symbols). This is separate from your router admin password.
- Change the default admin password. This is critical. Many routers ship with the same username/password for all units (e.g., “admin” / “admin”). Anyone on your network could access router settings if you don’t change it. Pick something you can remember but others can’t guess.
- Look for “Disable WPS” (WiFi Protected Setup) and disable it. WPS is a convenience feature but has known security vulnerabilities; most home users don’t need it.
- Save and reboot.
Step 9: Test Speed and Adjust
- Use a speed test app (Ookla Speedtest, for example) on devices in different rooms. Record baseline speeds.
- If speeds are lower than your internet plan (e.g., you pay for 100 Mbps but get 40 Mbps on WiFi), try these in order:
- Move closer to the router.
- Switch from 2.4GHz to 5GHz if available.
- Reboot the router (turn it off for 30 seconds, turn back on).
- Check the channel you’re on and switch to a less-congested channel using a WiFi analyzer.
- Restart your modem and router (modem first, wait 2 min, then router).
- If speeds are still low right next to the router, the problem is upstream (your internet service, modem, or the ISP’s network) not the WiFi.
Mesh vs. Traditional Router: Quick Comparison
| Factor | Traditional Router | Mesh Wi-Fi System |
|---|---|---|
| Typical Coverage | Up to ~1,500 sq ft; signal weakens farther from the router | 2,500+ sq ft with multiple nodes and seamless coverage |
| Dead Zones | More common in distant rooms or on different floors | Rare; additional nodes can eliminate weak spots |
| Setup Complexity | Simple—single device to install and configure | Moderate—requires placing and pairing multiple nodes |
| Typical Price Range | ~$80–300 | ~$300–800+ (3-node systems) |
| Expandability | Limited; extending coverage usually requires range extenders | Excellent; simply add additional mesh nodes as needed |
| Network Management | One router administration interface | Single app or dashboard manages the entire mesh network |
| Best For | Apartments, condos, small homes, and open floor plans | Large homes, multi-story houses, and spaces with many walls or obstacles |
Troubleshooting Common WiFi Problems
Slow Speed Throughout the Home
- Is your internet slow everywhere (wired + WiFi)? The problem is upstream your ISP, modem, or service. Contact your ISP.
- Slow only on WiFi? Run a speed test on a device wired to the router (via Ethernet, if possible). If wired is fast and WiFi is slow:
- Move closer to the router. If speed improves, it’s a range issue (reposition router or add mesh).
- Check 2.4GHz vs. 5GHz. Switch to 5GHz if available.
- Reduce interference: move the router away from microwaves, cordless phones, baby monitors.
- Change WiFi channel using a WiFi analyzer.
Certain Devices Won’t Connect or Drop Frequently
- Try forgetting the network and reconnecting.
- On the device, go to WiFi settings → Forget this network → Scan and reconnect.
- If a device only connects to 2.4GHz, try moving it closer to the router. Older devices don’t support 5GHz; 5GHz has shorter range and needs line-of-sight. If the device is far from the router, it might only have 2.4GHz signal strong enough to connect.
- If one device consistently drops but others don’t, it’s likely a device issue, not the router. Try a different device to confirm.
- Check the router’s device list (usually under “Connected Devices” in the admin panel) to see if the device is actually connecting but having software issues (outdated drivers, etc.).
Spotty Coverage in One Room
- Verify the dead zone with multiple devices. If only one device has weak signal in that room, it’s the device, not the network.
- Check for interference sources (microwaves, metal shelving, fish tanks) between the router and that room. Reposition if possible.
- Try 2.4GHz if currently on 5GHz. 2.4GHz penetrates walls better; you might get a connection where 5GHz doesn’t.
- Use a WiFi analyzer to check channel congestion. If dozens of neighbors’ routers are on the same channel, switch yours.
- If the room is more than 50 feet away and has thick walls, no single router will reliably cover it. Add a mesh node or extender in or near that room.
New Devices Won’t Connect, But Old Ones Do
- Check if the new device is 2.4GHz or 5GHz-capable. If it’s older (pre-2015), it might only support 2.4GHz. Check the spec sheet.
- Try connecting to the opposite band (if you have separate 2.4GHz and 5GHz SSIDs). Many devices default to 2.4GHz; newer ones prefer 5GHz. If the device connects to one but not the other, try the other one.
- Check for MAC filtering. In the router’s admin panel, look for “MAC Filtering” or “Device Whitelist.” If enabled, the device’s MAC address (a unique hardware ID) might not be on the list. Disable MAC filtering or add the device.
- Reboot the router. Sometimes new devices trigger compatibility issues that a reboot resolves.
FAQ
Where should I physically place my router for the best WiFi coverage?
Place it in the geographic center of your home, on a high shelf (4–6 feet up), away from metal objects, water pipes, and interference sources like microwaves. Corner placement or low placement on the floor will significantly reduce range. A central, elevated location solves most coverage problems without any configuration changes.
Should I use 2.4GHz or 5GHz?
Use 2.4GHz for distant rooms and older devices it has longer range and better wall penetration. Use 5GHz for devices close to the router and for high-bandwidth tasks like streaming or gaming. Modern routers broadcast both simultaneously, so most homes can run both networks at once. Connect devices near the router to 5GHz for speed, and devices in farther rooms to 2.4GHz for coverage. If you can only choose one, 2.4GHz is the safer default for reliability across the home; 5GHz wins on speed when you’re close to the router.
What’s the difference between a mesh system and a traditional router, and which should I buy?
A traditional router broadcasts from one location and works well for homes under 2,000 sq ft; a mesh system uses multiple nodes and covers larger homes better. Mesh is easier to expand later but costs more upfront. For most homes with good router placement, a single high-quality traditional router outperforms a cheap mesh system. If you have multiple floors or lots of dead zones already, mesh is worth the investment.
Why do I have a dead zone, and how can I fix it?
Dead zones are usually caused by walls, distance, or interference, not a weak router. The cheapest fix is repositioning the router closer to the dead zone. If that doesn’t work, try switching to 5GHz (if available), changing your WiFi channel, or adding a mesh node or extender. For rooms more than 50 feet away with thick walls, no single router will fully cover them you’ll need to add secondary coverage.
Is it safe to leave my router powered on 24/7?
Yes. Routers are designed for continuous operation. They draw very little power roughly comparable to a low-wattage LED bulb so keeping one on around the clock doesn’t add meaningfully to your electricity bill. If you want to reduce power, a basic outlet timer is safer than manual on/off cycling, which can cause unexpected outages. Most households leave routers on continuously without issue.
How often should I change my WiFi channel?
Check your channel every 6 months or if you notice sudden slowdowns. Use a WiFi analyzer app to see what channels your neighbors are using. If your channel becomes crowded, switch to a less-congested one (for 2.4GHz, use only channels 1, 6, or 11, as these don’t overlap). Most routers’ automatic channel selection doesn’t adapt over time, so manual checks help.
This guide reflects current WiFi 6 and WiFi 5 standard practices. WiFi standards, channel regulations, and router hardware evolve; consult your router’s manual or manufacturer support for model-specific configuration paths, which may differ from the menu structures described here.