
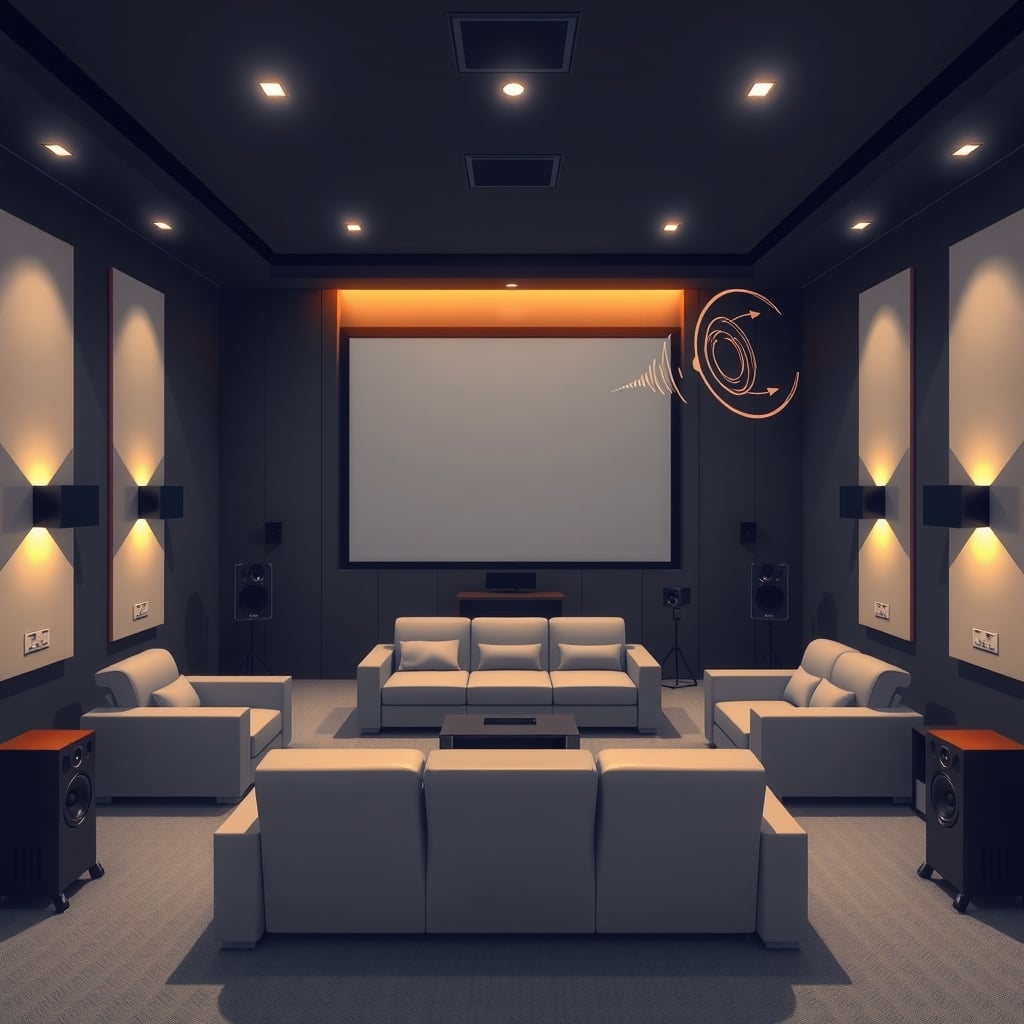
Proper speaker calibration extracts significantly more performance from your system than leaving it on factory defaults. Most receivers ship with decent automatic calibration, but dialing in your specific room its size, materials, and acoustic reflections separates a theater that sounds good from one that sounds right.
This guide covers the step-by-step process of calibrating your home theater speakers using room correction software (Audyssey, MCACC, YPAO), manual measurement techniques, and standalone tuning tools. You’ll learn microphone placement, frequency response optimization, level balancing, and distance correction everything you need to extract maximum performance from your equipment.
What You’ll Need
Before you start, gather these essentials:
- Your AV receiver or processor with built-in room correction software (Audyssey, MCACC, YPAO, Dirac, etc.)
- Calibration microphone (most receivers include one; standalone options like the miniDSP UMIK-1 offer finer control)
- SPL meter (sound pressure level meter; basic analog units are commonly available in the $15–40 range as of this writing, though prices vary your phone’s mic works in a pinch, though it’s less accurate)
- Measuring tape for distance calculations
- Notebook or phone notes to record baseline levels before you start
- Quiet environment calibration requires minimal background noise
- Seating arrangement finalized (calibration accounts for your listening positions)
Skip the $200+ dedicated calibration kits unless you’re tuning multiple rooms or running independent measurements. The receiver’s bundled mic works fine for 90% of home theater applications.
Step 1: Prepare Your Room and Establish Baselines
Your room’s acoustic properties wall materials, furniture, carpet, curtains, ceiling height affect speaker output more than the speakers themselves. Before you run any calibration, document what you’re working with.
Measure speaker positions. Using a measuring tape, record the distance from each speaker to your primary listening position (usually the center of your sofa). Most receivers ask for this input during calibration. Accuracy here matters: in practice, being off by as little as 12 inches can throw off delay calculations and phase alignment, so measure carefully.
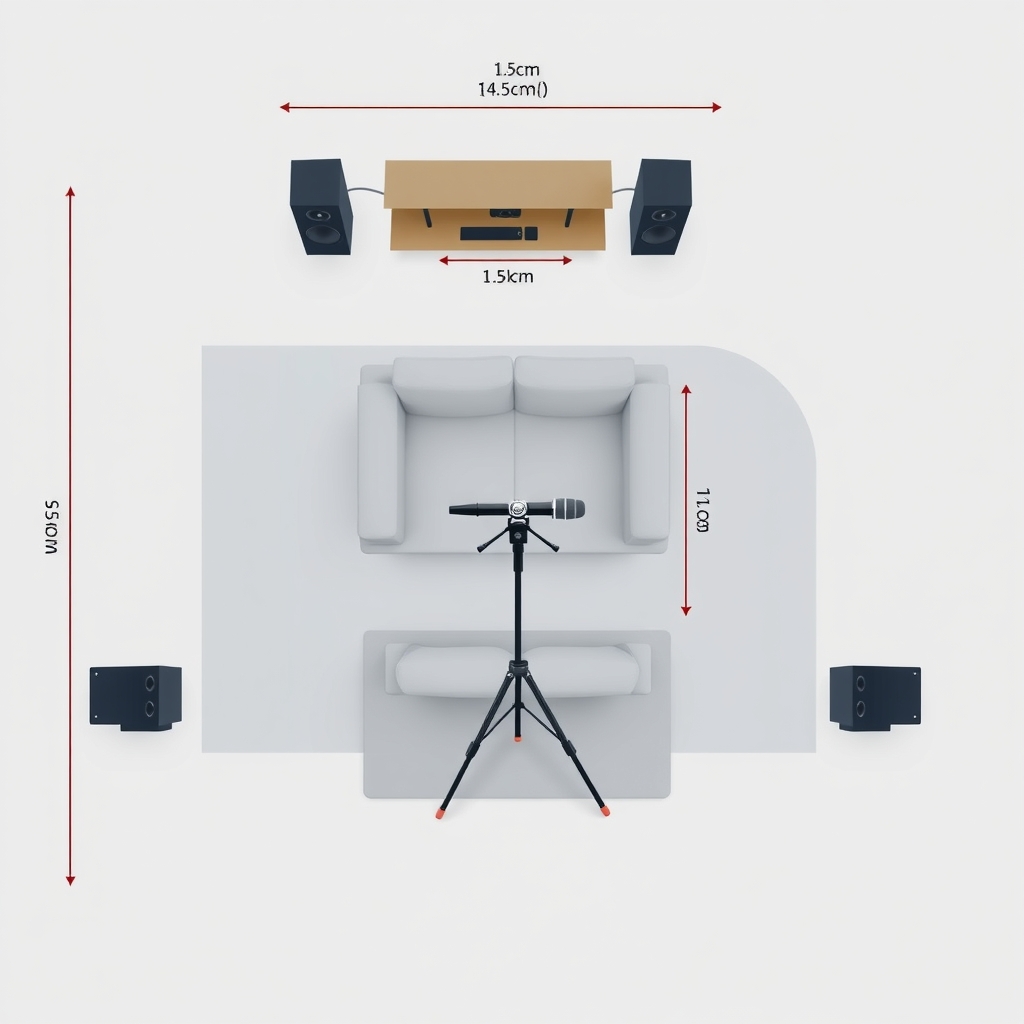
Note room dimensions. Write down approximate length, width, and ceiling height. Rooms under 10 feet wide or tall tend to have stronger bass modes (resonances) at specific frequencies, which calibration software will attempt to flatten.
Identify reflective surfaces. Walk around and listen for echo. Hard floors, glass windows, and bare walls reflect sound; carpet, curtains, and furniture absorb it. Room correction algorithms account for this, but knowing your acoustic signature helps you interpret the calibration results.
Check speaker placement against your manual. Tweeter height, angle, and distance from walls all factor into the calibration. If a speaker is positioned poorly (buried in a corner, pointed at a wall), no software fix will solve it. Minor repositioning before calibration is worth the effort.
Take baseline SPL readings. Using an SPL meter (or phone app), measure the sound level at your main listening position with your current setup playing a test tone or familiar soundtrack. This gives you a reference to compare against post-calibration. In typical home theater use, baseline levels commonly hover around 75–85 dB SPL for normal listening, though your preferred level may differ.
Step 2: Position the Calibration Microphone Correctly
Microphone placement is the single most critical step. A poorly placed mic will cause the software to over-correct in some frequencies and under-correct in others.
Use the tripod or mic stand. Don’t hold the mic in your hand or lay it on furniture. Mount it on a tripod at ear level (roughly 36–42 inches from the floor, depending on your seating height) at your primary listening position.
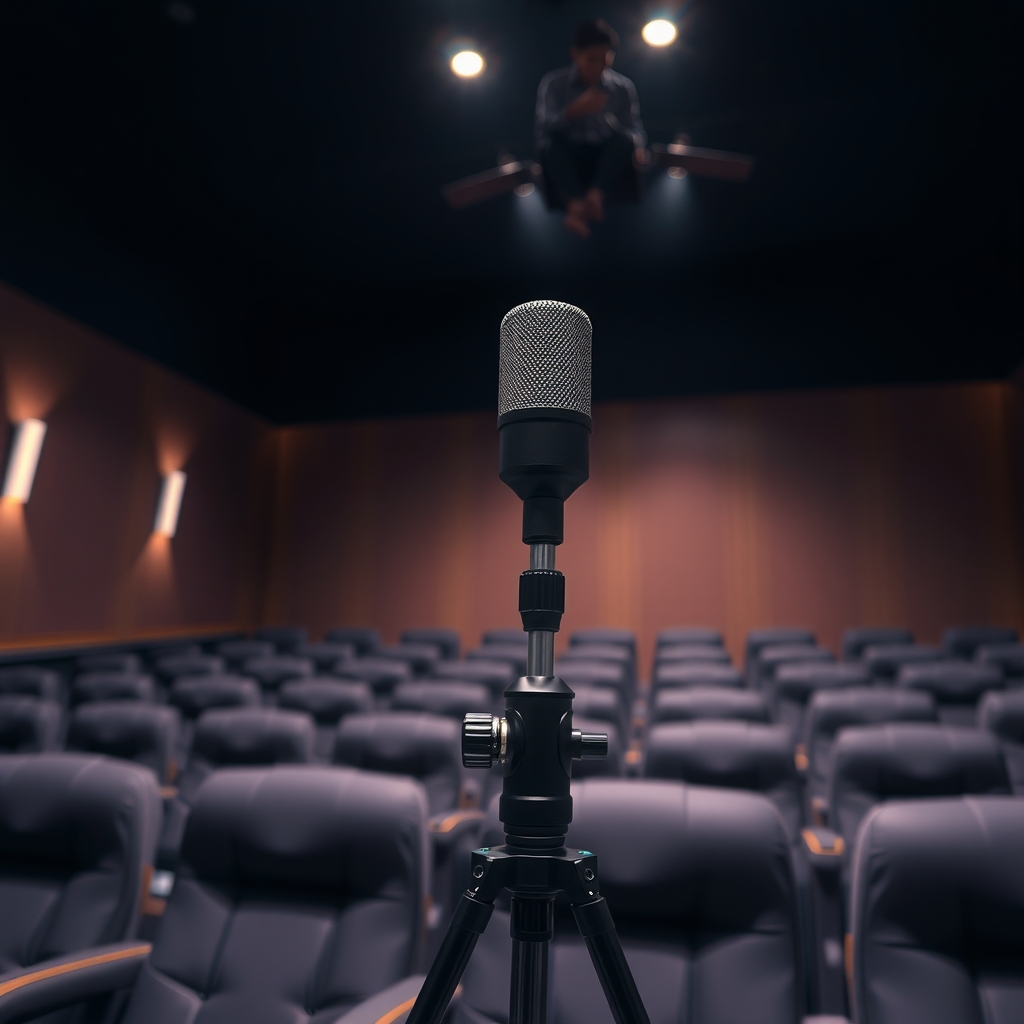
Center it in the listening area. Position the mic where your ears would be if you were seated and looking at the screen. For wider seating, some systems allow multiple mic positions; use three positions (left, center, right seat) if available. This averages the calibration across your listening sweet spot.
Keep it away from boundaries. Don’t place the mic closer than 3–4 feet to any wall, speaker, or large hard surface. Reflections from the mic’s own cable and stand can skew measurements, so keep the area around it clear of obstacles.
Point the capsule upward (or per spec). Most calibration mics have a specific pickup pattern. Check your receiver manual; most prefer the mic capsule pointing straight up toward the ceiling. Orientation affects how the software samples the room.
Run the measurement in test mode first. Before committing to a full calibration, have the receiver generate a test signal while you walk the room and listen. You’ll hear if speakers are missing (wiring issue) or if the mic is positioned in a dead zone. Adjust the mic or speaker placement if needed.
Step 3: Run Automatic Room Correction Software
Most modern AV receivers include proprietary room correction systems. Here’s the general workflow for Audyssey, MCACC, and YPAO the three most common though the steps are similar across brands.
Audyssey (Denon, Marantz)
- Access calibration. On your receiver, navigate to Setup → Audyssey or Audio → Calibration.
- Select your mic position count. Choose 1 mic position (single point) or multiple positions (8-point array for larger rooms). Single-point is fine for most home theaters.
- Input speaker distances manually if the software asks. Use your earlier measurements.
- Start the measurement. The receiver will generate a series of test tones. The mic picks them up, and Audyssey calculates frequency response, phase, and distance for each speaker.
- Repeat if multi-position. If using multiple mic positions, move the stand to each spot and repeat. Don’t skip measurements.
- Review the result. After all measurements, Audyssey displays a summary of corrections applied. Note any speakers that were adjusted significantly (>±5 dB) this might indicate a placement issue.
MCACC (Pioneer)
- Access Setup → Audio → MCACC. Most Pioneer receivers bundle this as part of their calibration menu.
- Input sub frequency (optional). MCACC lets you specify your subwoofer’s crossover frequency before measurement.
- Run the measurement. The measurement is typically faster than Audyssey, taking 1–2 minutes per position.
- Check the output graph. MCACC displays a frequency response curve before and after correction. A flattened curve (relatively even line across frequencies) indicates successful calibration.
YPAO (Yamaha, higher-end models)
YPAO is Yamaha’s premium room correction system and works similarly to MCACC but with additional refinement options.
- Select your room size from the menu (small, medium, large).
- Run the multi-point measurement (typically 8 positions).
- Allow YPAO to apply correction. Unlike some systems, YPAO is somewhat opaque in its calculations, but it typically handles phase alignment and time delay very well.
Common mistake: Running calibration with the TV on, lights dimmed dramatically, or people talking in the background. Even low ambient noise can throw off measurements. Wait for a quiet moment and close doors to other rooms.
Step 4: Manual Level Balancing and Distance Correction
After automatic calibration, most receivers allow manual tweaks. This is where you fine-tune the system to your taste and acoustic environment.
Distance Settings
Your receiver calculates delay for each speaker so that sound from all channels reaches your ears at the same time. As a rough heuristic, if a speaker is 10 feet away and your subwoofer is 8 feet away, the receiver delays the sub by the equivalent of that 2-foot difference approximately 2 milliseconds at typical room temperature to keep them in sync. Treat this as a rule-of-thumb figure; your receiver calculates the actual delay from the distances you enter.
Verify these distances in your receiver’s menu after calibration. If a speaker was misidentified (e.g., the center channel was measured as 12 feet when it’s actually 8), manually correct it. The receiver will recalculate delays accordingly.
SPL / Level Matching
Once calibration is complete, use an SPL meter to verify levels across all channels.
- Play a test tone from your receiver (usually found in Setup → Audio → Test Tone or Audyssey Setup).
- Select each speaker in the menu so only one plays at a time.
- Measure SPL at ear level from your main listening position. A commonly used reference target is 75 dB SPL for each channel (front left, center, right, surrounds) your own preference may land slightly higher or lower.
- Adjust the receiver’s level slider for any channel that’s off by more than 1–2 dB. Increase if too quiet, decrease if too loud.
- Measure the subwoofer separately. A commonly used target is 79–82 dB SPL (slightly hotter than the main channels to blend smoothly). Adjust the sub’s master level dial or receiver’s subwoofer level setting.
Important caveat: SPL readings vary with meter placement and room acoustics. A difference of ±1–2 dB is imperceptible; don’t obsess over exact matching. Your ears are the final arbiter.
Step 5: Fine-Tune Subwoofer Crossover and Phase
The subwoofer is often the trickiest speaker to integrate. Misconfigured, it either blends seamlessly or creates a noticeable “boom zone” in certain seats.
Crossover Frequency
The crossover (or cutoff frequency) determines where the main speakers hand off bass to the subwoofer. Most receivers default to 80 Hz, which works for most small-to-medium speakers.
If your main speakers are small (under 5 inches) or are mounted high in a cabinet, stick with 80 Hz. If they’re larger floor-standers or tower speakers with decent bass extension, you can lower the crossover to 60 Hz or even 50 Hz, allowing the mains to handle more of the midrange bass.
Avoid extreme settings. A crossover below 40 Hz on small speakers forces them to strain; above 120 Hz often makes the subwoofer too obvious. Aim for 60–80 Hz as a starting range.
Subwoofer Phase
If your subwoofer output seems to cancel out the bass from your main speakers (bass sounds thin), the sub’s phase may be inverted relative to the mains. Most subs include a phase knob (0–180 degrees).
- Play a bass-heavy track (movie trailer or music with kick drums).
- Toggle the sub’s phase between 0° and 180°.
- Listen for which setting sounds fuller. One position will feel punchier; use that.
Room correction software typically handles this automatically, but manual verification is worth the 30 seconds.
Step 6: Room Correction Fine-Tuning and EQ Adjustments
Once basic calibration is complete, most receivers allow parametric EQ adjustments. This is where your ears take over from the software.
Understanding Parametric EQ
Parametric EQ lets you boost or cut specific frequency ranges. Three controls define each adjustment:
- Center frequency (e.g., 125 Hz, 1 kHz) the frequency band you’re targeting
- Bandwidth (Q) how wide the adjustment spreads; narrow Q affects only the target frequency, wide Q affects a broader range
- Gain (±dB) how much to boost or cut
Most receivers offer 4–8 parametric EQ bands for speaker calibration.
Common Tweaks
Bass modes (50–250 Hz). If certain seats have noticeably boomy bass while others sound thin, your room likely has a bass mode (a standing wave). Cutting 3–6 dB at the problematic frequency can help. In residential rooms, commonly reported problem frequencies tend to cluster around 40 Hz, 60 Hz, and 80 Hz though the exact frequencies vary significantly by room size and dimensions, so listen carefully to identify what’s happening in your specific space before applying any cut. A narrow-Q cut of 2–4 dB at the offending frequency is usually the right starting point.
Presence peak (2–4 kHz). If dialogue sounds slightly harsh or fatiguing, a small cut (1–2 dB) at 2.5 kHz or 3 kHz can help. Be conservative; too much makes voices sound dull.
Brightness (8–12 kHz). If the system sounds dull overall, a slight boost (1 dB) at 10 kHz can add air and detail. Don’t overdo it above 2 dB starts sounding artificial.
Avoid large adjustments. Cuts or boosts larger than ±6 dB often indicate a bigger problem (speaker placement, room issue, wiring). Investigate before EQing.
Step 7: Test and Verify Across Multiple Mixes and Seating Positions
Calibration is only half the battle. Verification ensures your adjustments work in real-world listening.
Test Content Selection
Use diverse material to check your tuning:
- Movie soundtrack. Watch a scene with clear dialogue and ambient surround effects (Dolby Atmos is ideal). Listen for crisp dialogue and seamless surround panning.
- Music mix. Play a stereo or surround-mix album you know well. Does it sound balanced? Are there any frequency issues (too much bass, harsh highs)?
- Concert video or documentary. Look for natural soundstaging and convincing dialogue.
Listen from Multiple Seats
Room correction is optimized for your primary mic position. Secondary listening seats will sound slightly different. Play a few minutes of content from your side chairs and back row (if applicable).
If secondary seats sound noticeably worse, you can:
- Run calibration again with multiple mic positions (most systems support 3–8 positions) to average the room’s response.
- Accept the trade-off. Single-position calibration is always a compromise; perfect sound everywhere is physically impossible. If you primarily sit center, optimizing for that position is correct.
Step 8: Document Your Settings and Save Presets
Once you’ve dialed in your calibration, record your settings in case you need to restore them.
Take photos of your receiver’s calibration menu showing:
- SPL levels for each channel
- Distance settings
- Subwoofer crossover and phase
- Any parametric EQ adjustments
Use your receiver’s preset function if available. Some receivers let you save a “calibration preset” that stores all these settings. If you later adjust settings for a different room or temporarily change speaker placement, you can restore your calibration with one button press.
Write a note in your receiver’s manual or on a sticky note taped to the back of your equipment: “Calibrated [date] with [mic position count] positions; SPL 75 dB all channels; sub 80 Hz, 80 dB.”
Standalone and Advanced Tuning Tools
For users wanting more control or dealing with challenging acoustics, several standalone tools supplement or replace built-in calibration.
miniDSP UMIK-1 and REW (Room Equalization Wizard)
The UMIK-1 is a precision calibration microphone (commonly listed in the $75–100 range, though prices vary) that pairs with REW, free acoustic measurement software. This combination gives you detailed frequency response graphs and room mode analysis.
When to use it: If your receiver’s automatic calibration isn’t cutting it or you suspect a specific acoustic problem (bass boom, modal resonance, speaker interaction). REW shows you exactly what’s happening and where.
Workflow: Measure with REW using the UMIK-1, identify problem frequencies, then apply targeted EQ in your receiver or via a parametric EQ plugin if you’re routing audio through a processor.
Skip this if: Your receiver’s calibration sounds good and you’re not chasing detail. The learning curve is real, and you can spend 20 hours measuring and tweaking to achieve 1% improvement.
Dirac Live
Dirac Live is professional-grade room correction software integrated into some high-end receivers and available as a standalone plugin. It offers up to 32 parametric EQ bands (vs. 4–8 on most receivers) and advanced phase correction.
When to use it: In rooms with complex acoustic problems or if you’re setting up a dedicated home theater with multiple seating positions. Dirac’s multi-point calibration is excellent at averaging across a large listening area.
Cost: Typically in the $200–400 range as a standalone plugin or included in certain receivers confirm current pricing before purchasing, as licensing tiers change.
Skip this if: You’re on a budget or your current system is already satisfactory. Dirac is more tool than most home theater owners need.
Common Calibration Mistakes and Fixes
Mistake: Running calibration with the room half-furnished. Room absorption changes dramatically once furniture is in place. Calibrate with your room as you normally use it (furniture, curtains, rugs all in place).
Mistake: Placing the calibration mic too close to a wall. Reflections from nearby surfaces muddy the measurement. Keep the mic at least 3–4 feet from any hard surface.
Mistake: Setting subwoofer level too high after calibration. Automatic calibration sometimes sets the sub hotter than ideal. A good check is to listen to familiar movie scenes and confirm the bass doesn’t overpower dialogue. If it does, lower the sub by 2–3 dB.
Mistake: Ignoring phase problems. If your bass sounds thin or cancels out in certain seats, phase mismatch is likely. A 30-second check of the sub’s phase knob often fixes it.
Mistake: Over-correcting with EQ. Just because your receiver has 8 parametric bands doesn’t mean you should use all of them. A single targeted cut or boost often outperforms multiple small adjustments. Keep it simple.
Pro Tips for Maximum Performance
Recalibrate annually or after major room changes. If you move furniture, add curtains, or swap speakers, your room’s acoustic signature shifts. A 10-minute recalibration is quick insurance.
Use the receiver’s THX or cinema-mode preset as a baseline. Before manually tweaking, audition your system in any built-in cinema mode or reference preset. Many receivers ship with well-tuned defaults that work surprisingly well.
Invest in basic acoustic treatment if you have obvious problems. If one corner sounds boomy and another dead, adding a bass trap or thick curtain is often cheaper and more effective than parametric EQ alone. Acoustic fixes address the root cause; EQ is a patch.
Check speaker cable polarity. If your calibration mic shows a speaker as severely out of phase with others, or if bass mysteriously cancels, verify that all speaker cables are connected correctly (positive to +, negative to −). A single reversed connection breaks the whole system.
Don’t calibrate for one genre. If you calibrate with bass-heavy electronic music and then watch a dialogue-heavy drama, the balance may seem off. Aim for neutral across multiple content types.
Troubleshooting Calibration Issues
Problem: One channel sounds much louder or quieter after calibration.
Check: Speaker wiring (loose connection), receiver input assignment (is that speaker actually assigned to the right channel?), and distance setting (if one speaker’s distance is wildly off, the receiver tries to compensate with level). Manually adjust the channel’s SPL by 1–2 dB if the speaker is functioning correctly.
Problem: Bass sounds thin or cancels out.
Check: Subwoofer phase (try flipping 180°), crossover frequency (80 Hz is a safe default), and speaker polarity (all connected + to +). Also verify the sub is actually powered and receiving signal by checking the receiver’s surround setup menu to confirm subwoofer is enabled.
Problem: Surrounds are too loud or barely audible.
Check: Surround speaker placement (height and distance from listening area). Re-run calibration with the mic positioned where you actually sit, and verify SPL levels manually. Surrounds should blend in without calling attention to themselves.
Problem: Calibration software crashes or hangs.
Check: Firmware version. Update your receiver’s firmware to the latest version before recalibrating. Restart the receiver (power off for 30 seconds) and try again.
Final Checks and Next Steps
Once calibration is complete and verified, your system is set. But calibration isn’t fire-and-forget audio quality degrades with use as speakers age and room conditions shift.
Run a quick verification every 6 months. Play familiar content and listen for changes. If something sounds off, recalibrate.
Protect your settings. If your receiver has a backup function, back up your calibration data to a USB drive. If you ever need a factory reset, you can restore your tuning.
Consider content upgrades next. Once your playback is optimized, focus on quality content (Dolby Atmos, lossless audio streams, 4K video) to take full advantage of your tuned system.
Explore room treatments if budget allows. A few bass traps or acoustic panels can improve your room’s natural acoustics and reduce the correction burden on your receiver.
Home theater calibration isn’t mystical it’s systematic. Proper microphone placement, accurate distance measurement, and careful level balancing extract the performance your equipment is designed to deliver. Spend an hour on calibration now, and you’ll enjoy years of optimized sound.