

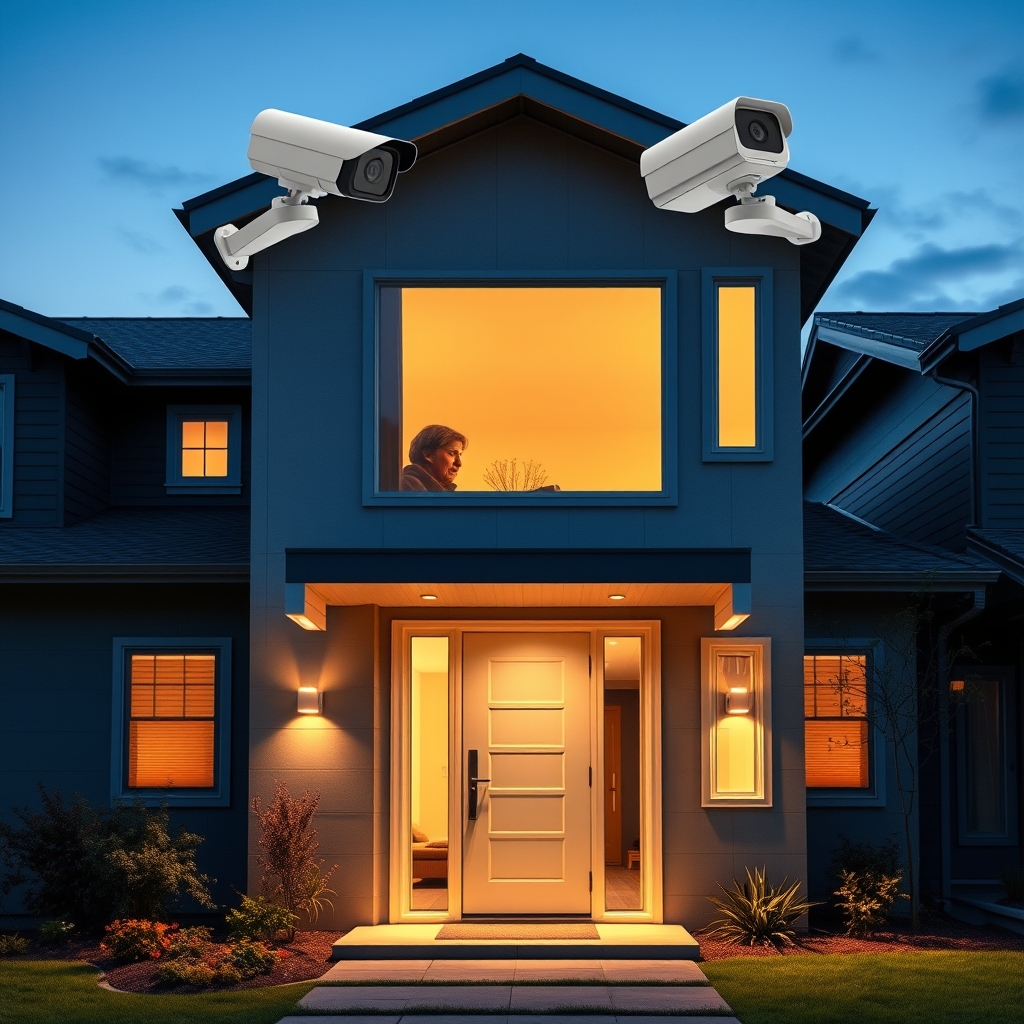
Setting up a home surveillance system starts with choosing the right camera type for each location, wiring it correctly (or not wiring it at all), and verifying you’re compliant with local privacy and neighbor-notification laws. In practice, most homeowners report spending 4–8 hours on a full install, depending on whether they choose DIY wired, wireless, or hybrid setups. This guide covers the decisions you need to make before you buy, the installation steps themselves, and the legal questions that actually matter so you can protect your home without legal headaches or strained relationships with neighbors.
What You Need Before You Start
- A sketch of your home’s exterior and entry points (doorways, windows, blind spots)
- Internet speed test results (wired or wireless bandwidth available)
- Your local zoning code or homeowner association documents (if applicable)
- A list of areas you want to monitor: front door, driveway, side yard, back patio
- Power source identification either electrical outlets, power-over-Ethernet (PoE) infrastructure, or battery backup capability
- A Wi-Fi network password (for wireless systems) or Ethernet cable runs (for wired systems)
- Your smartphone or computer (for app setup after installation)
Camera Types: Doorbell, Fixed, PTZ, and When Each Works
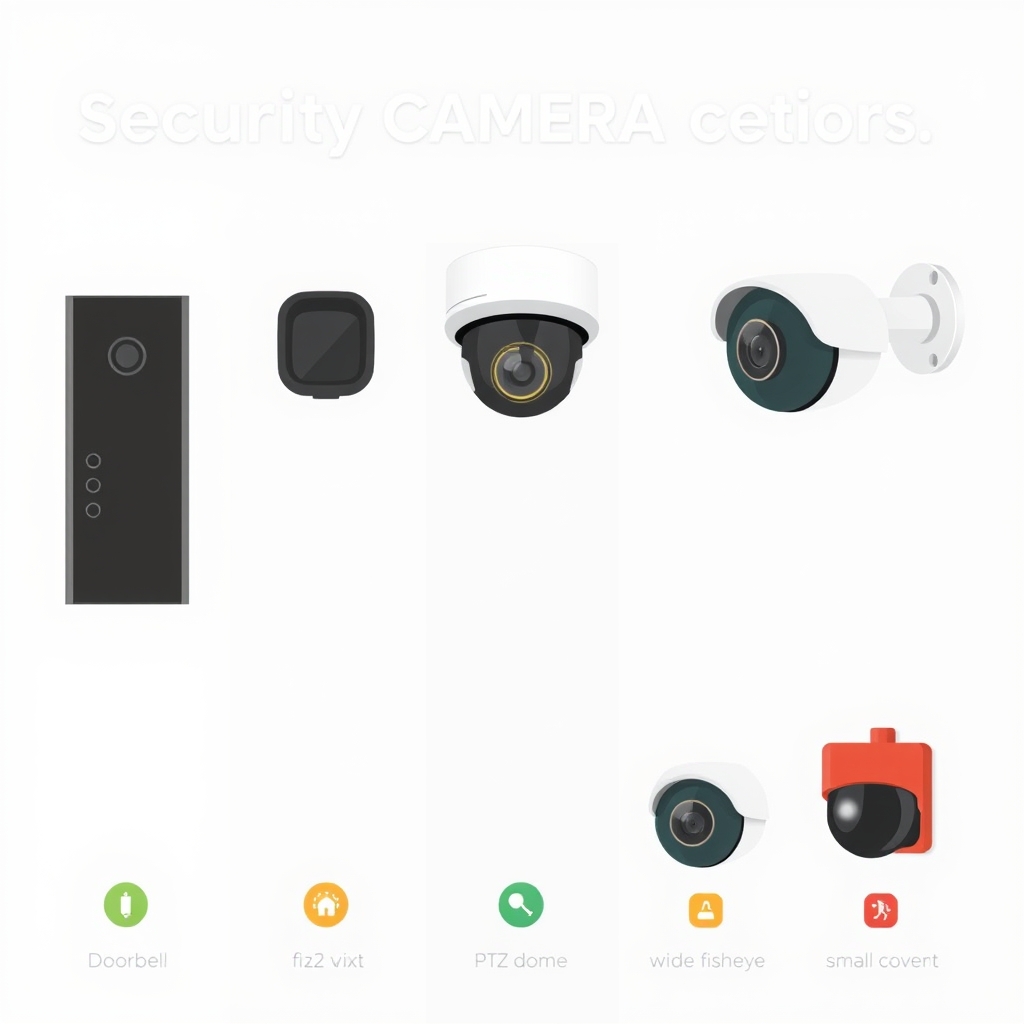
A security camera is one of five main types: doorbell cameras, fixed-view cameras, pan-tilt-zoom (PTZ) cameras, fisheye/panoramic models, or hidden/mini models. Each solves a different coverage problem, and most complete home surveillance setups use at least two types.
Doorbell Cameras
Doorbell cameras replace your existing doorbell button and record anyone who approaches your front door. They trigger motion alerts and typically allow you to talk through a speaker in real time.
When to choose this:
- Your front porch gets regular foot traffic (package delivery, service calls, visitors)
- You want two-way audio so you can talk to delivery drivers or ask salespeople to leave
- You value the simplest install: most plug into your existing doorbell wiring or run on battery
When to skip it:
- You don’t have a front porch or facing door
- Your neighborhood rarely has strangers approaching
- You want coverage beyond the immediate doorway (a doorbell camera has a narrow field of view typically 120–160 degrees)
Common brands in this category: Ring Video Doorbell (wired or battery), Logitech Circle View, Wyze Video Doorbell Pro, Arlo Essential.
Fixed-View Cameras
Fixed cameras are mounted to a wall or ceiling and point in one direction. They don’t pan or zoom the angle is set once at install and stays there. They are the workhorse of most home surveillance systems.
When to choose this:
- You want coverage of a driveway, side yard, or blind spot
- You know the exact angle you need (e.g., pointing down a hallway or across a patio)
- You prefer simplicity: no moving parts means fewer failure points and longer battery life (if wireless)
When to skip it:
- You want to monitor a large area with a single camera (use PTZ or multiple fixed cameras instead)
- You want to zoom in on a distant vehicle or person (fixed cameras have fixed zoom; PTZ is better for that)
Common brands: Logitech Circle View, Wyze Cam v3, Arlo Essential Indoor/Outdoor, Hikvision, Reolink.
Pan-Tilt-Zoom (PTZ) Cameras
PTZ cameras move they can pan left and right, tilt up and down, and zoom in digitally. You control them from your phone or trigger them with motion detection to automatically follow movement.
When to choose this:
- You have a large yard or parking area and want one camera to cover it all
- You want to zoom in on a distant driveway or street
- You’re willing to accept higher power draw (PTZ motors use more battery or require constant power)
When to skip it:
- You need 24/7 surveillance of a fixed area (PTZ is great for monitoring, but a fixed camera on that area runs more efficiently)
- You don’t have reliable power or Wi-Fi (PTZ needs constant connectivity to respond to panning commands)
- You’re on a tight budget (PTZ cameras commonly run 2–3× more than comparable fixed models, based on current listings)
Common brands: Hikvision DS series, Reolink RLC-810A, Wyze Pan v3.
Fisheye and Panoramic Cameras
These use ultra-wide lenses (170–360 degrees) to capture an entire room or outdoor area in one shot. They often come with software that lets you “zoom in” digitally on parts of the recorded footage after the fact.
When to choose this:
- You want wide coverage without moving parts (no PTZ)
- You’re monitoring an open area like a garage or warehouse
- You don’t mind slight distortion at the edges
Common brands: Wyze Cam v3 Pro (180-degree mode), Logitech Circle View Wired Pro.
Covert/Mini Cameras
These are tiny, disguised as smoke detectors, picture frames, or light bulbs. Use these only in areas where all occupants consent to recording (your own office, garage, or home). Recording people in private spaces (bathrooms, bedrooms) without consent is illegal in most jurisdictions.
When to choose this:
- You want to monitor a desk, closet, or storage area without visible cameras
- You’re gathering evidence of theft on your own property
When to skip it:
- Anyone else lives in or regularly visits that space
- You’re considering placing one in a common area shared with guests (risk of legal liability)
Wired vs. Wireless vs. Cloud: Storage and Power Trade-Offs
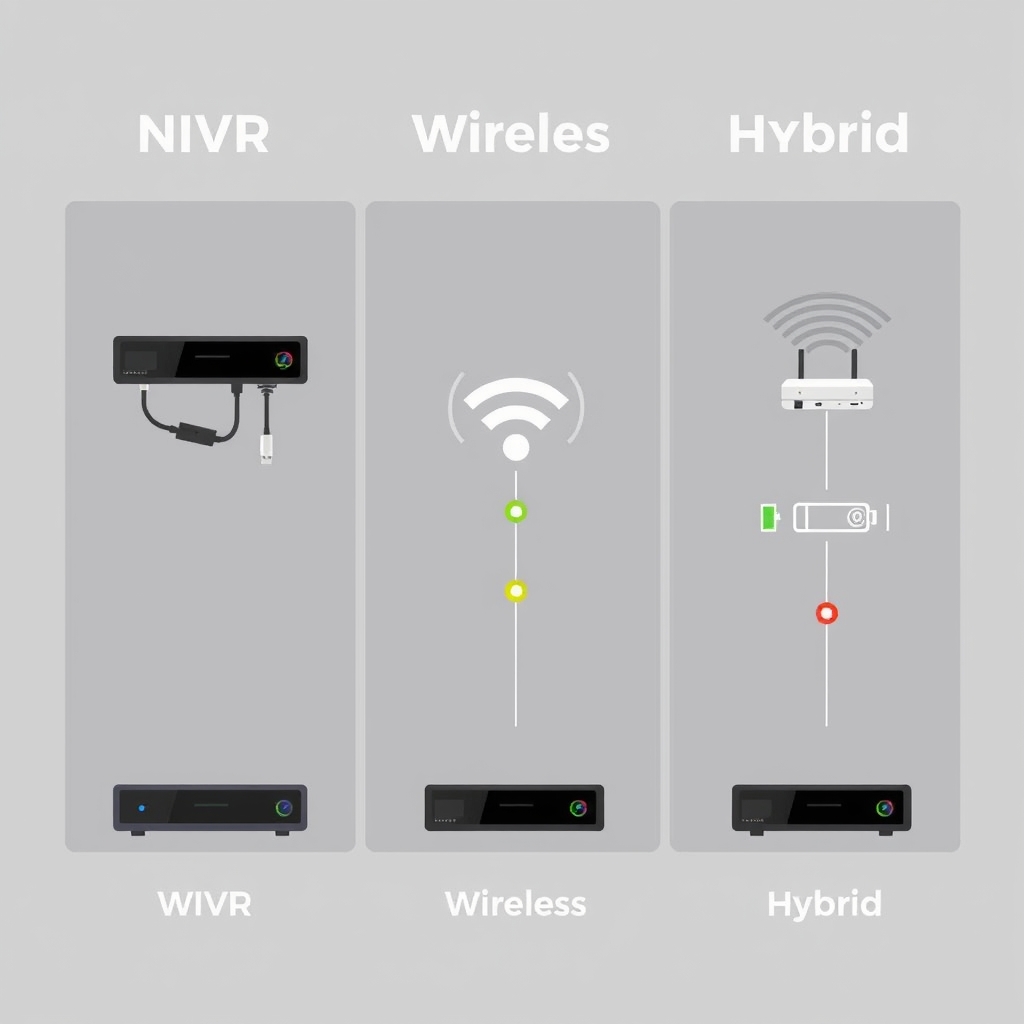
The three infrastructure choices are: wired (cameras and storage both hardwired to your home), wireless (cameras talk to a hub via Wi-Fi; storage is local or cloud), and hybrid (some wired, some wireless). Your choice depends on your Wi-Fi reliability, electrical infrastructure, and how you want to access footage.
Wired Systems (PoE or Traditional Ethernet)
Wired cameras connect to an Ethernet cable that carries both power and data. The recording device (NVR network video recorder) is also wired, usually in a closet or basement. Wired systems are most common in commercial installations but increasingly popular for home security.
Pros:
- No Wi-Fi dependency cameras work even if your Wi-Fi drops
- No battery replacement or charging
- Typically lower monthly cost (no cloud subscription fees, though some systems offer them)
- Longest lifespan of the three options owner reports we’ve reviewed consistently put well-maintained PoE systems past 10 years
Cons:
- Requires running Ethernet cable to each camera location (disruptive if your home isn’t pre-wired)
- The NVR itself needs a power outlet and usually a backup battery (UPS)
- Requires more technical knowledge to set up (DHCP, static IP, port forwarding)
- If your internet goes down, you can’t access footage remotely (though local playback still works)
Best for: Homes with existing Ethernet runs, technical comfort, or those willing to pay for professional installation. New construction or major renovations where walls are open.
Typical cost (as of mid-2026): $400–$1,500 for a 4–8 camera system including NVR; no mandatory monthly fees (though optional cloud backup typically runs $5–$15/month).
Wireless Systems (Hub-and-Spoke)
Wireless cameras connect to a hub (or directly to your router) via Wi-Fi and record to cloud storage, local hard drives, or microSD cards in the camera itself. You access footage from your phone, regardless of where you are.
Pros:
- Easy installation peel and stick or simple bracket mount
- Battery-powered options mean no electrical work needed
- Cloud storage is automatic and accessible from anywhere
- Scalable add cameras one at a time
Cons:
- Depends on Wi-Fi stability; dead zones = poor performance
- Battery replacement or charging (monthly to quarterly, depending on camera and activity)
- Cloud storage subscriptions commonly run $3–$15/month per camera
- Cloud outages mean you can’t access footage (though local recording often continues)
- Typically lower resolution or fewer features than wired systems at the same price
Best for: Renters, homes with unreliable Ethernet, or those who prioritize ease of install over uptime guarantees.
Typical cost (as of mid-2026): $200–$800 for 2–4 cameras; $3–$15/month per camera for cloud storage.
Hybrid (Wired Cameras + Cloud Backup)
Wire cameras for power and data reliability, but also subscribe to cloud backup so you can access footage remotely and have an offsite archive if the NVR fails.
Pros:
- Combines reliability of wired with accessibility of cloud
- If local storage fails, cloud has a backup
- No Wi-Fi dependency for the cameras themselves
Cons:
- Higher upfront cost (wiring + NVR + cloud subscription)
- Most reliable option but requires planning and often professional install
Best for: Homeowners willing to invest in maximum uptime and who want redundancy.
Typical cost (as of mid-2026): $600–$2,500 for a full system; $10–$30/month in cloud backup fees.
Storage Comparison Table
| Infrastructure | Power Source | Wi-Fi Dependency | Primary Storage | Typical Ongoing Cost | Setup Difficulty |
|---|---|---|---|---|---|
| Wired (PoE) | Ethernet cable provides both power and data | No | Local NVR (optional cloud backup) | $0–15/month (optional cloud) | High |
| Wireless (Hub-Based) | AC power or battery-powered cameras connected to a hub | Yes (essential) | Cloud storage + local microSD (varies by brand) | $3–15/month per camera | Low |
| Wireless (Battery-Powered) | Rechargeable or replaceable batteries | Yes | Cloud storage + microSD (if supported) | $3–15/month per camera | Low |
| Hybrid | Ethernet-powered cameras with optional wireless access | No for camera connectivity (remote viewing typically requires internet) | Local NVR + optional cloud backup | $10–30/month (optional cloud) | Medium |
Prices based on market research as of mid-2026; verify current pricing before purchasing.
Installation: Step by Step
Step 1: Choose Your Camera Locations
Walk around your home’s exterior and identify entry points and blind spots. Sketch a rough floor plan and mark where you want cameras. Typical locations include:
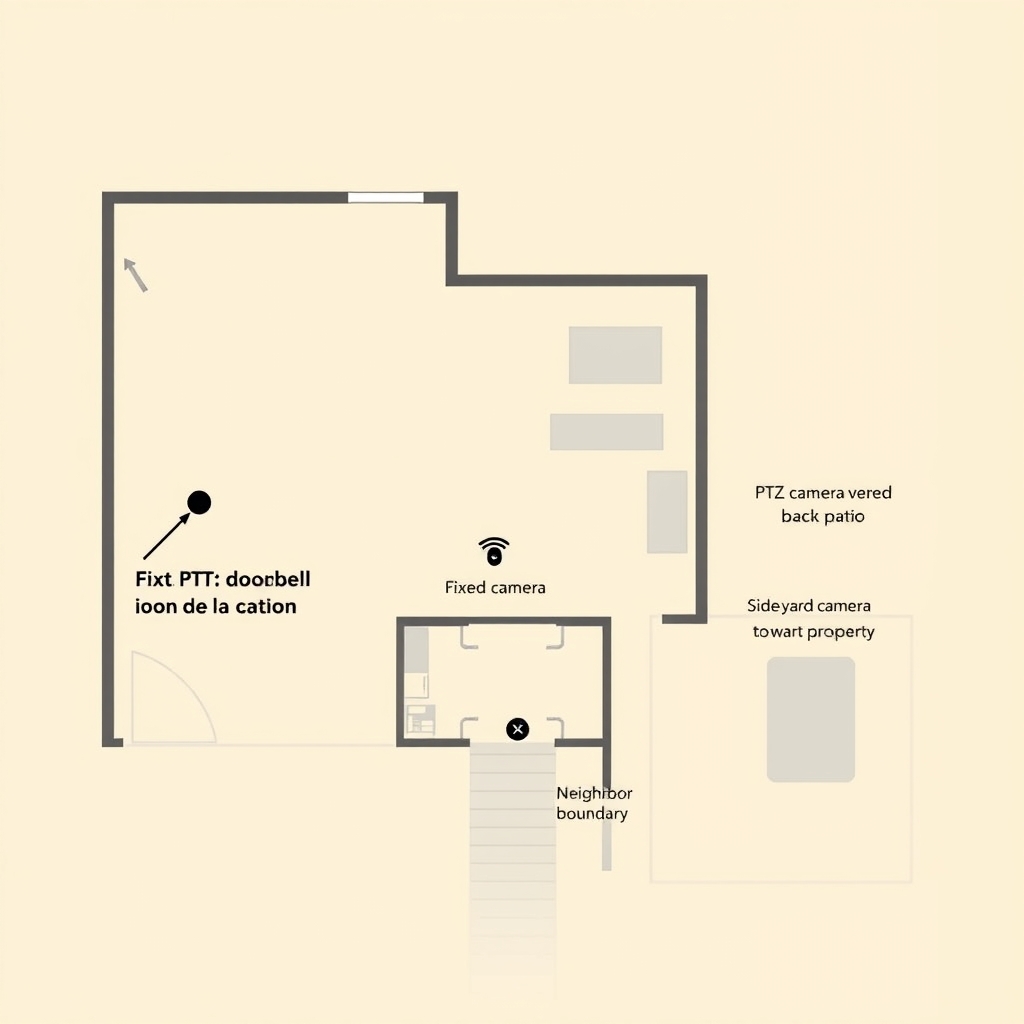
- Front door (doorbell camera or fixed camera above the door)
- Driveway (fixed or PTZ camera, angled down the drive)
- Back patio or yard (fixed or PTZ camera, covering seating areas and gates)
- Side yards or alleys (blind spots between properties; angle toward your property, not the neighbor’s)
- Garage entrance (if separate from main house)
The mistake everyone makes: Placing cameras to capture the neighbor’s property or street. Frame your shots to focus on your property and entry points. Cameras pointed at public sidewalks or streets are usually legal, but cameras framed to record the neighbor’s backyard or windows often are not see the “Privacy Laws” section below.
Step 2: Verify Power and Connectivity
For wired systems:
- Identify outdoor electrical outlets or locations where you can safely run power conduit
- Determine if you’ll run Ethernet in the same conduit or separately
- Measure distances from the NVR to each camera location
- Confirm your internet plan has enough bandwidth: most HD cameras need roughly 1–5 Mbps per stream, though check your specific model’s specs
For wireless systems:
- Run a Wi-Fi speed test (use a service like Speedtest.net; you’ll need to verify this yourself at each camera location) near each planned mount point
- Look for signal strength of at least –70 dBm, which is a widely-used threshold for reliable Wi-Fi video streaming (shown in your phone’s Wi-Fi settings or a network analyzer app)
- If signal is weak, plan for a Wi-Fi extender or mesh network upgrade
- Check battery life specs for your camera model compare to the frequency of activity in that area
Step 3: Mount the Camera Hardware
For doorbell cameras:
- Turn off power at the breaker (if wired)
- Remove the old doorbell button or cover plate
- Check if your existing wiring is 16–24 VAC (most doorbells are); a multimeter will confirm
- If your doorbell doesn’t have wiring, install battery-powered models per manufacturer instructions (usually just adhesive mount on the door frame)
- Connect the new doorbell to your existing wires (usually two terminals: COM and RING) or insert batteries
- Mount the faceplate securely so it’s not easy to dislodge
For fixed outdoor cameras:
- Mark the mounting location with a pencil (usually a corner of the house, soffit, or eave)
- Drill pilot holes at the marked points
- Insert wall anchors or screws appropriate to your siding (concrete anchors for brick, stainless steel screws for wood, plastic anchors for vinyl)
- Mount the bracket and tighten securely; a commonly-used guideline is 8–12 feet high, which puts faces in frame at typical approach distances without being so high the camera only captures the tops of heads
- Angle the camera to cover the desired area; most home cameras have a 100–160-degree field of view, which covers roughly 20–30 feet at typical mounting heights
For wired (PoE) cameras:
- Run Ethernet cable in conduit to each camera location (bury or run along the roof line if outdoor)
- Leave 3–4 feet of slack at the camera and at the NVR for future adjustments
- Test connectivity before permanently mounting (ping the camera from your computer to confirm it’s reachable)
- Once confirmed, mount the camera bracket and secure the cable with clips every 3 feet
Step 4: Route Power and Data Cables (Wired Systems Only)
- If using traditional (non-PoE) power cables, identify the safest route from the NVR location to each camera
- Use outdoor-rated conduit to protect cables from UV and moisture
- Avoid running cables through high-traffic areas, across walkways, or where they could be cut or pulled
- Use compression fittings at entry points to prevent water intrusion
- Label cables at both ends so future service calls are easier
- For Ethernet, test the run with a cable tester to confirm no shorts before connecting cameras
The non-obvious caveat: Running cables through walls or attics requires understanding local electrical codes. If you’re not confident, hire a licensed electrician for this step. A poorly routed cable can damage your home’s structure or create a fire hazard.
Step 5: Install the NVR or Cloud Hub (Wireless Systems)
For wireless (hub-based) systems:
- Choose a central location for the hub ideally in your home’s center, on a shelf, away from metal objects
- Plug the hub into an outlet and connect it to your router via Ethernet (if supported) or Wi-Fi
- Follow the app instructions to add each camera: put the camera in pairing mode, scan the QR code, and select your Wi-Fi network
- Once paired, the camera will download the latest firmware
- Test motion detection by walking in front of each camera; adjust sensitivity in the app if needed
For wired (NVR) systems:
- Choose a secure, climate-controlled location for the NVR (closet, basement, or bedroom) somewhere it won’t be stolen or damaged
- Plug the NVR into a UPS (uninterruptible power supply) so it keeps recording if power drops
- Connect the Ethernet cables from each camera to the NVR’s PoE ports
- Connect the NVR to your network router via Ethernet
- Follow the setup wizard: create an admin password, assign static IP addresses to cameras, and configure storage settings
- Test each camera feed: you should see live video in the NVR’s software and (optionally) via remote access app
Step 6: Configure Recording Settings and Remote Access
For all systems:
- Decide on a recording mode:
- Continuous 24/7: Records all the time; uses the most storage but gives you footage of anything that happens
- Motion detection: Records only when the camera detects movement; saves storage and battery but might miss gradual activity (someone slowly opening a gate, for example)
- Scheduled recording: Records during specific times (e.g., 8 PM–6 AM or when you’re away)
- Set motion sensitivity to medium (too high = constant false alarms from trees and shadows; too low = misses actual activity)
- Configure notifications: decide which cameras should send you alerts and where (push notification, email, or both)
- For cloud systems, choose retention time: 30 days, 90 days, or unlimited (longer = higher cost)
- For local storage, calculate how much you need: a 2 MP camera on continuous recording is commonly estimated to use 50–100 GB per day, though actual usage varies with compression settings and activity level. As a rough planning figure, an 8 TB NVR drive typically holds 30–60 days of 4-camera footage under those conditions
- Set up remote access: create an account, enable two-factor authentication, and test access from outside your home network
The common mistake: Setting motion sensitivity too high, which floods you with alerts from rain, shadows, and passing cars. Start at 50% and adjust upward only if you’re missing real events.
Step 7: Test and Troubleshoot
- Check each camera feed: Log into the app or NVR web interface and confirm all cameras are online and showing live video
- Test motion alerts: Walk in front of each camera and verify you receive a notification within 5–10 seconds
- Check playback: Play back footage from the last few hours to confirm recording is working
- Verify night vision: If any cameras have infrared, turn off the lights and confirm the camera switches to night mode automatically
- Test remote access: Use your phone on cellular (not Wi-Fi) to confirm you can access cameras from outside your network
- Confirm audio (if equipped): For doorbell cameras, test two-way talk with a family member at the door
If a camera is offline:
- Wireless: Check Wi-Fi signal strength near that location; move the hub closer or install a Wi-Fi extender if needed. Restart the hub and camera
- Wired: Check the Ethernet cable connection at the NVR and the camera. Confirm the PoE injector (if separate from the NVR) is powered on. Restart the NVR
- Both: Check for firmware updates in the app/settings and apply them
Privacy Laws: What You Can and Cannot Record
Note: The following is general informational guidance, not legal advice. Laws vary by jurisdiction and change over time. Consult a licensed attorney for advice specific to your situation.
The rule is simple: you can record video on your own property, but audio recording and recording adjacent properties are heavily restricted by law. The specifics vary by jurisdiction, but here are the legal questions that actually matter.
Video Recording on Your Property
You can record video on your own property including footage of the street, sidewalk, or neighboring property if the camera is aimed from your property. You do not need consent from passersby.
Legal gray areas:
- Recording neighbors’ backyards or windows: If your camera is angled to deliberately record inside a neighbor’s bedroom, backyard, or private areas, it is not protected. Aim your outdoor cameras downward and inward toward your own doors, driveway, and yard.
- Recording on shared property: If you live in an apartment or condo, recording in common hallways or shared courtyards may violate your lease and local tenant law. Check your lease or ask your landlord before installing cameras in common areas.
- Recording across a property line: A camera mounted on your house can face across toward the street, but if it’s deliberately aimed to capture the interior of a neighbor’s home, you’re in legal jeopardy. The rule of thumb: if the neighbor would have privacy expectations there (inside a home, fenced yard, or enclosed patio), record with caution.
Audio Recording: The Stricter Rule
Audio recording is governed by “two-party consent” laws in some states and “one-party consent” in others.
- Two-party consent states (California, Florida, Illinois, Maryland, Massachusetts, Michigan, Montana, New Hampshire, New Jersey, New York, Pennsylvania, Washington): You cannot record someone’s voice without their knowledge and consent. If a doorbell camera records someone’s voice without them knowing they’re being recorded, that may violate state law. Verify your state’s current statute before enabling audio.
- One-party consent states (most others): You can record audio as long as you (one party) are a party to the conversation. So you can record someone talking to you at your door, but you shouldn’t record a neighbor’s conversation in their yard.
Practical advice: If you have a doorbell camera or outdoor camera with audio, turn off audio recording in areas where neighbors or passersby could be recorded. Audio is the easiest way to face legal trouble.
Notifying Neighbors
While you don’t usually need to inform neighbors that you have cameras, some states require signage if you’re recording audio, and best practice is always to post a visible “Security Camera in Use” sign near your entry points. This:
- Protects you legally (warning signs show you didn’t intend to record secretly)
- Deters theft and vandalism
- Builds goodwill with neighbors (they know you’re not targeting them)
- In some cases (HOA communities, multi-family dwellings), may be required by your lease or bylaws
Regional variations:
- California: Requires notice if recording audio
- Florida: Requires notice in certain contexts
- Most other states: No legal requirement, but recommended
Check Your Local Laws Before You Install
Do this before you mount a single camera:
- Visit your city or county building department website and search for “security camera” or “surveillance” ordinances
- Check your homeowner association bylaws (if applicable)
- If you live in an apartment or condo, review your lease
- Search “[your state] two-party consent audio recording” to understand your state’s audio rules
- Consider consulting a local attorney if you’re in a complex situation (multi-unit building, HOA with strict rules, shared property) a single consultation typically costs $200–$400
Common mistakes:
- Assuming that because something is on your property, it’s legal (audio recording is the exception)
- Not reading your HOA bylaws before installing outdoor cameras (many HOAs restrict exterior modifications)
- Recording audio without realizing your state requires two-party consent
Common Installation Mistakes and How to Avoid Them
Mistake 1: Installing Cameras Too High or at the Wrong Angle
The problem: Cameras mounted 15+ feet high or pointed too far downward don’t capture facial details. If someone steals from your porch, a blurry overhead shot is useless for identification.
The fix: Mount cameras in the 8–12-foot range, angled slightly downward (about 15–25 degrees from horizontal) so the camera sees faces, not just the top of heads. Test the angle by standing at the likely activity point (your porch, driveway) and checking the app to see what the camera captures.
Mistake 2: Poor Lighting at Night
The problem: Infrared night vision shows movement but not faces or details. If your driveway is pitch-black, the camera’s night vision will only show outlines, not identifiable features.
The fix: Install outdoor lighting (motion-activated floodlights, string lights, or porch lights) near camera locations. This improves footage quality dramatically and often deters theft on its own.
Mistake 3: Weak Wi-Fi Signal for Wireless Cameras
The problem: Cameras on the edge of Wi-Fi range drop offline intermittently, send laggy live view, or fail to upload clips.
The fix: Before purchasing, run a speed test at each planned camera location. If signal is weak (below –70 dBm, a common reliability threshold), upgrade your Wi-Fi router, add a mesh network, or use a PoE wired system instead.
Mistake 4: Not Planning for Storage
The problem: You set up continuous recording, the NVR hard drive fills up in two weeks, and the oldest footage is automatically overwritten before you need it.
The fix: Calculate storage needs before you buy: as a rough planning estimate, 1 TB holds around 20–40 days of 2 MP continuous recording (varies by resolution and compression). For a 4-camera system, a 4–8 TB drive is a typical starting point. For cloud systems, choose a retention plan (30, 90, or unlimited days) that matches your budget.
Mistake 5: Recording Neighbors or Public Spaces Carelessly
The problem: A camera angle that captures your neighbor’s bedroom window or someone’s face as they walk past gets you a lawyer’s letter.
The fix: Before mounting, check the camera’s field of view from the app. Adjust the angle so the camera covers your property. A camera facing your driveway can capture the street behind it, but don’t deliberately aim at neighbors’ windows. Post a sign. If there’s ambiguity, ask the neighbor.
Privacy Best Practices Beyond the Law
Even if your cameras are legal, here are steps that build trust and protect your footage:
- Use a strong, unique password for your camera system’s account. Compromised passwords are the most common way home security footage gets leaked
- Enable two-factor authentication on your account
- Disable audio recording outdoors if you’re not using it (removes legal ambiguity and reduces security risk)
- Don’t share footage on social media even a short clip of someone stealing a package can lead to harassment or false accusations
- Set reasonable motion alerts so you’re not overwhelmed if you get an alert every 30 seconds, you’ll stop paying attention
- Review and delete footage regularly. If a neighbor has privacy concerns and asks, be willing to review your footage with them or provide a copy from a specific time. This builds goodwill
- Consider your guests: If friends visit and notice the camera, most won’t care. But if someone is uncomfortable, be transparent about what’s being recorded
- Update firmware regularly. Manufacturers patch security vulnerabilities frequently
Troubleshooting Connectivity and Performance Issues
Camera Keeps Going Offline
If wireless:
- Check Wi-Fi signal strength (–70 dBm or better is a reliable target). Move the hub closer or install a Wi-Fi extender
- Restart the hub (unplug for 30 seconds, plug back in)
- Check the camera for a “reconnect” or “reset” button and hold it for 10 seconds
- Update the hub and camera firmware in the app
- If the problem persists, the camera may be too far away; move it closer or use a wired system instead
If wired:
- Check the Ethernet cable connection at the NVR and at the camera tighten if loose
- Inspect the cable for damage (cuts, crimping, water damage)
- Test the cable with a cable tester if you have one
- Restart the NVR (reboot from the web interface or power cycle)
- If only one camera is offline, the cable to that camera may be bad; try swapping it with a working camera’s cable to confirm
Live View Is Laggy or Stuttering
Causes:
- Wi-Fi congestion (too many devices on the network, or distance from router)
- Insufficient internet bandwidth (check your upload speed; most HD camera streams need roughly 1–5 Mbps per stream)
- NVR hard drive is failing (check the NVR’s storage health in settings)
Fixes:
- Close other apps that use the network (streaming TV, large downloads)
- Lower the resolution or frame rate in the camera settings (trading video quality for smoothness)
- Run a speed test and contact your ISP if upload speed is consistently below 5 Mbps
- Back up your NVR’s footage and replace the hard drive if the health indicator is red
Motion Detection Doesn’t Work or Triggers Too Often
If motion isn’t detected:
- Check that motion detection is enabled in the camera or app settings
- Increase motion sensitivity (usually a slider from low to high)
- Ensure the camera isn’t facing a bright light or reflective surface, which can interfere
- Test by walking slowly in front of the camera (some systems require faster movement)
If motion triggers constantly:
- Decrease motion sensitivity
- Exclude areas with moving trees, shadows, or passing traffic (many systems allow you to draw “exclusion zones”)
- Clean the camera lens (dust or condensation can trigger false alerts)
Can’t Access Camera Remotely
Steps to restore remote access:
- Confirm the camera is online locally (can you see it on your home network?)
- Check your internet connection (run a speed test on your phone’s cellular data)
- Ensure two-factor authentication isn’t blocking your login
- Check the app’s notification settings some apps require explicit permission to access the camera remotely
- Restart the app and force-logout/login
- If the app has multiple sign-in options (email vs. username), try both
- Check your router’s port-forwarding settings (if you’re running a wired NVR, ports may need to be open for remote access)
- As a last resort, factory-reset the camera and set it up again
FAQ
Can I install a doorbell camera on my rental apartment?
Most landlords allow battery-powered doorbell cameras that don’t require drilling or wiring. Check your lease first, and ask permission to install one temporarily. You can uninstall and take it with you when you move.
How much data do security cameras use?
Typically 50–150 GB per month per camera, depending on resolution, compression, and how much motion there is. If your internet plan has a data cap, monitor your usage in the app’s settings. Cloud systems may notify you if you’re approaching your cap.
Do I need cameras on the back of my house?
It depends on your situation. If your backyard is fenced and private, you may not see the ROI. If your back door is a common entry point for burglars, or if you have a pool or patio where theft happens, a camera back there is valuable. Prioritize entry points (front, side doors) first.
What resolution do I need for facial recognition?
- 2 MP (1080p): Recognizes presence and rough features; good for confirming a person was there
- 4 MP (2K): Captures facial details from 10–15 feet away; standard for home security
- 8 MP (4K): Captures crisp detail even from 20+ feet; overkill for most homes, uses more storage and bandwidth
For doorbell cameras and entry points, 2–4 MP is standard and sufficient.
Is it legal to record someone walking past my house?
Generally yes you can record video of someone walking on a public sidewalk in front of your house. However, audio recording is restricted in two-party consent states (see the Privacy Laws section above), and laws vary by jurisdiction. If someone objects to being recorded, the safest practice is to turn off audio recording or adjust the camera angle.
Why is my NVR showing “no disk space” even though I just installed a new drive?
New hard drives need to be initialized in the NVR’s settings before they’ll be recognized. Go to the NVR’s web interface (usually at an address like 192.168.1.xxx:8000) and look for Storage > Initialize or Format Disk. This erases the drive, so back up any footage first.