
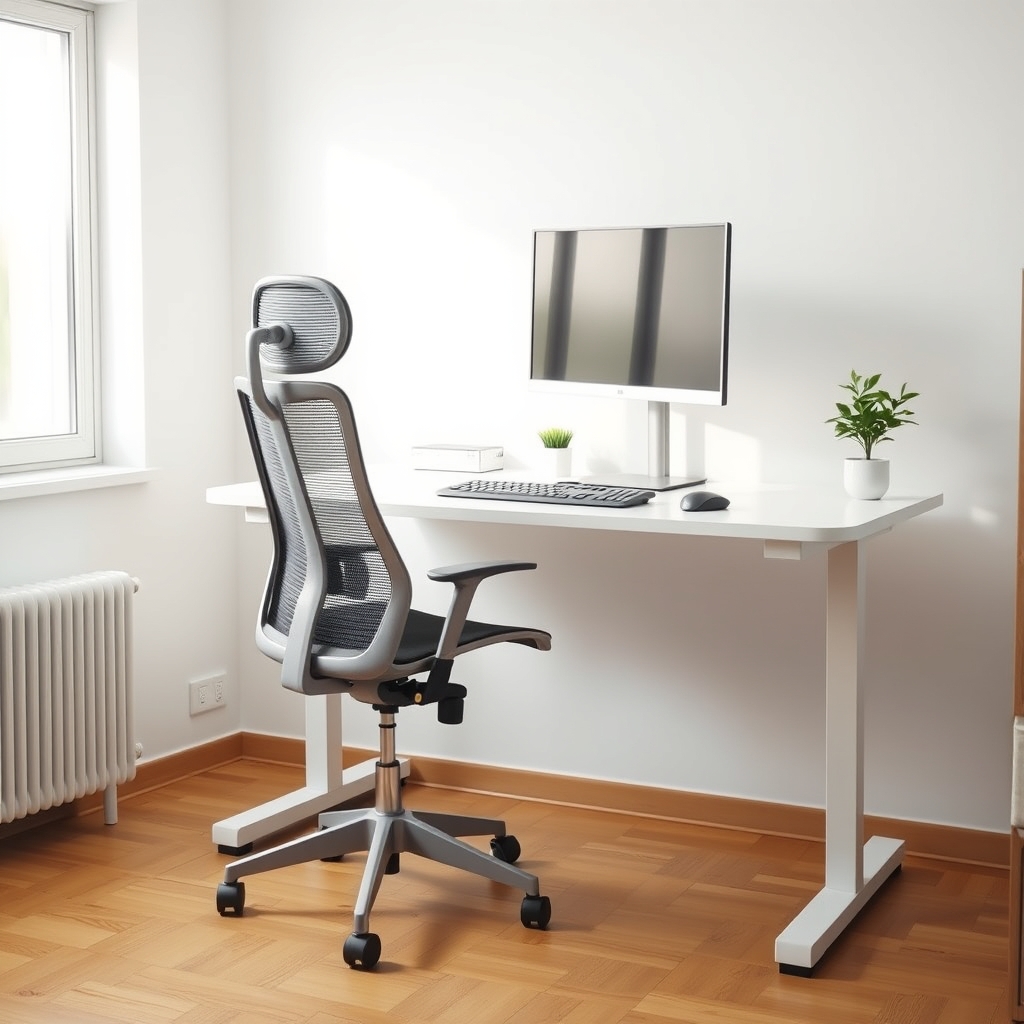
What Is Ergonomic Office Furniture?
Ergonomic office furniture is designed to support your body’s natural alignment and reduce strain on joints, muscles, and nerves during long work sessions. The goal isn’t luxury it’s positioning your spine, neck, shoulders, and wrists in neutral, low-stress angles so you can work eight hours without pain.
Unlike standard office furniture, ergonomic pieces adjust to fit your body’s dimensions rather than forcing your body into a standard shape. This matters because back pain, neck strain, and repetitive stress injuries (RSI) are among the most common complaints from remote and office workers. The right setup prevents them.
How we researched this guide: We did not conduct lab testing. Our recommendations are based on owner feedback patterns we’ve tracked across ergonomic office product communities, published occupational health guidance, and hands-on research comparing specifications, adjustment ranges, and build quality across price tiers. Where we cite thresholds or ranges, those reflect widely cited practitioner guidelines we’ve cross-referenced not proprietary testing.
How to Choose an Ergonomic Office Chair: The Seat Foundation
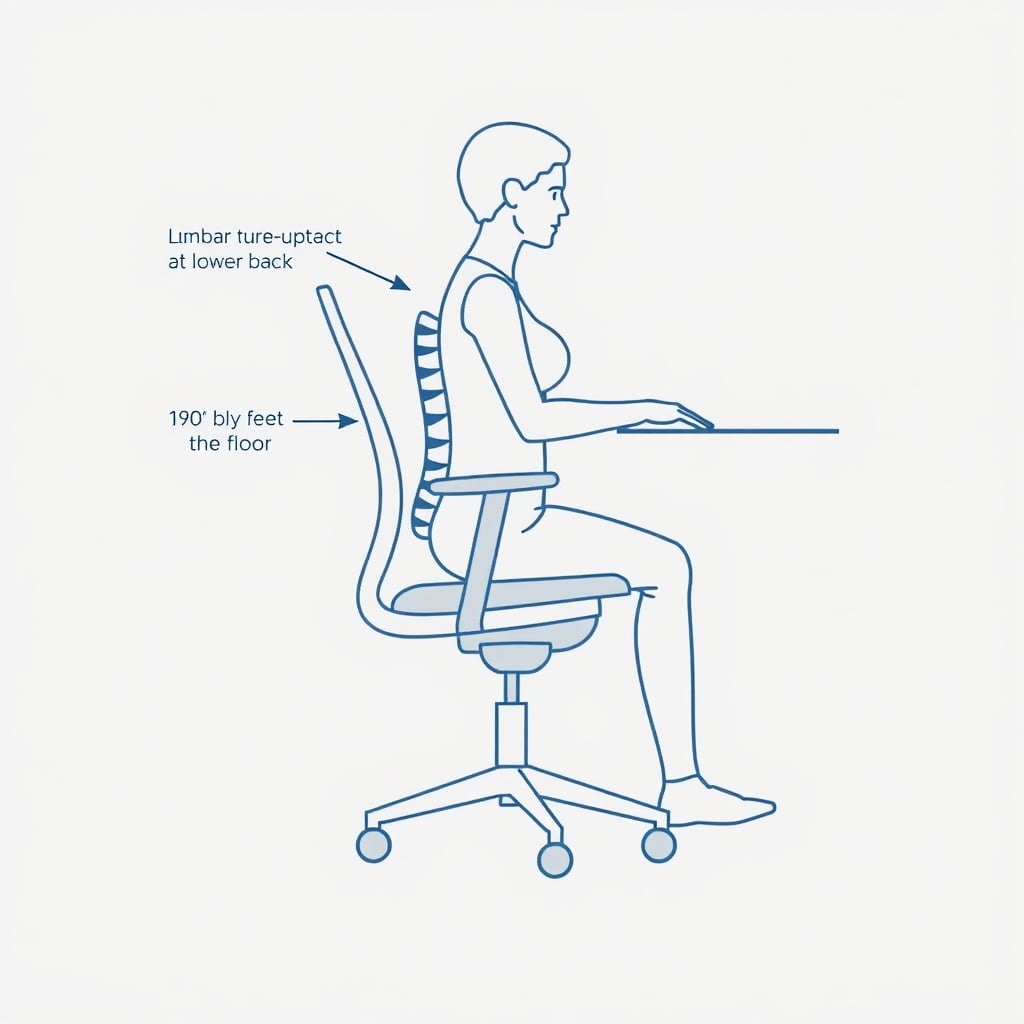
Rule of thumb: Your ergonomic chair should support your lower back’s natural curve, keep your feet flat on the floor, and allow your arms to rest at a 90-degree angle at the desk.
Your chair is the anchor of your entire setup. A poor chair forces your spine into rounded (flexed) or hollowed (extended) positions all day, which strains the discs and muscles in your lower back.
Lumbar Support: Why It Matters
Lumbar support refers to the curve built into or added to the chair’s backrest. Your lower spine (lumbar spine) has a natural inward curve called lordosis. A chair that doesn’t support this curve forces your spine to round, which stretches ligaments and stresses discs.
What to look for: The backrest should curve inward at waist height. If your chair is flat or curves the wrong way, your lower back rounds forward pain often follows within hours. Look for chairs with adjustable lumbar support (a knob or lever that lets you dial the curve up or down) so you can tune it to your spine’s shape. Some people need more curve; others need less.
The threshold that’s enough: A fixed lumbar support that sits 4–6 inches above the seat bottom, angled inward by roughly 1.5–2 inches, is adequate for most people. Adjustable lumbar support is better if your budget allows.
Seat Height and Depth: Measuring Your Fit
Seat height determines whether your feet rest flat on the floor which is critical for distributing weight evenly and taking pressure off your lower back.
What to look for: When you sit with your feet flat on the floor and your knees bent at roughly 90 degrees, your thighs should be parallel to the floor. Your feet should not dangle or press hard into the floor. Based on occupational health guidelines we’ve reviewed and owner feedback we’ve tracked, most adults need a seat height somewhere between 16 and 20 inches (measured from floor to seat surface) but if you’re shorter or taller, you may need to go outside this range, so always measure your own seated elbow height first.
Seat depth (how far the seat extends forward from the backrest) should leave 2–3 inches of space between the edge of the seat and the back of your knees when you sit upright. If the seat is too deep, the edge presses into your thigh and restricts blood flow. Too shallow and you slide off.
How to measure: Sit upright in the chair. Place your hand (fingers extended) between the seat edge and the back of your knee. You should fit roughly two fingers about an inch to an inch and a half. If you can’t fit your fingers, the seat is too deep. If there’s a gap bigger than your whole hand, it’s too shallow.
Armrest Height and Distance
Armrests should support your arms without forcing your shoulders up or letting your arms hang. Incorrect armrest height is a common cause of shoulder and neck strain.
What to look for: When you sit upright with your arms resting on the armrests, your elbows should be at roughly 90 degrees, and your shoulders should be relaxed (not shrugged). Armrests should be adjustable in height and, ideally, distance from the backrest (inward/outward). Fixed armrests force your arms into a one-size-fits-all angle.
The threshold that’s enough: Armrests between 7 and 10 inches above the seat surface are a reasonable starting range for most adults, though your actual need depends on your torso length. Adjustable armrests are worth the premium.
Recline and Tilt: Movement vs. Fixed Position
A slight recline (or tilt backward) can reduce pressure on your lower back during focused work. However, a reclining chair should not become a temptation to slouch or nap.
What to look for: Look for a chair with a tilt mechanism that allows a gentle backward recline of 10–15 degrees. Avoid chairs that recline too far (past 20 degrees) unless you intend to use them for breaks rather than work sessions. A multi-position lock lets you fix the chair at your preferred angle rather than constantly fighting to stay upright.
The trap: Chairs marketed as “gaming chairs” or “high-back racing style” often recline excessively and have aggressive bolstering that pushes your spine into an extended (arched) position. This feels comfortable initially but creates strain over hours. These are not ergonomic chairs they’re styled as one.
Material and Breathability
You will sit in this chair for 6–10 hours a day. A non-breathable seat makes you uncomfortable and causes your legs and backside to sweat, especially in warm climates or if your office isn’t well climate-controlled.
What to look for: Mesh backs and seats allow air circulation. Fabric upholstery is softer but retains heat. Leather is durable but also non-breathable. Based on owner feedback we’ve tracked, mesh chairs tend to stay comfortable longer in eight-hour sessions, particularly when air conditioning is inconsistent.
The threshold that’s enough: Mesh construction, or at least a mesh backrest with a cushioned fabric seat, is adequate for most office environments.
How to Position Your Monitor: Screen Height and Distance
Rule of thumb: Your monitor should sit at arm’s length away, with the top of the screen at or slightly below eye level when you sit upright.
Monitor height and distance are the second-biggest ergonomic lever after your chair. Incorrect screen positioning forces your neck into a forward lean or causes you to crane your head down two of the most common sources of neck and upper-back pain.
Eye Level and Neck Angle
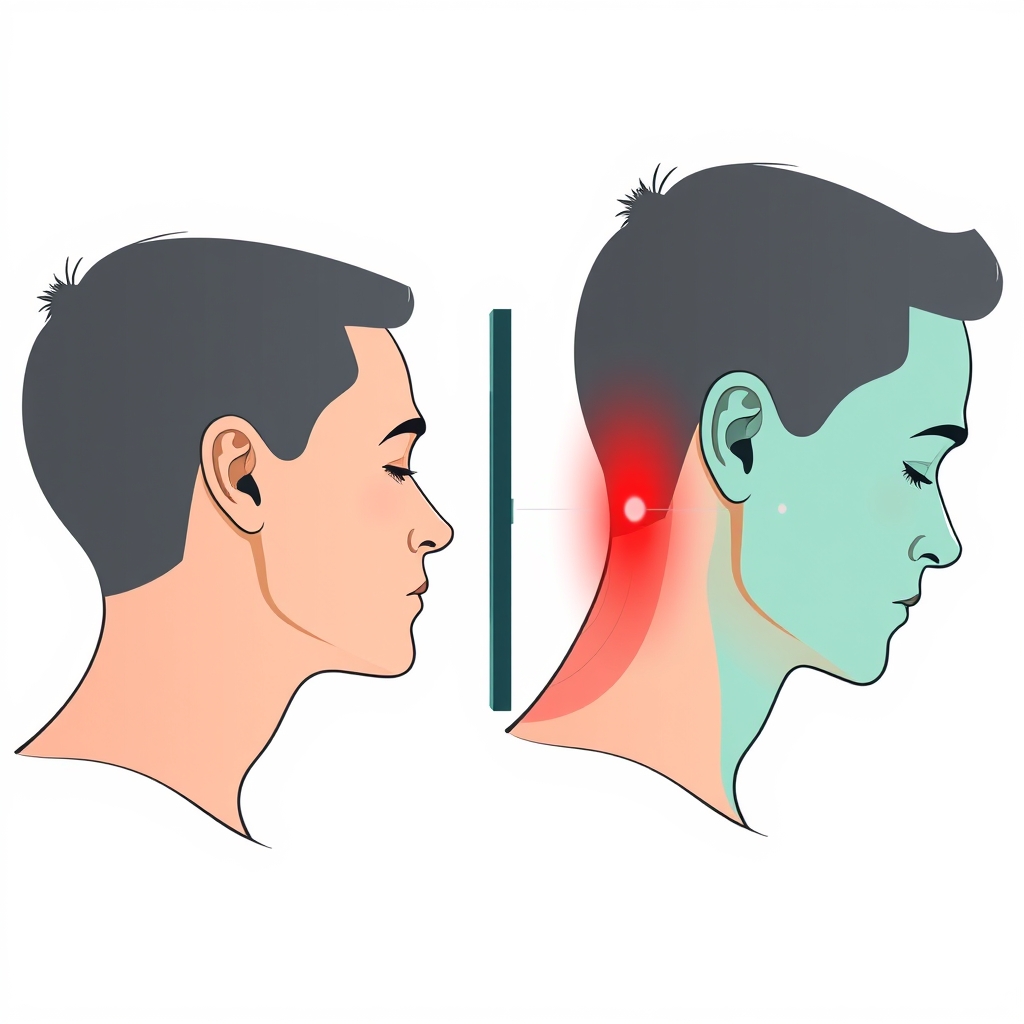
When your eyes are level with the top third of your monitor, your neck remains in a neutral position straight, not bent forward or back. Most people work with their eyes lower than this, which creates a chronic forward-head posture.
What to look for: Position the top of your monitor so that when you sit upright and look straight ahead, your gaze lands on the top third or top quarter of the screen. Your line of sight should angle roughly 15–20 degrees downward from horizontal. This keeps your neck muscles engaged without overstraining them.
How to measure: Sit at your desk in your working position. Look straight ahead (eyes level, chin parallel to the floor). Note where that line of sight intersects your monitor. If it hits below the middle of the screen, your monitor is too low. If your eyes are above the top of the screen, the monitor is too high.
Viewing Distance: Arm’s Length Matters
Monitor distance affects both neck strain and eye fatigue. Too close and your eyes work harder to focus; too far and you lean forward to see clearly.
What to look for: Your monitor should sit at arm’s length away. A quick test: extend one arm straight out from your body, fingers spread. If you can touch the top of the monitor, you’re in the right range. If there’s a gap, it’s too far; if you can’t reach it, it’s too close. Based on practitioner guidelines we’ve reviewed and owner feedback we’ve tracked, the range most people settle on is roughly 20–30 inches from eye to screen though this shifts with screen size.
The threshold that’s enough: For most setups, 24–27 inches is the practical sweet spot. Smaller screens (21–22 inches) can sit closer; larger screens (30 inches or more) should sit farther back.
Multiple Monitors and Angled Setups
If you use two monitors, center your body between them. The monitor you look at most should be straight ahead; secondary monitors should be at a slight angle (30–45 degrees) to the side.
What to look for: Monitor arms (adjustable brackets that clamp to your desk) let you position each screen independently, removing the need for monitor stands and freeing desk space. Based on owner reports we’ve reviewed, adjustable arms also help you pivot between monitors without twisting your torso.
How to Choose a Keyboard and Mouse: Wrist and Arm Positioning
Rule of thumb: Your keyboard and mouse should sit at a height where your elbows rest at 90 degrees and your wrists remain straight (neutral) when you type.
Repetitive stress injuries (RSI) in the wrists, forearms, and hands are common in office workers. Most of this strain comes from typing with bent or angled wrists, which compresses the carpal tunnel and strains the tendons.
Keyboard Height and Tilt
Your keyboard should sit lower than most standard desks. Most desk heights (29–30 inches) force your wrists into an upward bend (extension), which is the opposite of ergonomic.
What to look for: When you sit upright with your feet on the floor and your hands on the keyboard, your wrists should be straight not bent up, down, or to the side. Your elbows should be at roughly 90 degrees, and your forearms should be parallel to the floor or angled slightly downward (5–15 degrees) toward the keyboard.
How to measure: Sit in your chair with your arms at rest. Measure the distance from your elbow to the floor. Your keyboard surface should be roughly 1–2 inches lower than your elbow height. If your desk is too high, use a keyboard tray (an adjustable platform mounted under your desk) to lower the keyboard without lowering your entire desk.
The threshold that’s enough: A keyboard tray that adjusts from 3 inches below your desk surface down to 5 inches below is adequate for most people and costs $30–$80.
Keyboard Type: Mechanical, Ergonomic, or Standard?
Based on owner feedback patterns we’ve tracked, both standard flat keyboards and ergonomic split keyboards can work well if positioned correctly. The position matters more than the keyboard type.
What to look for:
- Standard keyboard: Flat, slightly angled backward (negative tilt). Inexpensive and portable. Risk: encourages wrist extension if not positioned low enough.
- Ergonomic split keyboard: Two halves angled outward. Reduces ulnar deviation (wrist bending inward) for some users. More expensive ($80–$150+). Risk: some users find the split awkward; results vary widely.
- Mechanical keyboard: Individual switches under each key. Feels responsive and durable. Can be ergonomic if the profile is low and the board is positioned correctly. No inherent ergonomic advantage over a standard keyboard.
The threshold that’s enough: A standard keyboard positioned correctly beats an expensive ergonomic keyboard positioned poorly. Start with correct positioning (using a keyboard tray if necessary); if you still experience wrist pain after two weeks, try an ergonomic split or mechanical variant.
Mouse and Trackpad Positioning
Your mouse or trackpad should sit at the same height as your keyboard, immediately next to it, so you don’t reach far or elevate your arm.
What to look for: Place your mouse directly to the side of your keyboard at the same height. Your elbow should stay close to your body, and your wrist should remain straight when you move the mouse. If your mouse sits on your desk surface (higher than your keyboard tray), you’ll reach up and across, straining your shoulder and wrist.
The trap: Wireless mice encourage people to place the mouse farther away, increasing reach and strain. Keep it close.
The threshold that’s enough: A basic mouse or trackpad positioned at the correct height beats an expensive ergonomic mouse positioned wrong. If you’re reaching or bending your wrist, reposition first.
How to Set Up Your Desk: Height, Surface, and Organization
Rule of thumb: Your desk should be between 28 and 30 inches tall (standard height), or adjustable if you alternate between sitting and standing.
Your desk’s height affects everything above it monitor height, keyboard height, and your overall posture. A desk that’s too high or too low cascades into poor positioning across your entire setup.
Adjustable vs. Fixed Height Desks
Adjustable sit-stand desks let you alternate between sitting and standing, which reduces fatigue and breaks up static posture. However, standing all day is no better than sitting all day the goal is to move.
What to look for:
- Fixed desk (28–30 inches): Standard, affordable, and stable. Risk: locks you into one posture all day.
- Adjustable sit-stand desk: Usually motor-driven, with preset heights. Allows switching between sitting and standing. More expensive ($300–$1,500+). Risk: requires discipline to actually switch; if you sit all day on a sit-stand desk, you get no benefit.
The threshold that’s enough: A fixed desk at the correct height is better ergonomically than an adjustable desk you never adjust. If you commit to standing for 20–30 minutes every two hours, an adjustable desk is worth the investment. Otherwise, save the money and move more throughout the day.
Desk Surface and Cable Management
A cluttered desk forces you to reach, stretch, and contort to access frequently used items. Cable management and surface organization reduce unnecessary movement.
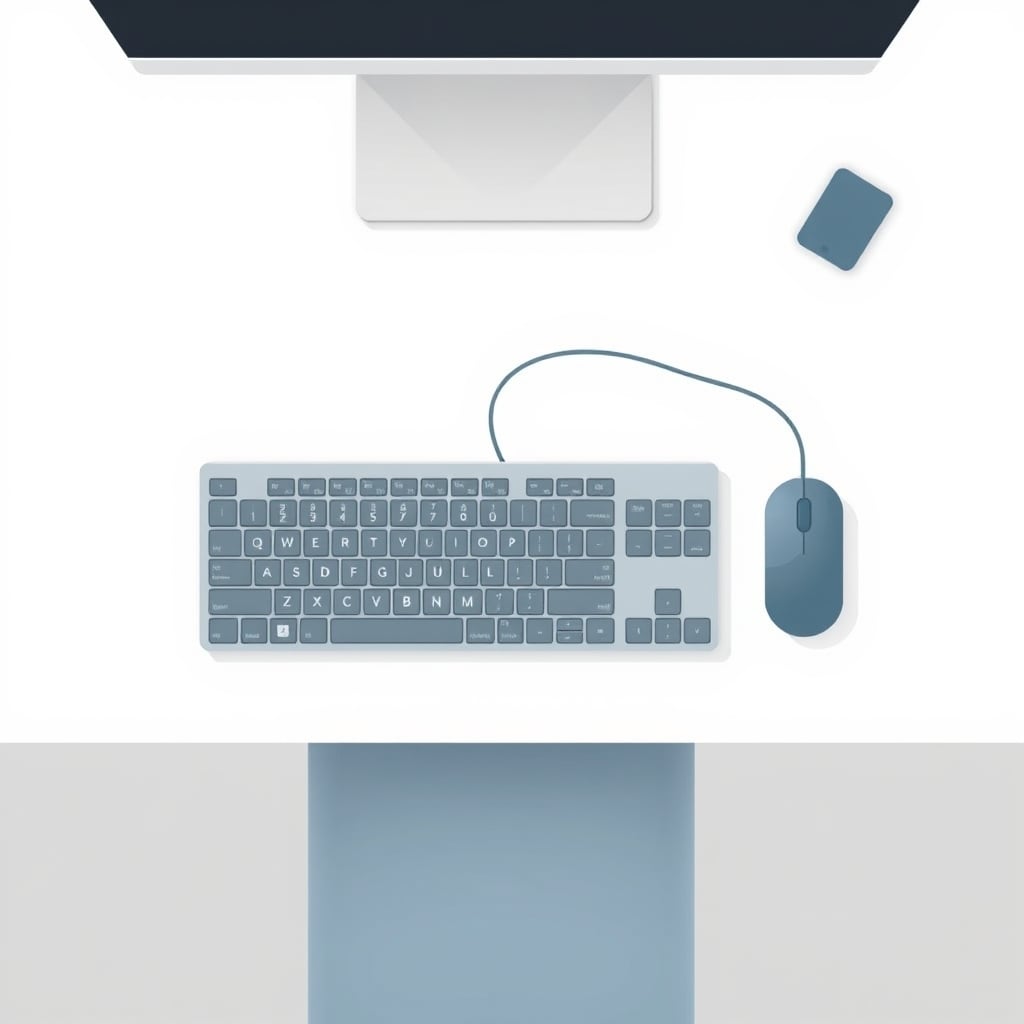
What to look for: A desk with enough surface area (at least 24 × 48 inches) to place your monitor, keyboard, and one or two frequently used items (phone, notebook, coffee cup) without crowding. Cable management trays or clips under the desk keep cables organized and reduce clutter.
Lighting: Eye Strain and Shadows
Rule of thumb: Your workspace should have ambient lighting (overhead or desk-mounted) combined with task lighting, positioned to avoid glare and shadows on your screen and work surface. Poor lighting causes eye strain, which makes you lean forward to see your screen more clearly a posture that stresses your neck and shoulders.
Ambient Lighting
Overhead lights or wall-mounted fixtures provide general illumination. Based on owner feedback patterns we’ve tracked, most people prefer indirect overhead lighting (ceiling-mounted or bounced off walls) over direct overhead lights, which can create glare.
What to look for: Occupational health guidelines we’ve reviewed commonly cite 300–500 lux as an adequate ambient light range for desk work roughly the level of a well-lit office or a bright cloudy day. (One lux is roughly equivalent to one candle’s light at one meter distance.) If overhead lights create glare on your screen, angle them or install diffusers. If your space falls far short of this range, your eyes are working harder than they need to.
Task Lighting
A desk lamp focused on your work surface reduces the contrast between your screen and surroundings, which reduces eye strain.
What to look for: A desk lamp with an adjustable arm, positioned to light your work surface without shining into your eyes or creating glare on your monitor. LED bulbs are efficient and run cool. Aim for a warm color temperature (2700K–3000K) to reduce eye strain during evening work.
The threshold that’s enough: A simple $20–$40 LED desk lamp with an adjustable arm and warm color temperature is adequate. You do not need a “circadian” or “biodynamic” smart lamp to meet this threshold.
Creating Your Ergonomic Setup: Measurement Checklist
Use this checklist to confirm your setup is aligned with ergonomic standards. Measure once, adjust, and revisit quarterly (as you adjust your habits or add furniture).
Body Measurements (measure yourself first)
| Measurement | How to Measure | Your Measurement |
|---|---|---|
| Elbow Height (Seated) | Sit upright with your feet flat on the floor. Measure from the floor to your bent elbow. | ____ inches |
| Eye Height (Seated) | Sit upright with your feet flat on the floor. Mark your eye level on a wall, then measure from the floor to the mark. | ____ inches |
| Thigh Length | Sit upright. Measure from the back of your knee to the front of your hip. | ____ inches |
| Arm Length (Extended) | Stand upright with your arm fully extended. Measure from your shoulder to your fingertip. | ____ inches |
Setup Checklist
- [ ] Chair seat height: Feet flat on floor, knees at 90°, thighs parallel to floor
- [ ] Lumbar support: Curve supports lower back; no rounding forward
- [ ] Armrest height: Elbows at 90°, shoulders relaxed (not shrugged)
- [ ] Monitor distance: Arm’s length away (roughly 20–30 inches)
- [ ] Monitor height: Top of screen at or slightly below eye level
- [ ] Keyboard height: Wrists straight, elbows at 90°, forearms parallel to floor
- [ ] Mouse position: Same height as keyboard, close to body
- [ ] Desk height: 28–30 inches (or adjust chair and keyboard tray to match)
- [ ] Feet supported: Feet flat on floor or footrest, not dangling
- [ ] Lighting: No glare on screen; sufficient light to read without leaning
Common Ergonomic Mistakes and How to Avoid Them
Mistake 1: Monitor Too Low or Too Far Away
The problem: Causes forward-head posture, neck strain, and upper-back pain.
The fix: Position the top of your monitor at or slightly below eye level, 20–30 inches away. Use a monitor stand or arm to raise the screen; if it’s too far, move it closer.
Mistake 2: Keyboard Too High
The problem: Forces wrists into extension (bent upward), leading to carpal tunnel strain and RSI.
The fix: Your keyboard should sit 1–2 inches below your elbow height. If your desk is too high, install a keyboard tray underneath.
Mistake 3: Sitting Without Lumbar Support
The problem: Lower back rounds forward over hours, stressing spinal discs and ligaments.
The fix: Choose a chair with adjustable lumbar support, or add a lumbar roll (a small cushion placed behind your lower back) if your chair doesn’t have built-in support.
Mistake 4: Feet Dangling
The problem: Shifts weight to your lower back and thighs, increasing pressure on the lumbar spine.
The fix: Adjust your chair height so feet rest flat on the floor, or use a footrest (a platform under your desk) to support feet if you’re shorter.
Mistake 5: Reaching for Your Mouse
The problem: Causes shoulder and wrist strain, especially over hours.
The fix: Place your mouse directly next to your keyboard at the same height. Keep it close to your body.
Mistake 6: Poor Lighting Causing Eye Strain
The problem: Leads to forward leaning and neck/shoulder tension as you try to see your screen better.
The fix: Add task lighting to reduce contrast; eliminate glare by angling overhead lights or screens.
Budget Considerations: What to Spend and Where
A complete ergonomic setup doesn’t require four-figure spending. Prioritize strategically.
Essential (Non-Negotiable)
- Chair with lumbar support: $150–$400. This is where to spend. You sit in it eight hours a day. A poor chair causes pain that $50 in accessories won’t fix. Look for adjustable lumbar support and seat height.
- Monitor stand or arm: $30–$150. Raises your screen to eye level. A stand is cheaper than an arm; an arm frees desk space.
- Keyboard tray: $30–$80. Lowers your keyboard if your desk is too high. Essential if you’re experiencing wrist pain.
High-Value (Do These Next)
- Desk lamp: $20–$60. Reduces eye strain and glare. Directional lighting improves posture by reducing the urge to lean forward.
- Footrest (if needed): $30–$80. Supports your feet if you’re shorter or your chair can’t go low enough.
Nice-to-Have (Add Later)
- Adjustable sit-stand desk: $300–$1,500. Worth it if you commit to switching positions. Not worth it if you never adjust.
- Ergonomic keyboard or mouse: $80–$150+. Try standard positioning first; upgrade only if you experience pain after two weeks of correct setup.
- Monitor arm (instead of stand): Frees desk space, but an arm is more expensive than a stand and requires more installation.
Based on owner feedback patterns we’ve tracked, the chair-plus-monitor-positioning combination prevents the most pain and strain invest there first.
How to Transition to an Ergonomic Setup
Don’t change everything at once. Switching from poor posture to correct posture suddenly can cause temporary muscle soreness your stabilizer muscles have to work for the first time in months.
Week 1: Chair and Positioning
Set up your new chair and adjust monitor height and keyboard position. Your back, neck, and shoulders may feel unusual or slightly sore for 3–5 days as deep stabilizer muscles engage. This is normal; soreness should fade by day five. If sharp pain occurs, recheck your positioning.
Week 2: Lighting and Breaks
Add task lighting and establish a break routine: every hour, stand for two minutes, look away from your screen (at least 20 feet away), and stretch.
Week 3: Keyboard and Mouse (if upgrading)
If you’re changing keyboard type, introduce it gradually use it for 30 minutes a day for a few days, then increase. Your hands may feel clumsy initially; this passes.
Frequently Asked Questions
Should I use a standing desk instead of sitting?
No. Standing all day is as problematic as sitting all day. The goal is movement and variety. If you use a standing desk, alternate between sitting and standing every 20–30 minutes. A fixed sitting setup that you stick to is better than an adjustable desk you never adjust.
How long does it take to adjust to an ergonomic setup?
Most people adjust within 5–14 days. Your body may feel sore for the first few days (your postural muscles are working), but sharp pain is a signal to recheck positioning. Gradual adjustment is better than switching everything at once.
Can ergonomic furniture prevent back pain completely?
No. Ergonomic furniture reduces the risk and severity of back pain, but movement, exercise, and breaks matter equally. Sit well, but also take breaks every hour and strengthen your core and back with light exercise (yoga, Pilates, or strength training) at least twice a week.
Is an expensive gaming chair or executive chair better than an ergonomic office chair?
No. Gaming chairs often have excessive reclining and bolstering that extends (arches) your spine the opposite of ergonomic support. Executive chairs are sometimes better than gaming chairs, but many lack adjustable lumbar support. Seek an office chair designed for postural support, not style.
What if my budget is under $300 for the whole setup?
Prioritize in this order: (1) a used, quality office chair with lumbar support ($80–$150 on the secondhand market); (2) a monitor stand ($30); (3) a keyboard tray ($30–$50); (4) a desk lamp ($20–$40). You’ll spend $160–$270 and have a functional ergonomic setup. Add nicer pieces as budget allows.
Do I need an ergonomic keyboard if I position my standard keyboard correctly?
No, not initially. Based on owner feedback patterns we’ve tracked, correct positioning solves the problem for most people. Try a standard keyboard positioned correctly for two weeks before spending on an ergonomic variant. If wrist pain persists, then upgrade.
Final Recommendation
Yes, it’s worth setting up your home office ergonomically. No, it doesn’t require five-figure spending. Do this instead takes about an hour:
- Choose an office chair with adjustable lumbar support and a height range that lets your feet rest flat on the floor.
- Position your monitor at arm’s length and eye level using a monitor stand or arm.
- Lower your keyboard to 1–2 inches below elbow height using a keyboard tray or by adjusting your desk height.
- Place your mouse next to your keyboard at the same height.
- Add a desk lamp to reduce glare and eye strain.
- Take a two-minute break every hour: stand, look away, and stretch.
These steps prevent most of the pain and strain that office workers experience. Start here. If pain persists after two weeks of correct positioning, upgrade specific components ergonomic keyboard, footrest, or adjustable sit-stand desk based on where the pain is.
Your spine will thank you.