

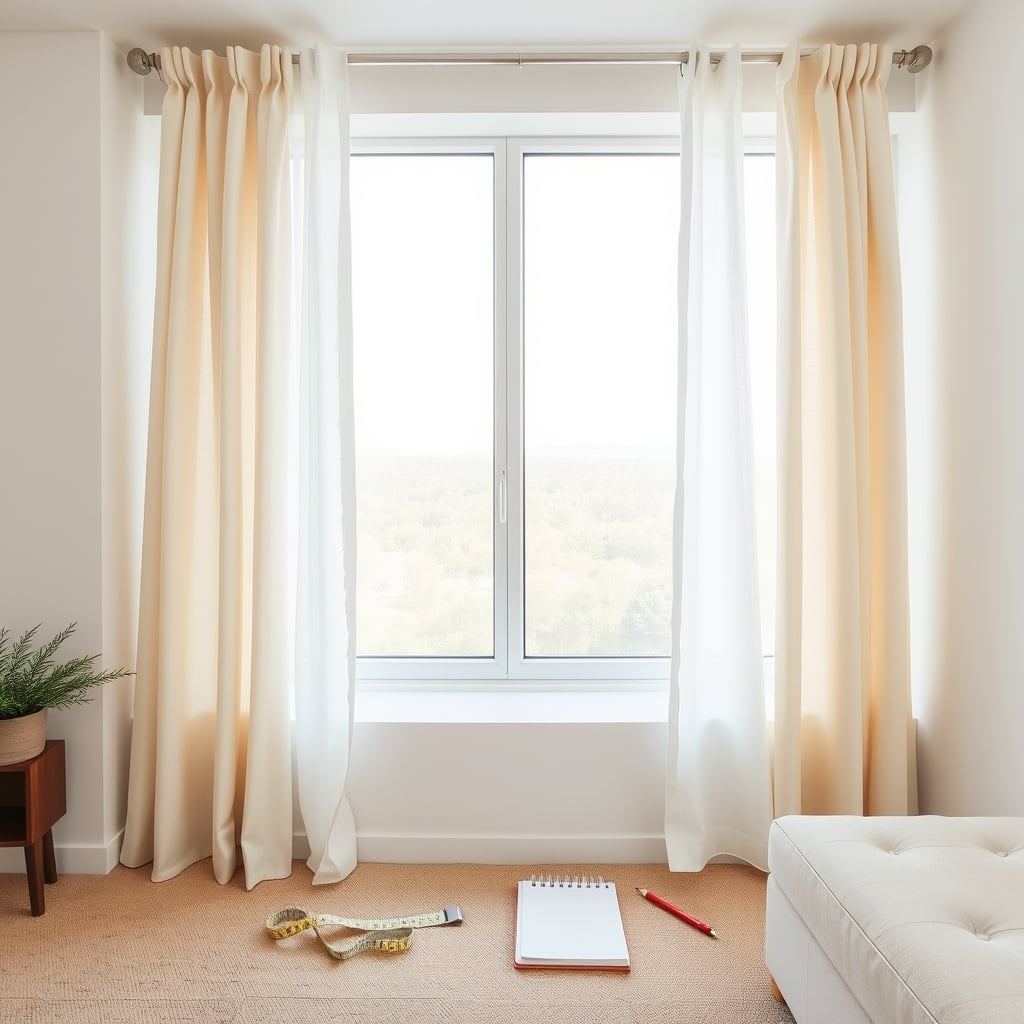
Measuring for curtains and blinds correctly takes 10–15 minutes per window and prevents costly mistakes, returns, and poor fit. The difference between a measurement that’s off by half an inch and one that’s precise comes down to knowing which edge to measure from, how high to hang the rod, and whether your window shape is standard or irregular.
This guide walks you through measurement methods for curtains, blinds, shades, and café rods covering both inside and outside mounts, different window types, and the most common setup mistakes.
What You’ll Need
- A metal measuring tape (at least 12 feet) cloth or soft tapes drift and lose accuracy
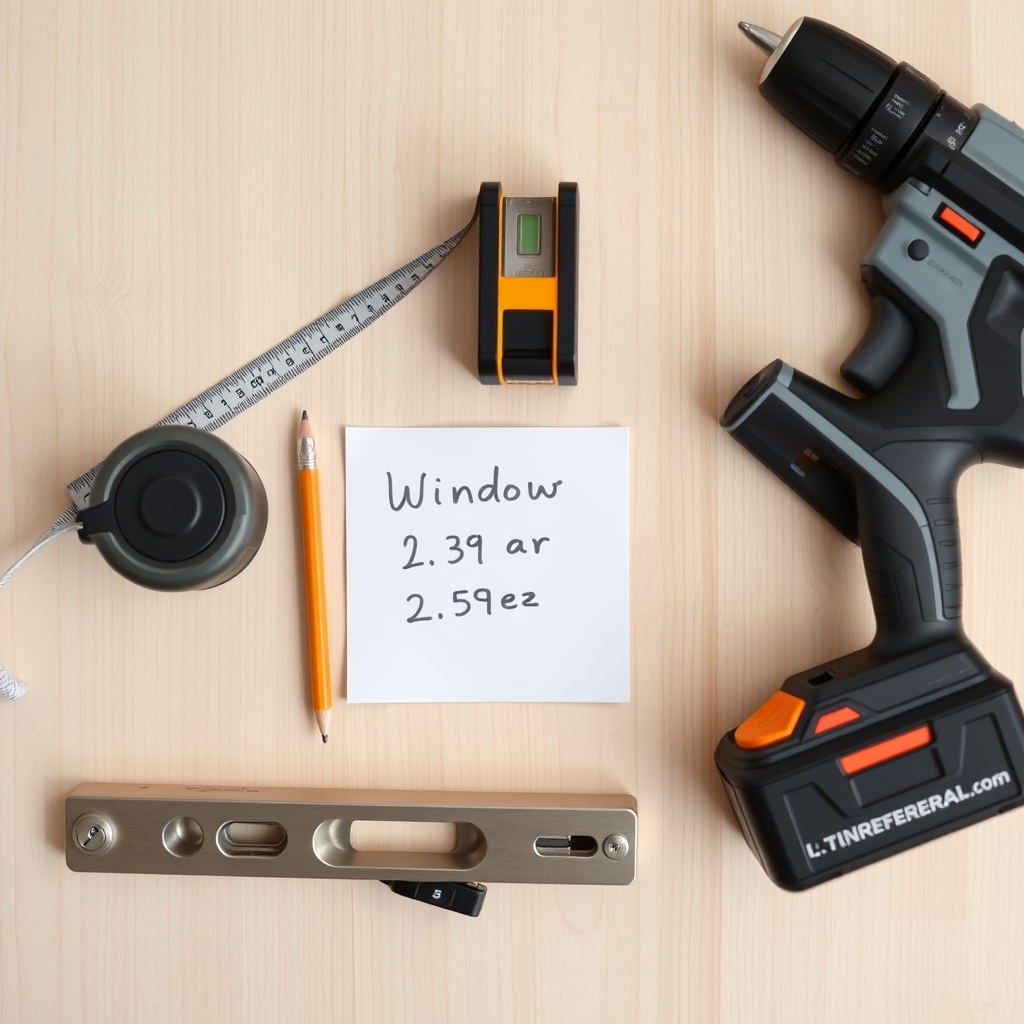
- A pencil and notepad to record measurements
- A level (optional but recommended for rod placement)
- A helper if measuring high windows or wide spans (not required, but safer and faster)
Measure each window separately, even if they appear identical most windows vary by a quarter inch or more.
How to Measure for Curtains: Step by Step
Step 1: Decide on Your Hanging Style
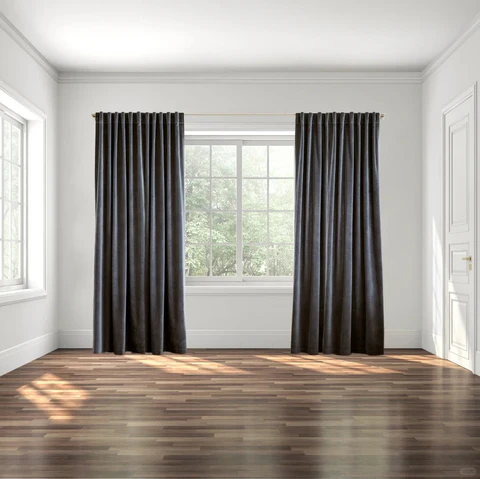
Your hanging style inside mount, outside mount, or floor-to-ceiling determines where you measure from. Inside mount means the rod sits within the window frame; outside mount means the rod sits on the wall above and to the sides of the frame; floor-to-ceiling means the rod spans from wall to wall, typically high on the wall and extending down to the floor.
Outside mounts and floor-to-ceiling hangings create a larger, more formal look and hide the window frame. Inside mounts are cleaner for small spaces and work best with minimal rod protrusion.
Step 2: Measure the Width
For inside mount:
- Measure the inside width of the window frame at the top, middle, and bottom. Use the smallest measurement (often at the top if the frame sags). This is your final width do not add or subtract.
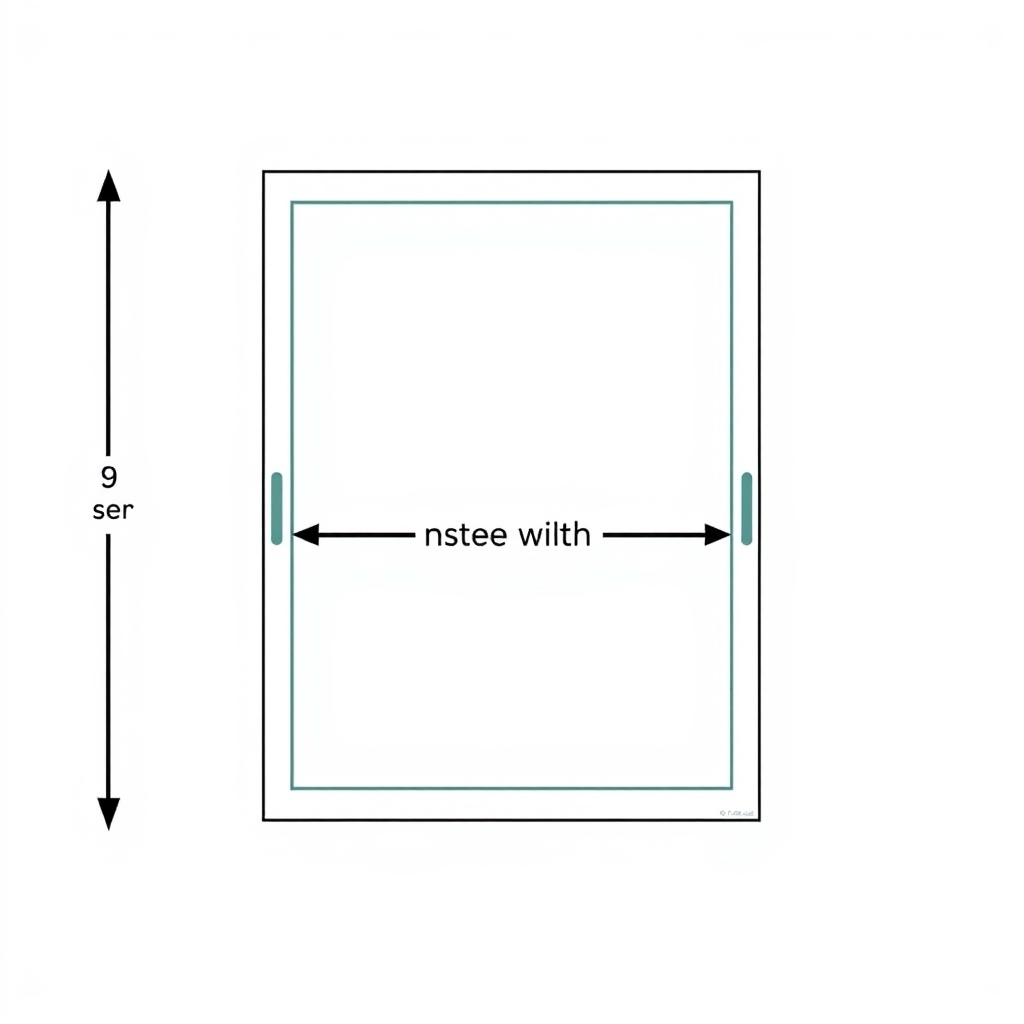
- Most inside-mount curtain rods are designed to fit snugly, so confirm the rod’s hardware will fit inside your frame depth before ordering.
For outside mount:
- Decide how far beyond the frame you want the curtains to extend on each side. Standard practice is 8–12 inches beyond the frame on each side (so 16–24 inches wider than the window itself) to allow full stack-back when curtains are open.
- Measure from your intended left rod-placement point to your intended right rod-placement point. Write this down as your rod width.
- For very wide windows (over 72 inches), plan a center support bracket to prevent sagging.
For floor-to-ceiling:
- Measure from the top of the wall (where you’ll mount the rod) to the floor. This is your curtain length.
- For the width, follow the outside-mount logic above, extending 8–12 inches beyond the window on each side.
Step 3: Measure the Height
For inside mount:
- Measure the inside height of the window frame from the top of the frame to the bottom. Measure at the left, center, and right. Use the smallest measurement.
- Order a blind or shade sized to fit inside the frame. Inside-mount blinds and shades typically hang just inside the frame edge or sit flush against the top of the frame.
For outside mount (curtains):
- Decide how high to hang the rod. Standard practice is 4–6 inches above the window frame. Hanging higher makes the room appear taller.
- Measure from your intended rod height down to where you want the curtain to end. Most curtains end at the windowsill, just below the sill (1–2 inches), or at the floor.
- Sill length: Measure from rod to sill.
- Below-sill length: Measure from rod to 2 inches below the sill.
- Floor length: Measure from rod to the floor, then subtract 0.5 inches to prevent dragging.
- Write down the rod placement height and the final curtain length separately never assume they’re standard measurements.
For outside mount (blinds and shades):
- Measure the outside width of the window frame (or the wall span you’re covering).
- Measure the outside height from the top of the window frame (or your intended top placement) to the bottom of the frame (or your intended bottom placement).
- Add 2 inches to the height to ensure full coverage when the blind is fully raised.
Step 4: Check for Square and Level
- Measure the window diagonals: top-left to bottom-right, then top-right to bottom-left. If both diagonals are equal, the window is square. If they differ by more than half an inch, the window is out of square note this.
- Use a level on the wall where you plan to mount the rod. If the wall is noticeably out of level (common in older homes), you may need to adjust one end of the rod slightly or accept that the curtain hem won’t be perfectly level.
- For blinds and shades on out-of-square windows, measure the height at the left, center, and right sides. Use the longest measurement so the blind doesn’t leave gaps.
Step 5: Account for Pattern Repeats and Fabric Shrinkage
- If your curtain fabric has a large pattern repeat (ask the retailer), allow 2–4 extra inches of length as a general heuristic for pattern matching at seams exact needs vary by pattern size and panel width.
- Natural fabrics like linen typically shrink 3–5% when washed in warm water, based on widely reported owner experience. If you plan to launder your curtains, add this buffer to your length order or plan for hem adjustment after the first wash.
How to Measure for Blinds: Step by Step
Inside-Mount Blinds
- Measure the inside width of the window frame at the top, middle, and bottom. Use the smallest measurement.
- Measure the inside height from the top of the frame to the bottom. Measure at the left, center, and right sides. Use the longest measurement so the blinds fully cover the window when fully raised.
- Most blind manufacturers deduct a small amount from your submitted dimensions typically around 0.125 inches from the width and 0.25 inches from the height to ensure the blind fits without binding. This varies by brand, so check your retailer’s spec sheet before ordering.
- Inside-mount blinds hang just inside the frame using small brackets. Confirm that the frame has enough depth (at least 1.5 inches) to accommodate the blind’s stack height and mounting brackets.
Outside-Mount Blinds
- Measure the outside width and height of the window frame. For maximum coverage, extend the blind 2 inches beyond the frame on all sides (so add 4 inches to the width, 2 inches to the top height).
- Outside-mount blinds use surface brackets that attach to the wall or frame exterior, so measure and mark bracket positions carefully before ordering.
How to Measure for Shades: Step by Step
Rolled shades (roller shades), cellular shades, and Roman shades follow the same measurement logic as blinds.
Inside Mount
- Measure the inside width at the top, middle, and bottom. Use the smallest.
- Measure the inside height at the left, center, and right. Use the longest.
- Cellular and Roman shades have thicker stacks than roller blinds, so confirm the frame depth can accommodate them (typically 2+ inches).
- For inside-mount shades, order exactly to your measurements most manufacturers will deduct the small amount automatically.
Outside Mount
- Measure the outside frame dimensions and add 2 inches to width and 2–3 inches to the top (or up to 2 inches below the ceiling for a cleaner look).
- Decide whether the shade bottom should reach the windowsill, below the sill, or the floor. Measure accordingly.
Conversion Chart: Hanging Styles and Common Mistakes
| Hanging Style | Rod Placement | Curtain Length | Inside-Mount Blind Width | Notes |
|---|---|---|---|---|
| Inside Mount (Curtains) | Inside the window frame, centered | Equal to frame height | N/A | Rod sits within the window frame. Frame depth should be at least 1.25 inches. |
| Outside Mount (Curtains – Standard) | 4–6 inches above the window frame and 8–12 inches beyond each side | Sill-length, below-sill, or floor-length | N/A | The most common installation. Makes windows appear taller and wider. |
| Floor-to-Ceiling (Curtains) | At the ceiling or about 6 inches below it | Floor height minus 0.5 inch | N/A | Creates the most elegant, custom look. Use wall anchors or mount into studs for support. |
| Inside Mount (Blinds/Shades) | Inside the frame at the top edge | Measure the longest inside frame height | Measure the smallest inside frame width | Provides the cleanest appearance. Window frame should be square for smooth operation. |
| Outside Mount (Blinds/Shades) | 2 inches above and beyond the window frame | Frame height + 2 inches above + 2 inches below | Frame width + 4 inches | Maximizes light blocking and privacy while covering more of the windo |
The Most Common Measurement Mistakes And How to Avoid Them
Mistake 1: Measuring Only One Point
Windows in older homes, and even newer ones, often sag or bow. Measuring only the top (or only the center) can result in a blind or shade that fits perfectly at one point but binds or leaves a gap elsewhere.
Fix: Always measure at three points top, middle, bottom (for height) and left, center, right (for width). Use the smallest measurement for inside mounts (so the blind doesn’t bind) and the largest for outside mounts (so there are no gaps).
Mistake 2: Forgetting to Account for Rod Protrusion
Curtain rod brackets typically protrude from the wall by 2–5 inches depending on the style though this varies by product, so check the spec sheet when ordering. If you’re measuring for an inside mount and the rod sticks out too far, the curtains won’t clear the frame when opening.
Fix: Measure the frame depth before ordering an inside-mount rod. Confirm the rod’s bracket depth (usually listed in the product specs) is at least 0.5 inches less than your frame depth. For outside mounts, add 2–4 inches to your width measurement to allow full stack-back.
Mistake 3: Not Adding Extra Length for Pattern Repeat or Shrinkage
A fabric with a 12-inch pattern repeat stretched across a wide panel may require several extra inches to allow the pattern to align cleanly at seams and hems 6–8 inches is a common heuristic, though your actual need depends on panel width and how many seams are involved. Natural fabrics also shrink in the wash.
Fix: Ask the retailer for the pattern repeat before ordering. If it’s significant, add extra length as recommended by the retailer or fabric supplier. For linen, cotton, or wool curtains you plan to wash, add 3–5 inches to your order and plan to have the hems re-sewn after the first wash, or accept that the curtain will shrink slightly in use.
Mistake 4: Measuring to the Floor, Then Hitting the Floor When the Curtain Hangs
Curtains that just touch the floor tend to drag on dust and get caught when opening and closing. A curtain that measures exactly to the floor length will hang too long once the rod is installed and the weight of the fabric settles.
Fix: Subtract 0.5–1 inch from your floor-length measurement. Curtains should end just above the floor (0.25–0.5 inches of clearance). For a more formal look, subtract only 0.25 inches. Test the fit after hanging you can always have the hem adjusted.
Mistake 5: Assuming All Windows Are the Same Size
Even in the same room, windows can vary by 0.5–1 inch in width and height. Ordering one size for multiple windows leads to poor fits on all but one.
Fix: Measure every window separately, even if they look identical. Write down the measurements for each and order accordingly.
How to Install Curtain Rods and Blinds Correctly
Installing an Outside-Mount Curtain Rod
- Mark the bracket positions. Using a pencil, mark where the left and right brackets will attach. For standard hanging, mark 4–6 inches above the window frame. Use a level to ensure the marks are horizontal.
- Locate the studs if possible. Use a stud finder to locate wall studs behind the bracket locations. Mounting into a stud is stronger and more reliable than drywall anchors alone.
- Install brackets. Drill pilot holes if using wood screws into studs, or use appropriate wall anchors for drywall (toggle bolts for heavy curtains, expansion anchors for lighter ones). Attach brackets firmly they’ll bear the weight of the curtains and rod.
- Hang the rod and check level. Slide the rod through the curtain rings or slide hardware and rest it on the brackets. Recheck with a level; adjust if necessary.
- Hang curtains and test. Hang the curtains and open/close them fully several times to ensure smooth operation and no binding.
Installing an Inside-Mount Blind or Shade
- Confirm frame depth. Measure the frame depth from the front of the window frame to the back. Ensure it’s at least 0.5 inches greater than the blind’s mounting bracket depth.
- Mark bracket positions. Most inside-mount blinds use two top brackets. Mark their positions at the top corners of the frame, roughly 1 inch from each corner. Use a level to ensure the marks are aligned.
- Install brackets. Use the mounting hardware provided with the blind. For wood frames, use wood screws; for vinyl or aluminum frames, use the appropriate fastener (check the blind’s instructions).
- Install the blind. Slide the blind’s header rail into the brackets until it clicks or locks in place. Verify the blind operates smoothly and rolls/raises evenly.
- Adjust tilt and height. Test the tilt mechanism (for blinds) or raise/lower lever (for shades) to ensure smooth operation.
Unusual Window Shapes: How to Measure
Bay and Bow Windows
- Measure each panel of the bay or bow separately. Width is measured across the face of each panel; height is measured from the top of the panel to the bottom.
- You have two options: mount one long rod across the entire bay (less common, requires a bendable rod), or mount separate rods on each panel (most common).
- If mounting separate rods, allow for overlap where panels meet to avoid gaps.
- For blinds and shades, order a separate unit for each panel section.
Angled and Cathedral Ceilings
- Measure the width at the widest point (typically the bottom of the angle).
- Measure the height from the mounting point (usually the upper angle) to the bottom of the window.
- Curtains on angled windows often hang at an angle as well, which can look intentional and stylish. Confirm with the installer or rod manufacturer that the hardware can accommodate angled mounting.
- For blinds and shades on angled windows, ask the retailer if they offer angled-window hardware; many do not.
Arched and Round Windows
- Arched windows require custom shades or curtains mounted on a curved track. Standard rods and blinds won’t fit.
- Measure the width at the widest point and the height from the base to the top of the arch.
- For a custom solution, provide these measurements plus a photo of the window to a custom blind or shade retailer. Budget for longer lead times and higher costs.
Corner and Wrap-Around Windows
- Measure each section separately as you would a bay window.
- At the corner, consider overlap and the physical meeting point of the rods or hardware.
- Install rods with end brackets that prevent curtains from swinging into the corner.
Key Measurement Terms Explained
Inside Mount: The rod, blind, or shade sits within the window frame itself. Provides a clean, minimalist look and maximizes the visual size of the window.
Outside Mount: The rod, blind, or shade sits on the wall outside the frame, typically extending 2–12 inches beyond the frame edges. Creates a larger visual opening and hides the frame.
Stack-back: The space consumed by open curtains when they’re pulled fully to one side. For example, a pair of 84-inch-wide curtain panels on a 60-inch window will each stack roughly 10–15 inches to one side, so the open window will be narrower than the rod span. A longer stack-back means more of the window is visible when curtains are open.
Return: The distance the rod protrudes from the wall typically 2–5 inches for curtain rods and 1–3 inches for blind brackets, though exact dimensions vary by product. A longer return pulls the curtains further from the wall and improves light control.
Pattern Repeat: The distance between identical motifs in a patterned fabric. Large repeats (8–12+ inches) require extra fabric length to align seams or hems cleanly.
Frequently Asked Questions
How much extra should I add to a curtain length for shrinkage?
Natural fabrics like linen, cotton, and wool typically shrink 3–5% when washed in warm water, based on widely reported owner experience. If you plan to launder your curtains, add 3–5 inches to your length order as a buffer. Alternatively, have the hems adjusted after the first wash. Synthetic fabrics (polyester, acrylic blends) shrink less; confirm with the retailer.
Can I install blinds on a window that’s out of square?
Yes, but measure the height at three points (left, center, right) and use the longest measurement so the blind fully covers the window when raised. Out-of-square windows may create a slight visual tilt; this is usually not noticeable once installed and the blind is raised or lowered.
Should curtains touch the floor?
No. Curtains should end 0.5–1 inch above the floor to prevent dragging on dust and getting caught when opening or closing. For a very formal look, you can reduce this to 0.25 inches, but test the fit after hanging. Curtains that measure exactly to floor length will hang too long once the rod is installed and the weight settles.
What’s the difference between inside-mount and outside-mount blinds?
Inside-mount blinds sit within the window frame and provide a clean, minimalist aesthetic. They work best on square, deep frames and maximize the visual size of the window. Outside-mount blinds sit on the wall outside the frame, extending 2+ inches beyond the frame on all sides. They’re better for frames that aren’t square, shallower frames, and situations where you want to maximize light control or hide the frame entirely.
Do I need a stud finder to install a curtain rod?
Stud finders are helpful but not required. If you can locate studs using other methods (knocking on the wall, looking for nail pops, or checking framing seams), you can mark stud locations. For drywall without studs behind the bracket positions, use appropriate wall anchors rated for your curtain weight. Heavy, full-length curtains require stronger anchors or studs; lightweight sheer curtains can often hang from drywall anchors alone.
Can I return curtains or blinds if they don’t fit?
Return and exchange policies vary by retailer. Many allow returns on custom-ordered items if the measurements were provided by the customer; some do not. Before ordering, confirm the retailer’s policy. Keep your original measurements and order confirmation in case you need to dispute or adjust an order.
Pro Tips for Measuring and Installing
- Invest in a metal tape measure. Cloth tapes stretch and provide inaccurate readings. A metal tape costs $10–20 and will serve you for years.
- Measure twice, order once. Taking an extra 5 minutes to re-measure and verify your numbers prevents costly mistakes.
- Take photos of your windows. A photo with measurements written on it (using photo editing software) helps you remember which window is which and provides a reference if you need to contact customer service.
- Test the fit on one window first. If you have multiple identical windows, order one blind or set of curtains first, install it, and verify the fit before ordering the rest.
- Ask the retailer for their measurement tolerance. Some retailers accept ±0.25 inches; others ±0.5 inches. Knowing this helps you decide whether your measurements are precise enough to order.
- Plan for professional installation if the job is complex. Angled windows, bay windows, and very high or wide installations are best left to professionals. The cost of installation is often less than the cost of ordering and re-ordering.
Next Steps
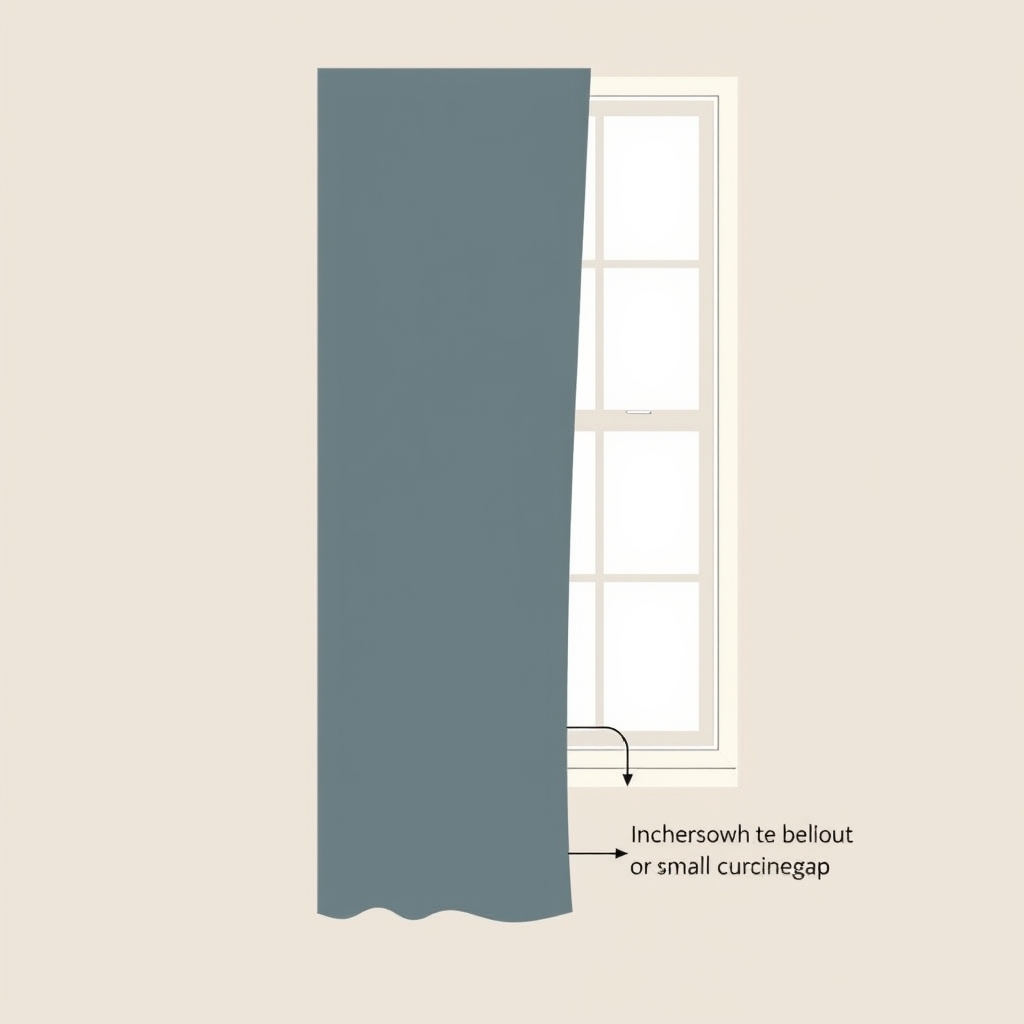
Once you’ve gathered your measurements, review to choose a style and fabric that suits your space. If you’re ordering custom curtains or blinds, send your measurements to the retailer via email along with a photo of your window this creates a record and helps ensure accuracy.
For installation, refer to the retailer’s instructions or hire a professional. Many window treatment retailers (and some home improvement stores) offer installation services for a flat fee or percentage of the purchase price.