
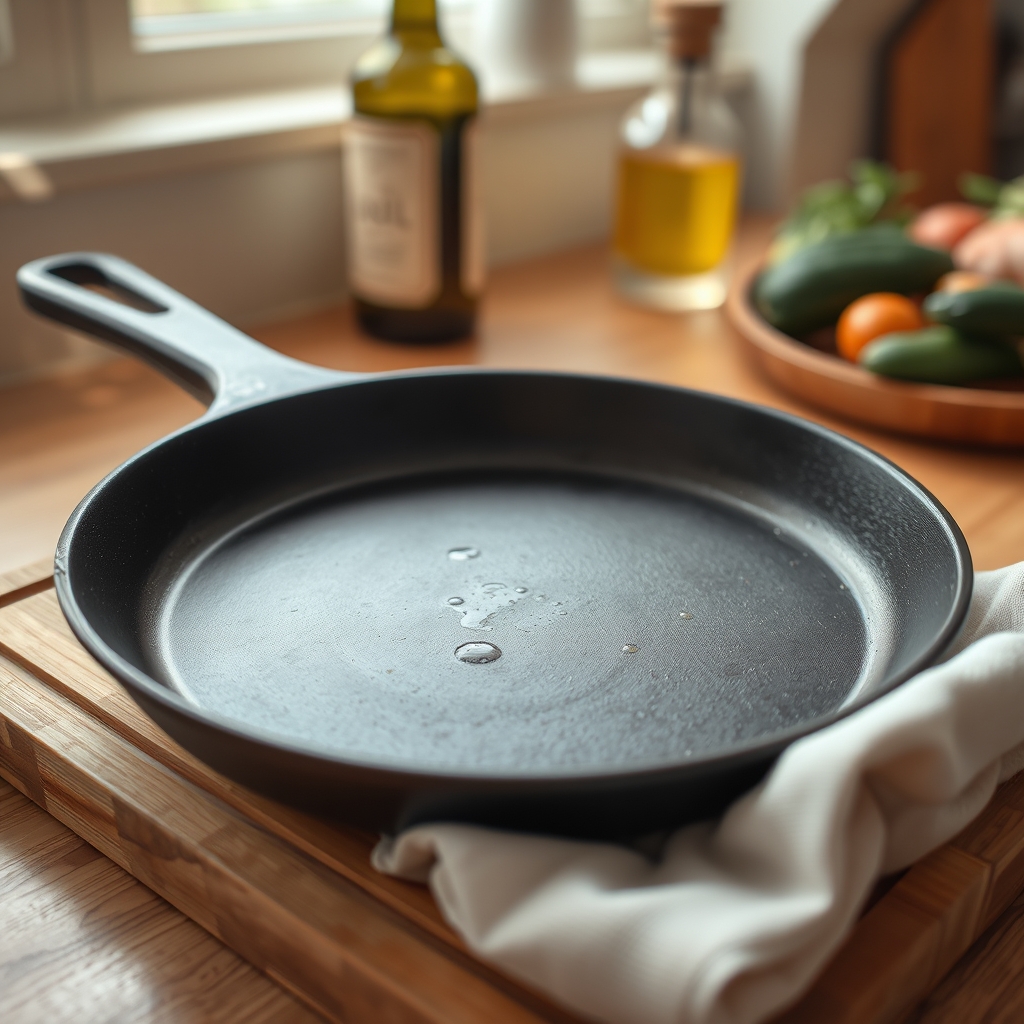
How to Season Cast Iron (and Keep It Seasoned)
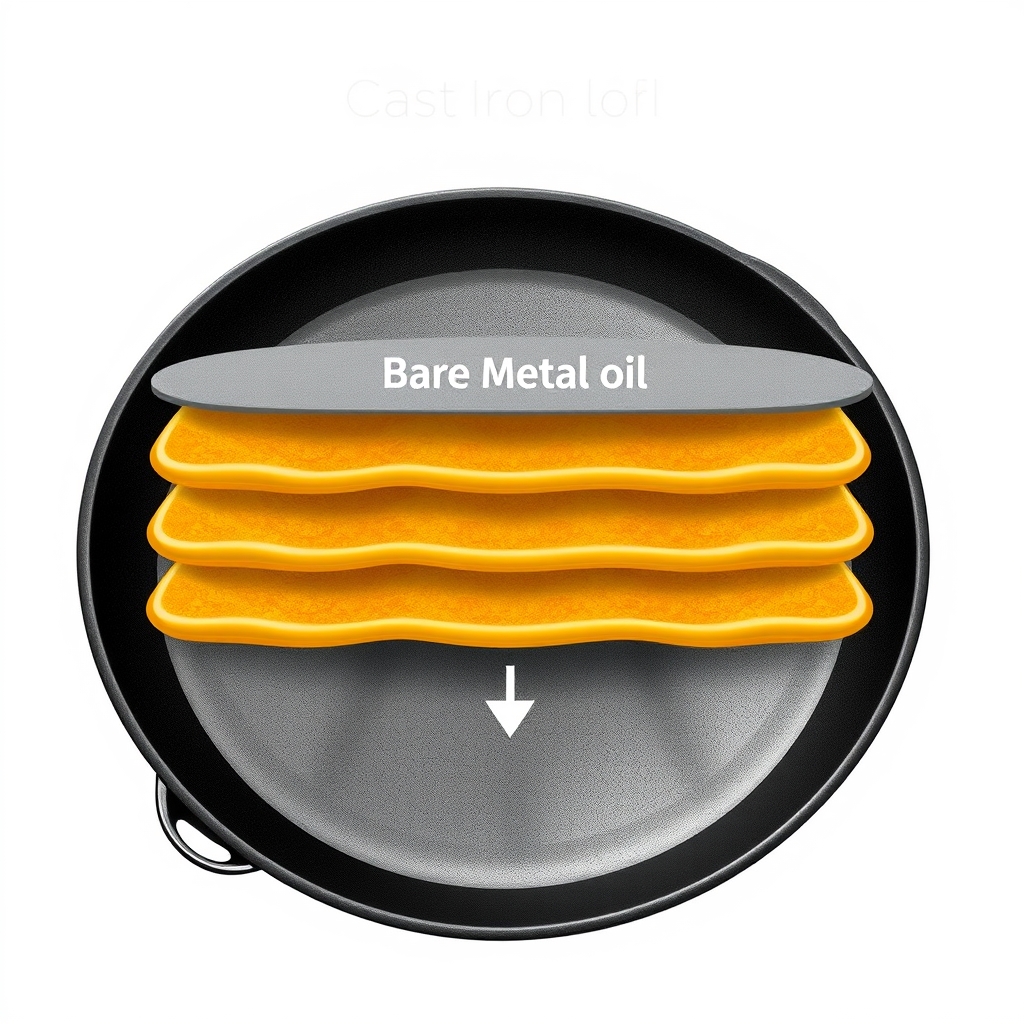
Cast iron seasoning is a buildup of polymerized oil that creates a naturally non-stick surface and maintaining it takes just one extra step after cooking. Most home cooks can season a new or stripped pan in 3–4 hours of oven time, spread across multiple thin coats, though the pan reaches usable condition much sooner.
The confusion happens because seasoning isn’t a one-time event: it’s a habit. Every time you cook with fat or oil and let the pan cool, you’re adding thin layers to the existing base. A properly seasoned cast iron pan isn’t slippery the way non-stick coatings are it’s smoother and more durable, and it actually improves with age and use.
What You’ll Need
- A cast iron skillet (new or stripped)
- Vegetable, canola, or grapeseed oil (high smoke point; avoid olive oil or butter for seasoning)
- Soft cloth or paper towels
- Oven set to 450–500°F
- Baking sheet or foil to catch drips
Step-by-Step Seasoning Instructions
Step 1: Start with a clean, dry pan.
If your pan is new, wash it with hot water and dish soap (yes, really once is fine). If it’s inherited or stripped, scrub any rust with a steel wool pad or chainmail scrubber until bare metal shows. Dry it completely with a towel; any moisture will cause uneven seasoning or rust spots.
Step 2: Apply a very thin layer of oil.
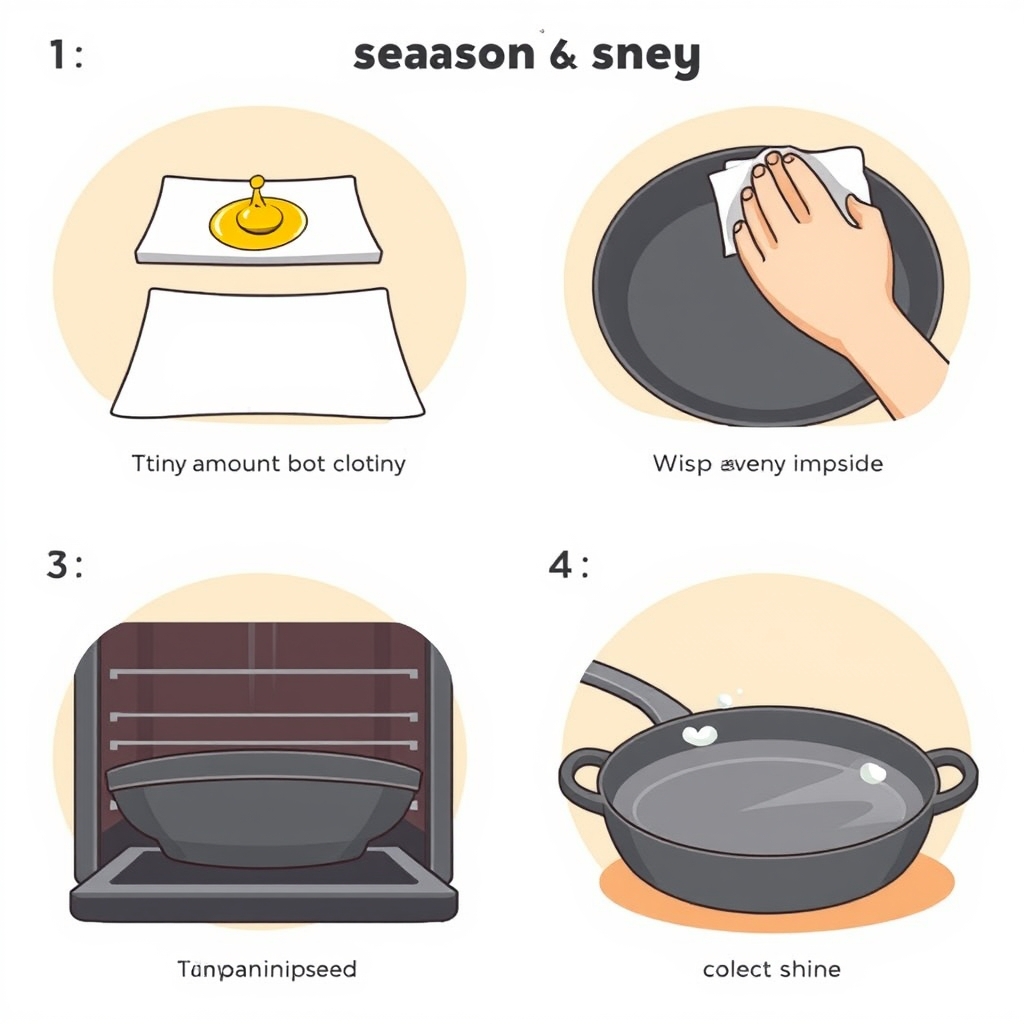
Pour a dime-sized amount of oil onto a cloth and wipe it all over the cooking surface, the sides, the bottom, and the handle. This is the critical step most people get wrong: the layer must be almost invisible. If it looks shiny or wet, you’ve applied too much. Use a clean part of your cloth to buff away any excess until the pan looks almost dry.
Step 3: Wipe off what you think is already off.
Now wipe the pan one more time with a clean, dry cloth. This removes the excess that causes sticky buildup. Seasoning works because oil polymerizes (chemically bonds to the metal) at high heat too much oil just creates a sticky residue that flakes off.
Step 4: Place the pan upside down in the oven.
Rest it on the middle rack (put foil on the rack below to catch any drips). Bake it upside down so any excess oil pools away from the cooking surface. Bake for 1 hour at 450–500°F.
Step 5: Cool completely, then repeat 3–5 times.
Let the pan cool in the oven for at least 30 minutes (it will be extremely hot). Once cool, repeat Steps 2–4. Most cooks apply 4–6 coats for a solid base, but even 2–3 coats creates a usable pan. Each coat should be barely visible.
The Mistake Everyone Makes
Applying too much oil. A thick, shiny coat will polymerize into a sticky, uneven finish that peels. The oil needs to bond to the metal, not sit on top of it. If you see visible shine after wiping, use a fresh cloth and buff again.
The Non-Obvious Caveat
If you live in high humidity or forget to dry your pan after washing, rust spots may appear even on a seasoned pan and that’s okay. Rust is surface-level and easy to remove: scrub the spot with a dry steel wool pad or chainmail, reapply a thin coat of oil, and wipe. You don’t need to strip the entire pan.
Daily Cast Iron Care: The One-Minute Routine
Seasoning a pan once is just the foundation; the real magic happens every time you cook. Each meal is an opportunity to add another microscopic layer of polymerized oil. Here’s the routine that keeps a cast iron pan non-stick and rust-free:
Wash Immediately After Cooking
While the pan is still warm (not smoking hot), rinse it under hot water. Use a soft cloth, sponge, or soft-bristle brush to wipe away food. A little soap is fine the myth that soap ruins cast iron is outdated and false. Soap doesn’t strip seasoning; it only removes grease and stuck-on food.
For stuck-on food, scrub with coarse salt and a bit of oil (this acts as an abrasive), then rinse. Avoid the dishwasher and scouring pads; they’re too aggressive.
Dry Completely
Use a cloth to dry the entire pan, including the handle, bottom, and sides. Any moisture left sitting invites rust. If you’re thorough about it (and cast iron enthusiasts often are), place the warm pan on a burner set to low heat for 30 seconds to evaporate any hidden moisture.
Apply a Thin Coat of Oil
While the pan is still slightly warm, apply a tiny amount of oil to a cloth and wipe the entire cooking surface. Buff it immediately with a clean cloth so it’s almost invisible. This locks in the cooking fats and adds another layer of seasoning. Store the pan somewhere dry not next to the sink or inside a humid cabinet.
The Caveat
If you cook acidic foods (tomato sauce, wine, vinegar, citrus), they will temporarily thin the seasoning where they touch the pan that’s normal. Acidic foods can also impart a metallic taste if the seasoning is thin. For very acidic dishes, use a stainless steel or enameled Dutch oven instead, or add your acid later in cooking.
Modern Cooking Techniques for Cast Iron
Cast iron isn’t just for cornbread anymore. Here’s how to use a properly seasoned pan across different cooking methods.
High-Heat Searing and Stovetop Cooking
Cast iron’s best feature is heat retention: it stays hot and distributes warmth evenly, so steaks, burgers, and vegetables sear beautifully. Heat the empty pan over medium-high heat for 3–5 minutes until a water droplet dances and evaporates instantly. Add a small amount of oil (not butter it has a lower smoke point), then add your protein or vegetable.
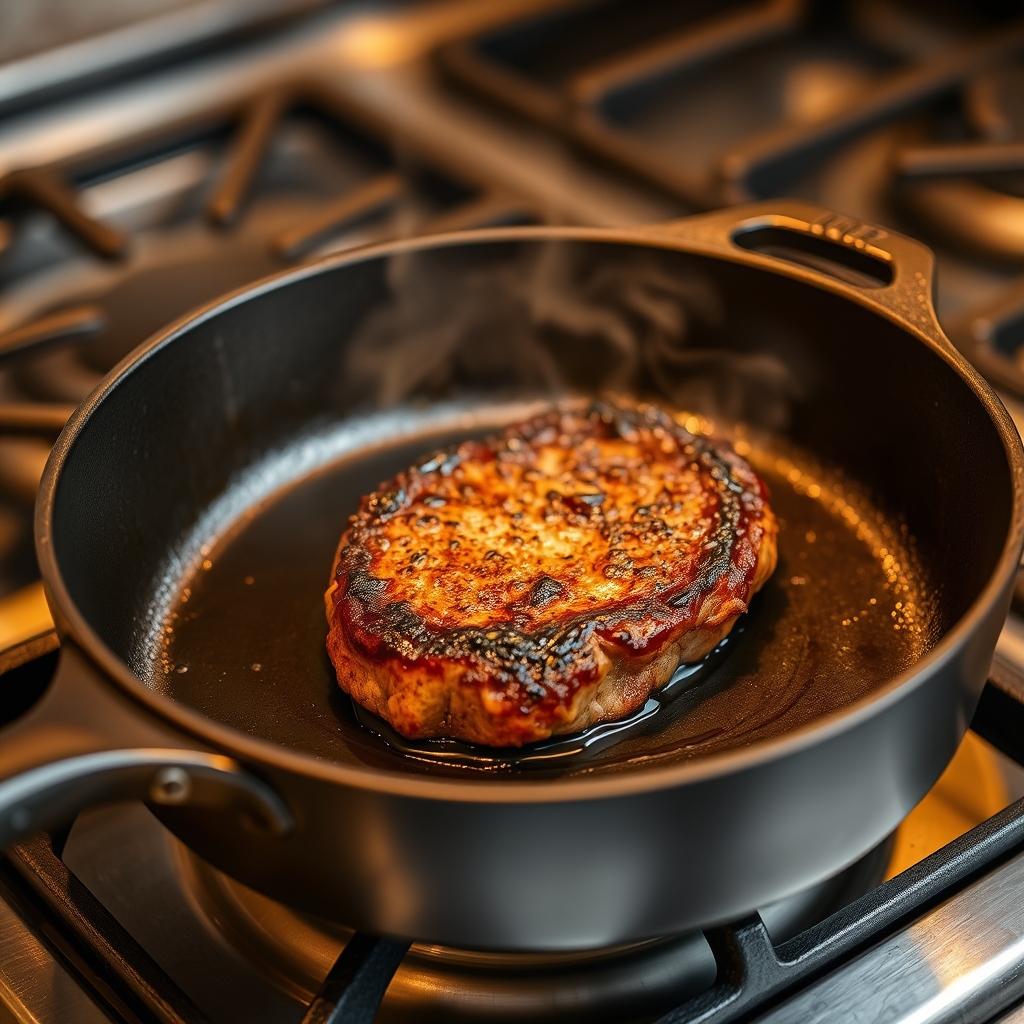
Don’t move food around obsessively. Let it sit for 3–4 minutes to develop a crust, then flip once. Cast iron’s weight means you won’t need a heavy hand to achieve good sear marks.
Oven Finishing
Start a dish on the stovetop, then transfer the entire pan to a preheated oven to finish cooking. This is especially useful for thick cuts of meat or foods that need gentle finishing heat. The pan handle is oven-safe (verify the handle isn’t silicone or coated plastic), and the steady, surrounding heat cooks the interior evenly.
Baking and Cast Iron Skillet Bread
Cast iron is ideal for baking cornbread, skillet pizza, or rustic focaccia. The pan’s heat distribution produces an even, golden crust. Preheat the pan in the oven, then carefully pour batter or dough into the hot oil. The initial sizzle creates a crispy bottom.
Slow Cooking and Simmering
Unlike non-stick pans, cast iron can handle acidic sauces for short periods without damage. If you’re simmering tomato sauce or braising meat, the cast iron retains heat beautifully, but don’t leave the food sitting in the pan overnight. Acidic foods can etch the seasoning if left for more than a few hours.
Cooking with Acidic Foods: The Real Rule
Yes, it’s safe. No, not the way the box tells you. Use cast iron for acidic dishes during the cooking process (15 minutes to 1 hour), then transfer the finished food to a serving dish. Don’t store leftovers in the pan. The seasoning will temporarily thin where acid touches it, but one acid meal won’t ruin your pan. Over time, repeated acid exposure on thin seasoning can wear it down that’s when you reseason.
Stripping and Restoring Cast Iron
If you inherit a pitted, rusty, or heavily damaged pan, or if a pan has built up years of sticky, flaking seasoning, you may want to start over. Stripping removes all seasoning and rust down to bare metal, giving you a blank slate. This takes several hours but is worth it for a salvaged heirloom pan.
Methods for Stripping
Oven Cleaner (Easiest, Slowest): Place the pan in a sealed plastic bag with a rag soaked in oven cleaner. Leave it overnight (or longer). The fumes soften the seasoning. Rinse, scrub, and repeat. This method is slow but requires minimal effort.
Steel Wool or Chainmail (Fastest, Most Labor): Use a power drill with a wire wheel attachment or scrub vigorously by hand. Wear gloves bare metal is sharp. Scrub until the cooking surface is smooth and shiny, with no dark spots or pitting.
Electrolysis (Overnight, Requires Setup): Submerge the pan in a solution of washing soda and water with a DC power source. The electrolysis removes rust and seasoning without pitting the metal. This method is overkill for most home cooks but is popular in cast iron communities.
Once stripped, wash the bare metal with soap and water, dry immediately, and begin seasoning using the steps above.
Troubleshooting Common Cast Iron Problems
Sticky or Flaking Seasoning
Cause: Too much oil was applied during seasoning, or the pan wasn’t wiped thoroughly before baking.
Fix: Scrub the sticky spots with steel wool, reseason the affected area (thin coat, wipe, bake), or strip the entire pan and start fresh.
Rust Spots or Pitting
Cause: Water left on the pan or stored in humid conditions.
Fix: For surface rust, scrub with dry steel wool or a pencil eraser, dry, and reseason. For deep pitting, strip the entire pan the pitting is permanent but won’t affect cooking.
Food Sticks or Pan Feels Rough
Cause: Seasoning is too thin or uneven. The pan was stored in humid air and lost layers. You’re cooking on too high heat for too long.
Fix: Build seasoning back up with daily use (apply oil after each wash). Use medium-high rather than max heat. Add a touch more fat to the pan when cooking.
Metallic Taste When Cooking Acidic Food
Cause: Acid is eating through thin seasoning and exposing bare metal.
Fix: Use a different pan for very acidic dishes, or add the acid near the end of cooking so it doesn’t sit on the bare metal for long. Reseason the pan afterward.
Seasoning Cast Iron: Common Questions
Can I use butter or olive oil to season cast iron?
No both have commonly cited smoke points in the 350–400°F range, meaning they’ll burn before they polymerize properly and leave a sticky residue instead of a hard seasoning layer. Use oils with higher smoke points: vegetable, canola, grapeseed, avocado, or refined coconut oil.
How often should I reseason my cast iron?
You don’t need to, if you cook regularly with fat and wipe the pan after each use. Seasoning builds layer by layer with normal cooking. If your pan feels rough or sticky, or if you’ve cooked many acidic meals, strip it and reseason every few years or not at all if daily maintenance is working.
Is cast iron safe for the dishwasher?
No. Dishwashers are too hot and too wet. The harsh detergent and prolonged water exposure will strip seasoning and cause rust. Hand-wash only.
Can I use cast iron on a glass or induction cooktop?
Yes, cast iron works on all cooktops, including induction (which requires ferrous metal). However, dragging a heavy cast iron pan across a glass cooktop can scratch it. Lift gently or use a pan protector. Induction requires no special technique the pan heats normally.
Does cooking with cast iron add iron to my food?
Minimally, based on general nutritional guidance. Acidic foods draw slightly more iron from the pan, but the amount is considered negligible for most people. If you have hemochromatosis (a condition where your body absorbs too much iron), consult your doctor before cooking frequently in cast iron.
Building a Cast Iron Collection
Most home cooks find 2–3 cast iron pans sufficient: an 8–10 inch skillet for daily cooking, a 12 inch for larger meals, and optionally a Dutch oven for baking and slow cooking. Lodge and Le Creuset are the most accessible modern brands; vintage Griswold and Wagner pans (pre-1950s) are lighter and smoother if you find them secondhand.
Start with one good skillet, master the seasoning and care routine above, then add others if you want them. A single well-seasoned pan will outperform a drawer full of neglected ones.