
What Is Outdoor Recreation Gear?
Outdoor recreation gear is equipment designed for hiking, camping, and backcountry travel that protects you from the elements and carries your essentials safely. Think backpacks, tents, sleeping bags, and navigation tools the core items that keep you fed, dry, and oriented when you’re away from civilization.
Why it matters: a hiker with the wrong pack suffers shoulder pain by mile three; a camper with an inadequate tent gets rained on at night; someone lost without a map or compass wastes hours and energy. The right gear doesn’t just make trips comfortable it prevents small mistakes from becoming genuine emergencies.
This guide breaks down what you actually need at three experience levels (beginner, intermediate, expert), shows you what matters most and what’s hype, and gives you a starting point for each skill tier. We’ll skip the “you need 47 specialty items” trap and focus on the core essentials that multiply your options and confidence.
Why Beginners Underestimate Gear Weight
The first shock for new hikers is how heavy everything feels. A pack that weighs 35 pounds on your living room floor doesn’t feel heavy until your shoulders have worn it for an hour.
Based on patterns consistently reported in hiking communities and gear forums: beginners often pack 8–10 pounds of gear they never use, plus duplicate items (two flashlights, extra socks “just in case”). A realistic beginner day pack typically runs 15–20 pounds; a weekend backpack tends to sit at 25–35 pounds depending on trip length and season.
The rule of thumb widely observed in hiking communities: your loaded pack should not exceed 25% of your body weight for day hikes, or 20% for overnight trips. If you weigh 160 pounds, that’s 32 pounds for an overnighter. Yes, ultralight hikers go lower but that takes technique and expensive gear. Start here and work backward if you get stronger.
Common myth: “I need the lightest gear available.” You don’t. You need durable gear that fits your trip type. A $300 ultralight tent lasts three seasons if you use it hard; a $100 three-season tent from a reliable brand lasts five to seven seasons if treated well. Start affordable, learn what breaks, then upgrade.
The Three Skill-Level Starter Kits
Beginner Kit (First Day Hike to Weekend Overnighter)
You’re testing whether you actually like this thing. Rent or borrow first if you can; if you’re buying, prioritize comfort and durability over lightweight specs.
Core essentials:
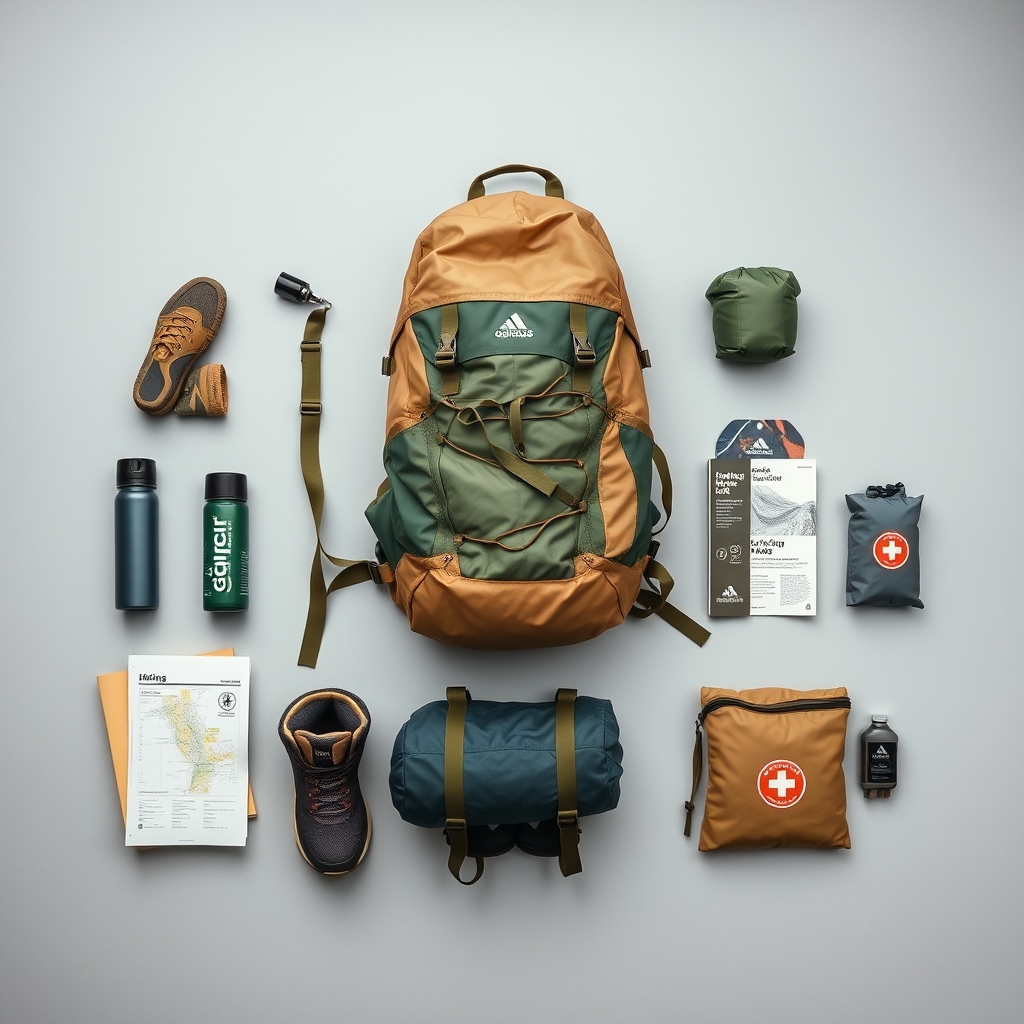
- Backpack: 30–40 liters for day hiking; 45–65 liters for overnights. Look for padded straps, a hip belt, and a rain cover. Osprey, Deuter, and Gregory are reliable entry points. Budget $80–$150.
- Hiking boots or shoes: Not sneakers. Proper hiking footwear has ankle support or stiff soles and tread designed for loose terrain. Merrell, Salomon, and ASICS make solid beginner models ($60–$130).
- Sleep system: Sleeping bag rated 10–15°F below your lowest expected temperature, plus a sleeping pad to insulate you from the ground. A beginner 3-season bag runs $60–$120; a decent closed-cell foam pad is $15–$40. Don’t skip the pad it’s half your warmth and comfort.
- Shelter: A 3-season tent for $100–$200. MSR, REI Co-op, and Coleman make reliable three-person tents that weigh 4–5 pounds and won’t catastrophically fail. If car camping, a larger dome tent is fine.
- Navigation: A map and compass, or a smartphone GPS app downloaded offline (AllTrails, Gaia). Garmin eTrex is the reliable handheld GPS ($100–$200).
- Clothing layers: Cotton dries slowly and holds cold; merino wool and synthetic polyester wick moisture. Bring a base layer, insulating mid-layer, and a windproof/waterproof shell. Budget $100–$180 total.
- Water system: A 2–3 liter hydration pack or water bottle with a portable filter. Sawyer Squeeze ($30) and LifeStraw ($15) are beginner-friendly.
- First aid and repair: Pre-made kit ($20–$40) plus duct tape, safety pins, and a multi-tool.
Total beginner setup: roughly $500–$1,000 if buying everything new. Rent a tent and pack first, buy the rest.
Intermediate Kit (Longer Trails, Off-Season, Three-Day Trips)
You know your preferences now. Upgrade to gear that handles cold weather, rough terrain, and longer days without the weight penalty.
New priorities:
- Backpack: 55–75 liters, with an internal frame, padded hip belt, and load-lifter straps. Arc’teryx, The North Face, and Hyperlite make solid mid-range packs ($150–$300).
- Sleep system: A 3-season bag rated for 5–10°F, or a 4-season bag if you hike in winter. Pair with an insulated sleeping pad (R-value 3–4) to sleep warm in cold. Budget $150–$300 for both.
- Tent: A lightweight 3-season dome or tunnel tent, 3–4 pounds, $150–$350. Big Agnes and MSR models are reliable here.
- Clothing: Upgrade to all merino wool or synthetic base and mid-layers; add a down or synthetic insulated jacket and a packable rain shell. $250–$400.
- Navigation: A dedicated GPS device (Garmin eTrex 32x, ~$250) or a smartphone with offline maps and a portable power bank.
- Water: A 3-liter bladder plus gravity filter (Sawyer Squeeze Gravity is ~$40) for base camps; or a lightweight pump filter for on-the-go.
- Stove and cooking: A lightweight canister stove ($30–$60) and a titanium or aluminum pot set ($40–$80).
Total intermediate setup: $1,500–$2,500 if you’re upgrading from beginner gear.
Expert Kit (Backcountry, Winter, Technical Routes)
You’re moving fast, handling extreme conditions, or navigating unmaintained terrain. Every item serves a purpose; redundancy is intentional.
Key upgrades:
- Backpack: 50–70 liters (you’re efficient with space), ultralight frame material, external attachment points for technical gear. Hyperlite, Zpacks, and Granite Gear ($300–$600).
- Sleep system: A 4-season bag rated for -10°F or colder (if winter), or a summer ultralight quilt ($250–$500) paired with an insulated mat (R-value 5+).
- Tent: A mountaineering or winter 4-season tent, 3–4 pounds, $300–$600. Black Diamond and MSR are standards.
- Navigation: GPS plus compass plus paper maps; possibly a satellite communicator (Garmin inReach, ~$350) for emergencies.
- Clothing: Layering system tested in real cold: all merino/synthetic, no cotton. Add insulated gloves, a balaclava, and gaiters. $400–$700.
- Technical gear: Crampons, ice axe, or rope if alpine. Trekking poles for rough descent. $150–$400.
- Stove: Liquid fuel canister or pump stove (works in extreme cold); alcohol stoves fail below freezing.
- Redundancy: Two headlamps, backup batteries, repair kit with patches and epoxy, emergency shelter (bivy sack, ~$60–$150).
Total expert setup: $3,000–$6,000+. This is an investment in capability and safety.
How to Match Gear to Season
Three-Season (Spring, Summer, Fall)
3-season is the default for most hikers. You need a tent with ventilation to reduce condensation, a sleeping bag rated 10–20°F, and layers that handle cool mornings and warm afternoons.
What to pack: Base layer plus insulating mid-layer plus shell; a 3-season bag; a pad with R-value 2–3. Beginners start here.
Winter / Cold Weather
Every component changes. A 3-season bag will leave you cold and miserable; a 4-season tent handles snow load; a sleeping pad must insulate or you’ll lose heat to the ground.
Core differences: Bag rated -10°F or lower; insulated mat (R-value 4+); tent with minimal ventilation to retain warmth; booties or insulated boots. Base layer must be synthetic or merino cotton holds moisture and can become dangerous in cold.
Common beginner mistake: Thinking a warmer bag replaces a good mat. They work together. A warm bag on a thin pad leaves you cold from below. Budget for both.
Summer / Ultralight
You can pack less insulation, a thinner tent, and fewer layers. A summer quilt (rated 20°F) is lighter and packable; a 2-season tent (no floor) weighs less.
Trade-off: Less margin for error. One cold night or surprise storm and you’re uncomfortable. Good for day hikes and car camping; riskier for solo multiday trips.
Common Beginner Mistakes to Avoid
Overpacking “Just in Case” Items
You do not need two first aid kits, backup headlamps, extra socks in sealed bags, and a rain poncho if you already have a rain shell. Pick one tool per job and trust it.
Fix: Lay out everything before you leave. If you can’t answer “when would I use this?” in thirty seconds, leave it behind.
Buying a Massive Pack for Overnight Trips
A 75-liter pack is overkill for a two-day trip and will sag on your shoulders. You’ll end up packing more to “fill it” just to justify the weight.
Fix: Buy a 50–60-liter pack for overnights. It forces discipline and feels better on your back.
Skipping a Sleeping Pad
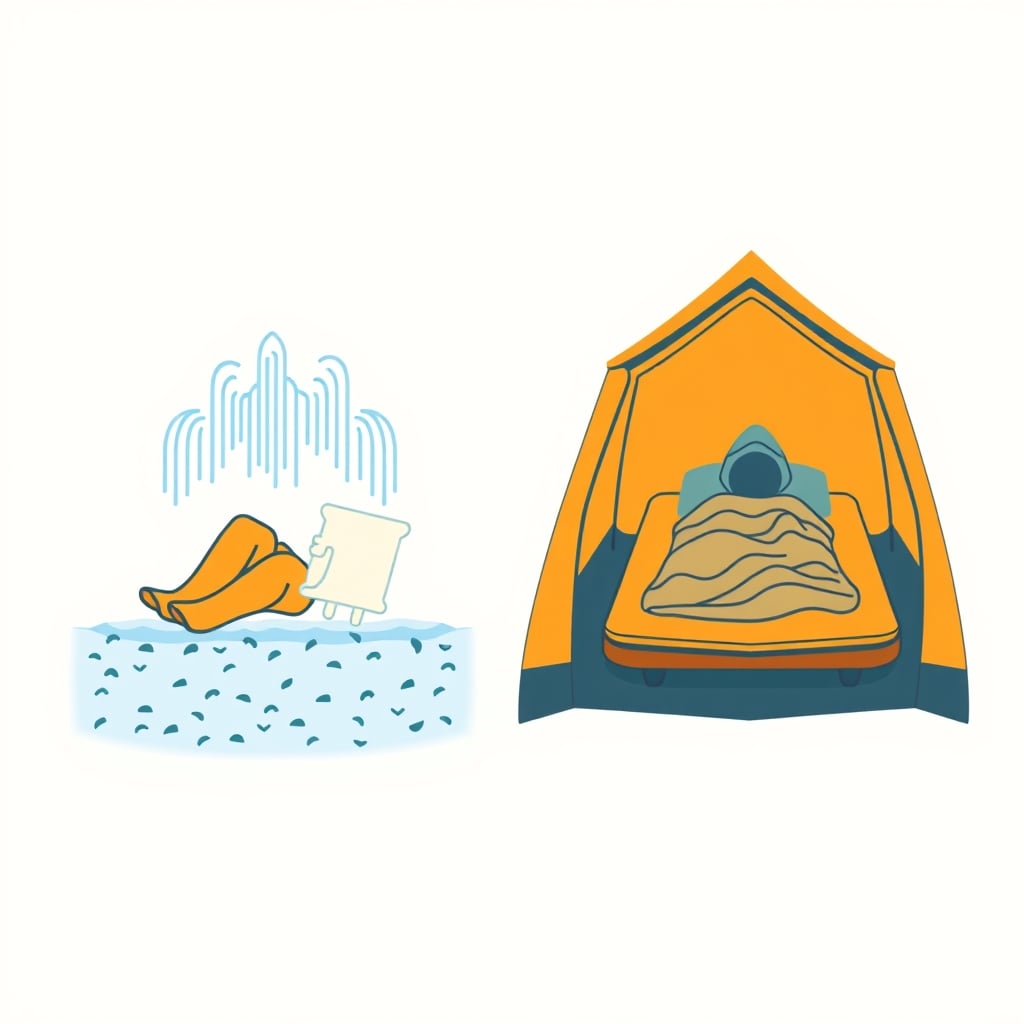
Yes, you can sleep on the ground. No, not comfortably. Take thirty seconds and lay a closed-cell foam pad under your sleeping bag, even on summer nights. It weighs ounces, but doubles your comfort and cuts your heat loss significantly.
Why it matters: The ground is cold. A sleeping bag insulates you from above, not below. You’ll wake up stiff and cold without a pad.
Buying Gear Based on Marketing, Not Fit
That $400 ultralight backpack is useless if the torso length doesn’t match your spine. A sleeping bag with 1,000-fill-power down is overkill and expensive if you hike only in summer.
Fix: Know your torso length (measure from the base of your neck to your hip bone), your shoe size, and your typical trip season before you shop. Rent first if possible.
Buying Everything at Once
You don’t have a $2,000 budget on week one. Start with a pack, boots, and a shelter (tent or bivy sack). Add layers as you understand what you need. Upgrade sleeping gear next. You’ll make better decisions once you’ve tested the basics.
Weight Targets and Pack Lists by Trip Type
Day Hike (5–8 Hours, No Overnight)
Target base weight: 5–10 pounds (gear only, no food or water)
Pack: 20–30 liters
Essentials:
- Water system (2–3 liters)
- Map and compass or GPS
- First aid kit
- Snacks (trail mix, energy bar)
- Extra layer and rain shell
- Headlamp (even if you plan to be back by dark)
- Sunscreen and hat
Overnight / Weekend (2–3 Days, One or Two Nights)
Target base weight: 12–18 pounds
Pack: 45–65 liters
Add to day hike kit:
- Sleeping bag and pad
- Tent or bivy sack
- Stove and fuel
- Cooking pot and utensils
- Extra clothing and socks
- Toiletries (toothbrush, biodegradable soap)
- Repair kit and emergency supplies
Multiday / Backcountry (4+ Days)
Target base weight: 15–22 pounds
Pack: 55–75 liters
Add to weekend kit:
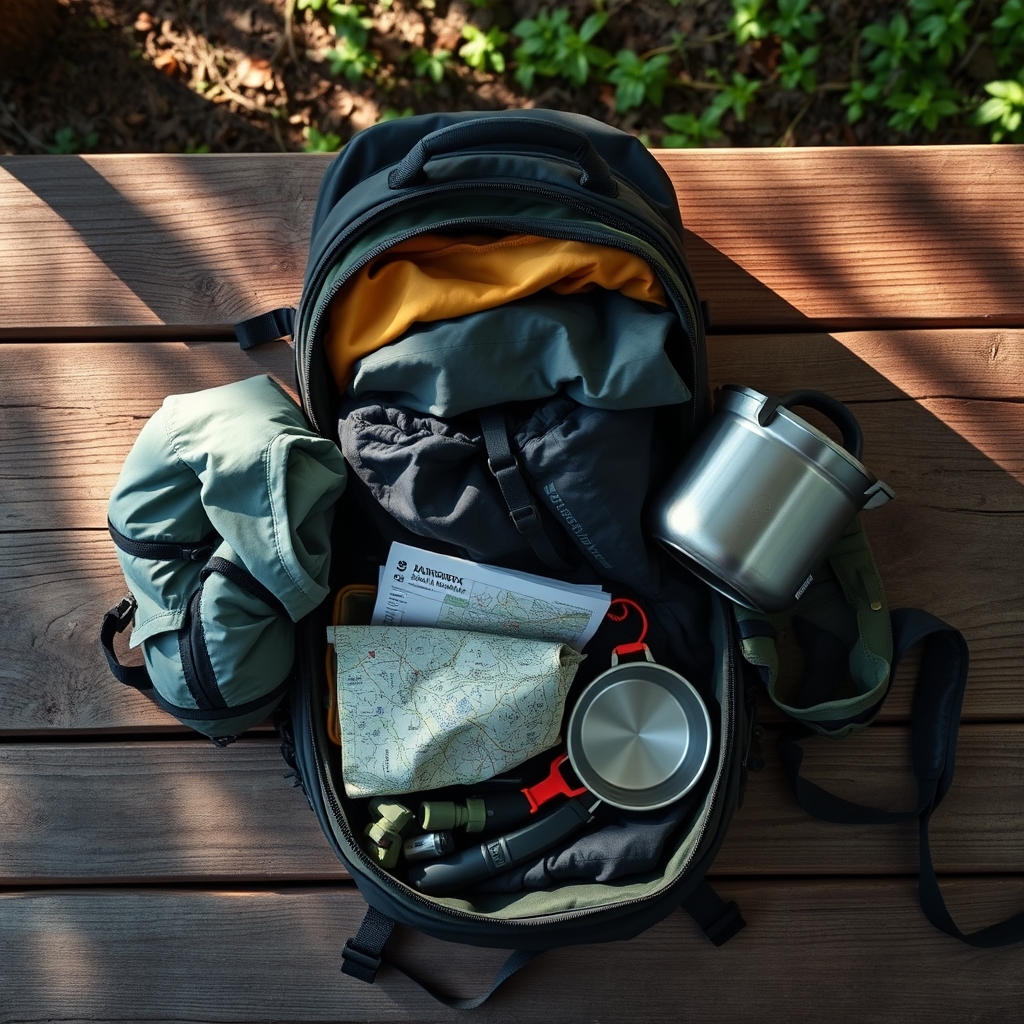
- Redundant navigation (backup compass, extra batteries)
- Extra fuel (stove runs longer)
- More food variety (morale matters on day 5)
- Satellite communicator (if remote)
- Additional repair supplies
- Insulating layers for cold nights
Frame of reference: Experienced hikers in online communities consistently report carrying base weights (gear without food and water) in the 12–20-pound range for weekend trips and 15–25 pounds for longer expeditions. Your numbers will vary based on terrain, season, and personal comfort.
Budget Breakdown by Experience Level
| Gear Category | Beginner | Intermediate | Expert |
|---|---|---|---|
| Backpack | $80–150 | $150–300 | $300–600 |
| Shelter (Tent) | $100–200 | $150–350 | $300–600 |
| Sleeping Bag | $60–120 | $150–300 | $250–500 |
| Sleeping Pad | $15–40 | $60–150 | $120–300 |
| Hiking Boots/Shoes | $60–130 | $100–200 | $150–300 |
| Clothing Layers | $100–180 | $250–400 | $400–700 |
| Navigation | $20–40 | $100–250 | $300–600 |
| Stove & Cooking Gear | $30–60 | $60–120 | $150–300 |
| Water Filtration & Storage | $20–50 | $40–100 | $80–200 |
| First Aid & Repair Kit | $20–40 | $40–80 | $80–150 |
| Estimated Total Investment | ~$500–1,000 | ~$1,500–2,500 | ~$3,000–6,000+ |
How to read this: A beginner buying their first kit should budget $500–1,000 for the basics. Intermediate hikers upgrading to handle longer or colder trips typically invest another $1,000–1,500 in better insulation and weight reduction. Expert/backcountry setups are investments you’re paying for materials that handle extreme conditions and redundancy that saves your life.
Where to start: Don’t buy everything at once. Rent a tent for your first trip ($20–40). Borrow a pack if you can. Buy boots that fit, a sleeping pad (non-negotiable for comfort), and a basic 3-season bag. Use that for two or three trips, then upgrade.
Trusted Brands and Where to Find Them
These are established names that show up consistently in outdoor communities and offer products across price ranges:
- Osprey (packs), Deuter (packs and bags): Reliable entry-to-mid range; excellent warranty.
- The North Face, Arc’teryx, Patagonia: Mid to premium; all three offer repair services.
- MSR, Big Agnes (tents and sleep systems): Respected in backcountry communities; good value across tiers.
- Salomon, Merrell, ASICS (footwear): Beginner-friendly; widely available in retail stores.
- REI Co-op brand: House brand with good value and a strong return policy.
- Garmin (GPS), Sawyer (water filters): Industry standards; reliable and tested.
What we don’t recommend: Generic brands sold only on discount marketplaces (durability is unpredictable), ultraspecialized single-purpose brands (you’re paying for novelty, not utility), and anything without a clear warranty or return policy.
Common Questions About Outdoor Gear
Q: Can I use a regular backpack for hiking? A regular daypack or laptop bag might work for a two-hour walk, but it won’t have a hip belt or padded straps designed for load transfer, so your shoulders will hurt. A proper hiking backpack costs only $80–$150 more and transforms the experience. Yes, it’s worth it.
Q: Do I need a dedicated hiking boot, or will sneakers work? Snow, loose rock, and rooted trails will roll your ankle in sneakers. Hiking boots or shoes have stiffer soles and ankle support. Start with a boot if you’re new; many people move to lighter shoes once they build ankle strength. Both are fine just not sneakers.
Q: What’s the difference between a 3-season and 4-season tent? A 3-season tent has ventilation to handle moisture and is lighter; a 4-season tent has minimal vents, reinforced poles, and a stronger design to shed snow and handle wind. Use 4-season only in winter it gets hot and humid in summer. Most hikers use 3-season year-round.
Q: How do I know if my sleeping bag is warm enough? Every bag has a temperature rating (e.g., “rated to 20°F”). Buy one rated 10–15°F below your expected low temperature. If the coldest night on your trip will be 32°F, buy a 20°F bag. A pad that insulates (R-value 2–3) makes a significant difference.
Q: Should I buy ultralight gear as a beginner? No. Ultralight gear is expensive ($300+ for a tent), fragile, and requires knowledge to use well. A regular 3-season tent weighs 4–5 pounds; an ultralight 2-season tent weighs 2 pounds but costs twice as much and offers less protection in bad weather. Learn on regular gear first.
Q: Can I use a regular camping chair or sleeping pad outdoors, or do I need special gear? A camping chair is fine for car camping, but adds 3+ pounds to your pack and takes up space. For backpacking, a sleeping pad doubles as a seat, insulates you, and weighs ounces. A regular foam pad works; inflatable pads are lighter but pricier ($60–$150).
Where to Start
If you’re buying today, here’s the path:
- Rent a tent and pack for your first trip. Spend $50–80 total. This teaches you what matters.
- Buy boots and a sleeping pad next. Total: $100–170. These are non-negotiable comfort items.
- Invest in a 3-season sleeping bag and a good backpack once you know you enjoy hiking. Total: $150–250.
- Add layers and navigation gear as you plan longer or colder trips.
- Upgrade to lighter or 4-season gear after a full year of use. You’ll know exactly what you need.
This progression avoids buyer’s remorse and forces you to test before you invest.