

How to Babyproof Your Home: Room-by-Room Safety Checklist
Babyproofing means identifying and removing or securing household hazards before your baby can reach them. The process typically takes 4–6 hours for a full home, and the specific hazards shift as your baby grows; what matters at 6 months (crib safety, changing table security) differs from what matters at 18 months (stair gates, cabinet locks, electrical outlet covers). This guide walks you through every room and every stage, following U.S. Consumer Product Safety Commission (CPSC) guidelines and common accident patterns.
What You’ll Need
- Safety gates (pressure-mounted for doorways, hardware-mounted for stairs)
- Outlet covers or tamper-resistant outlets
- Cabinet and drawer locks (magnetic or push-to-open)
- Door locks and door stops
- Corner and edge guards
- Furniture straps and anchors
- Toilet seat locks
- Window guards or safety locks
- Cord organizers and wind-ups
- Bathtub and sink safety products (faucet covers, bath seats, drain covers)
- A household inventory of potential hazards (medication, cleaning supplies, small objects)
The Nursery: Sleep Safety and Crib Security
What Safety Matters Most
The nursery is typically the safest room; it’s designed to be, but the mistakes here are the most consequential. Crib safety, sleep surface, and cord/blind hazards are the primary concerns.
Crib Setup and Mattress
- Use a CPSC-approved crib (look for the CPSC label on the underside). Drop-side cribs made before 2010 are banned and should be discarded; do not repurpose them.
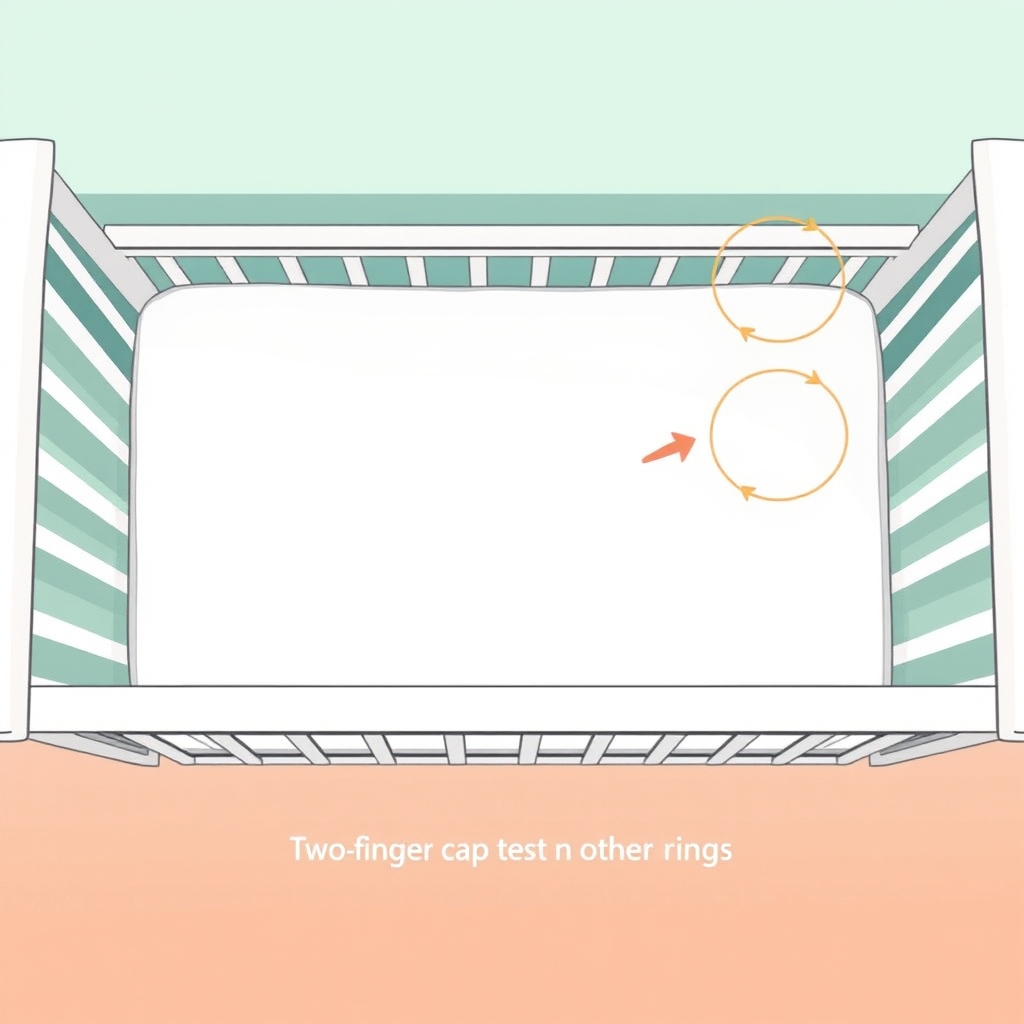
- Fit a firm, tight mattress; insert two fingers between the mattress edge and crib wall. If you can fit more, the mattress is too small. A gap large enough for a baby’s limb to slip through is a suffocation and entrapment hazard.
- Use a fitted sheet only. Remove bumpers, pillows, blankets, and sleep positioners. These are linked to suffocation, even mesh-sided bumpers. Bare crib is safest.
- Position the crib away from windows, blinds, cords, and furniture. Anything a crawler or toddler could pull down or use to climb out of the crib becomes a hazard.
Window Treatments
- Cut or secure all blind and curtain cords so they cannot be looped around a baby’s neck. Cords are among the top strangulation hazards in nurseries.
- Install cordless blinds or use cord organizers that keep cord bundles out of reach (above 60 inches is the CPSC guideline). Older roll-up shades and vertical blinds should be replaced entirely.
- Add window guards if your nursery windows open more than 4 inches or if your home is above ground level. Guards are inexpensive ($15–40 per window as of June 2026) and prevent falls.
Temperature and Monitor Safety
- Keep the room between 68–72°F, or dress your baby in a sleep sack (no loose blankets). Overheating is a known SIDS risk.
- Use a video monitor with encryption rather than audio-only, if you choose one. Audio-only monitors can be easier to forget about (meaning less frequent checks); video creates accountability.
- Position the monitor outside the crib never inside. Wall-mounted or on a shelf is safest.
The Bathroom: Water, Medication, and Drowning Prevention
Water Safety and Tub Hazards
Drowning is the leading cause of unintentional death for children ages 1–4; most incidents happen in seconds and silently. Constant supervision is the primary prevention, but barriers and equipment also reduce risk.
- Install a toilet seat lock. Toddlers are drawn to toilet water, and drowning in even 2 inches is possible. Locking toilet seats are $20–50 as of June 2026 and take 60 seconds to install.
- Place a safety gate at the bathroom door to prevent unsupervised access. For young crawlers (6–12 months), this is your main barrier. Use a pressure-mounted gate if renting; hardware-mounted gates are more secure if you own.
- Install an anti-scald device on the showerhead or tub faucet. Set water heater temperature to 120°F (49°C) maximum. Test tub water with your inner wrist or elbow before putting your baby in; aim for 85–90°F (29–32°C).
- Use a bath seat or ring. Even infants can slip unexpectedly. A bath ring or seat that suctions to the tub provides a small safety margin though supervision remains non-negotiable.
- Empty the tub immediately after each bath. Even a small amount of standing water is a hazard for a crawler.
Medication and Cleaning Supply Storage
- Store all medications in a locked cabinet or high shelf, minimum 5 feet high. Prescription bottles are colorful and look like candy to toddlers. Accidental medication ingestion sends thousands of children to poison control annually.
- Lock cleaning supplies, personal care items (razors, nail clippers), and cosmetics separately. Multi-lock cabinets are available for under $30 and prevent your toddler from accessing multiple hazard categories.
- Never leave a medication bottle, hair product, or cleaning spray unattended on the countertop while bathing. Take your eyes off it for one second and an 18-month-old will investigate.
- Label and store iron supplements, vitamins, and supplements with the same rigor as prescription medications. Pediatric iron overdose is a significant poisoning risk.
Electrical and Cord Safety
- Cover all outlet clusters near tubs and sinks with outlet plates or caps. Electrical hazards are especially dangerous in wet environments.
- Secure hair dryer and curling iron cords with cord organizers, and unplug immediately after use. A heated tool left within reach is a burn and entanglement hazard.
- Store electric toothbrushes, razors, and charging docks out of reach. Many don’t turn off when wet hands touch them.
The Kitchen: Burns, Poisoning, and Choking Hazards
Stove, Oven, and Hot Surface Safety
Kitchen burns are common and severe. The stove and oven are among the highest-risk zones for accidents.
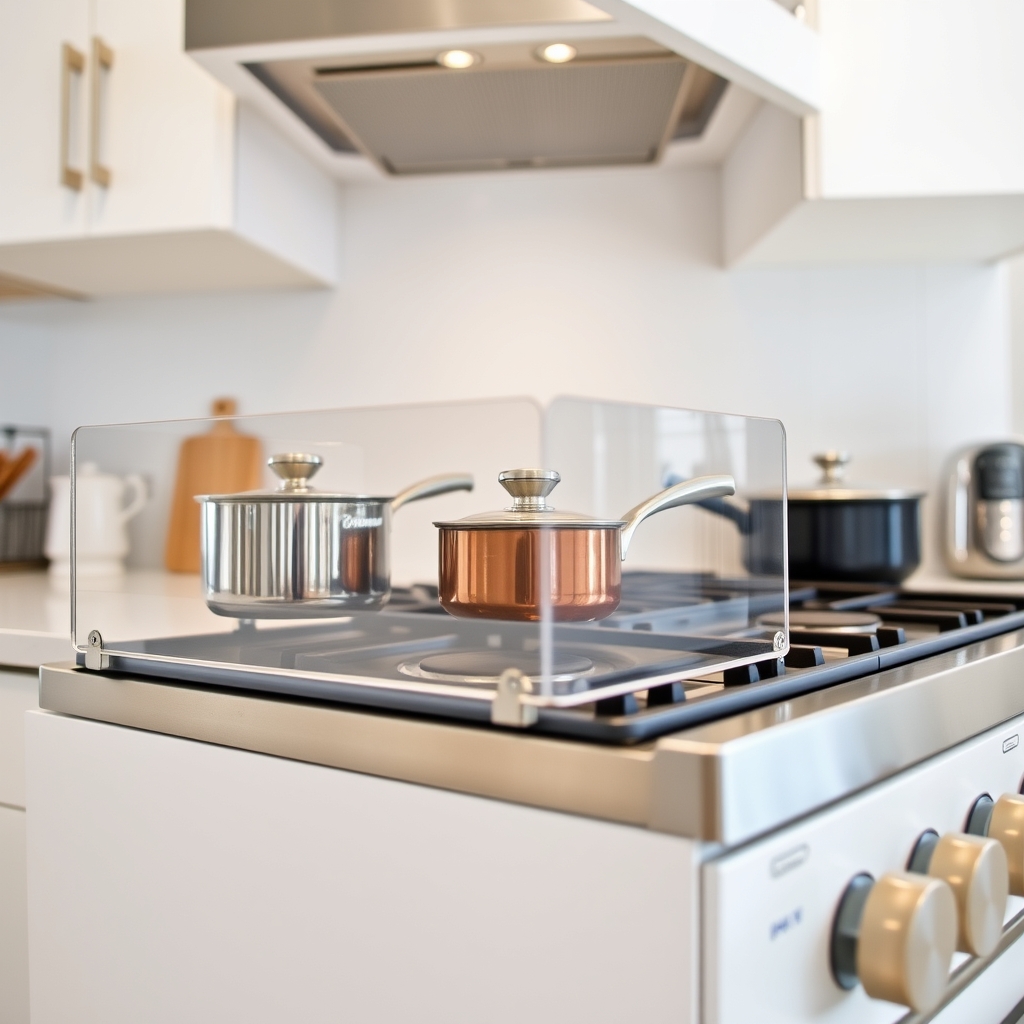
- Install a stove guard (sometimes called a cooktop guard) to prevent your baby from pulling pots and pans down. Stove guards are $40–100 as of June 2026 and mount to the cooktop or surrounding cabinets with no damage to rental properties.
- Always turn pot handles inward toward the back of the stove, and use the back burners whenever possible. A rear-facing burner is much harder for a crawler to reach.
- Use oven locks to prevent opening. Most ovens can be retrofitted with inexpensive locks ($15–30); this prevents your toddler from opening a hot oven.
- Install a baby gate to keep crawlers out of the kitchen during cooking. Pressure-mounted gates work for many doorways; hardware-mounted gates are sturdier if you have the option.
- Never carry or hold a baby while cooking. A spill onto a baby is catastrophic.
Cabinet and Drawer Access
- Lock all lower cabinets containing food, spices, dishes, or small objects using magnetic locks or push-to-open latches. Magnetic locks are invisible; push-to-open latches are childproof but user-friendly.
- Lock cabinets containing cleaning supplies, trash, and sharp utensils separately. Do not rely on one latch to cover all hazard categories in one cabinet assign one locked cabinet to sharp objects, one to cleaning, etc.
- Lock or remove drawers containing utensils, scissors, and knives. A toddler will absolutely pull open a cutlery drawer and try the contents.
- Move small objects, choking hazards, and non-food items out of lower cabinets entirely. Even with locks, toddlers are curious about the cabinet contents, not just the access.
Food and Drink
- Keep hot beverages (coffee, tea, soup) out of reach, minimum 3 feet from the edge of a table or counter. Older babies and toddlers will grab at cups.
- Never leave food unattended on a low table or chair. A crawler will pull it down.
- Avoid honey, hard candy, hot dogs, grapes, and chunky nut butters until your pediatrician advises otherwise (typically around age 3 for some foods). These are leading choking hazards for babies and toddlers.
Appliances and Electrical Safety
- Secure cords for coffee makers, blenders, microwaves, and small appliances. Use cord organizers to bundle cords against the wall or back of the counter, keeping them out of grabbing distance.
- Unplug small appliances and turn them off after each use. A toddler pressing buttons on a running blender is a potential injury.
- Use outlet covers or upgrade to tamper-resistant outlets in the kitchen. Most new electrical codes now require tamper-resistant outlets, but older kitchens may have regular ones.
The Living Room: Falls, Furniture Tip-Overs, and Choking
Furniture Anchoring
Furniture tip-overs kill and seriously injure children regularly. A tall dresser, TV stand, bookshelf, or entertainment center can topple when a climber pulls on a drawer or uses it as a step.
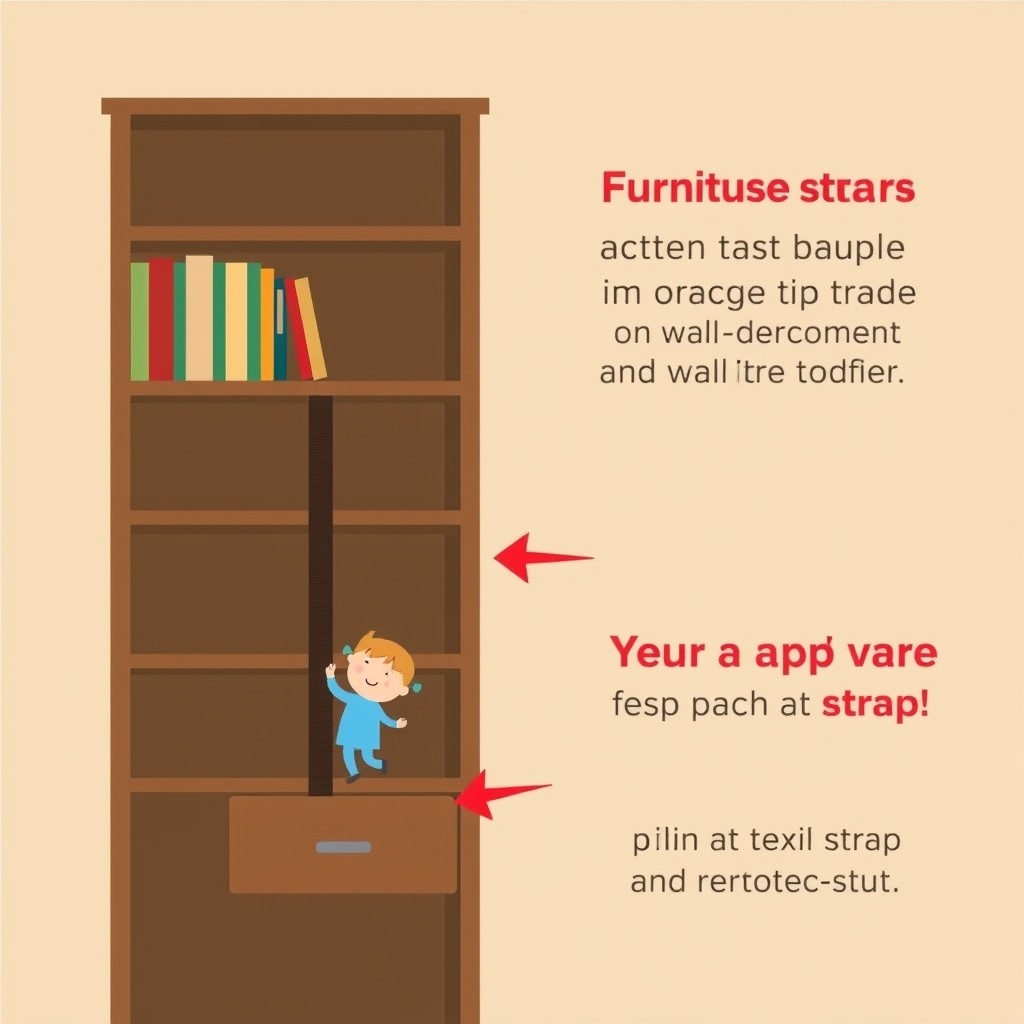
- Anchor all tall furniture to the wall using furniture straps, wall anchors, or brackets. Dressers, bookshelves, TV stands, and storage units should all be secured. Kits cost $15–40 and installation takes 10–20 minutes per piece.
- Test each anchor by gently pushing the top of the furniture forward. It should not rock or tilt. If it does, the anchor is not secure.
- Avoid placing furniture that a toddler might climb on in front of windows, shelves, or other hazards. Even with an anchor, a climber on a dresser can reach other dangers.
Cords, Cables, and Blind Hazards
- Secure all TV, gaming system, and internet cables with cable clips or cord organizers. A trailing cord is a trip hazard for crawlers and toddlers.
- Wrap or secure blind cords as you did in the nursery; cut, bundle high, or install cordless alternatives.
- Remove or secure speaker wires, charging cables, and extension cords. A crawler will put anything in their mouth.
Small Objects and Choking Prevention
- Do a floor-level sweep weekly for coins, buttons, small toys (from older siblings), pet kibble, and anything smaller than a toilet paper roll. A simple rule: if it fits through a toilet paper tube (1.25 inches in diameter), it’s a choking hazard for children under 3.
- Store small object toys separately and supervise their use. Teething rings, LEGO, hair clips, and decorative objects must be kept on high shelves or in locked cabinets if you have a crawler.
- Avoid balloons entirely until your child is at least 8 years old. Balloons are a leading choking hazard.
Fireplace and Hearth Safety
- Install safety gates around fireplaces, wood stoves, or space heaters. These create a barrier so your crawler cannot touch a hot surface.
- Use corner guards on sharp fireplace hearths and edges. Toddlers fall frequently; a padded or guarded edge reduces the severity of a head bump.
- Store fireplace tools, matches, and lighters out of reach. A toddler with access to a lighter is a fire risk.
Stairs: Gates, Barriers, and Navigation
Stair injuries peak between ages 1 and 2, when crawlers are becoming mobile but don’t understand the danger. Hardware-mounted gates are essential pressure-mounted gates are not safe for the top of stairs.
Top of Stairs
- Install a hardware-mounted safety gate at the top of the stairs. Per CPSC accident data, pressure-mounted gates can be dislodged under forward force and should never be used at the top of a staircase. Hardware gates cost $50–150 but are non-negotiable if you have an older infant or toddler.
- Install the gate a few inches below the top step so your toddler cannot squeeze behind it or climb over the banister.
- Choose a gate that is tall enough to prevent climbing (typically 30+ inches). Your toddler will try.
Bottom of Stairs and Stair Hazards
- Install a pressure-mounted gate at the bottom of the stairs to prevent your crawler from accessing them unsupervised. This gate can be opened and closed for your own movement.
- Install balusters or banister guards if the space between banister spindles is wider than 4 inches. A baby’s head can become trapped. Retrofit guards are inexpensive and fit over existing balusters.
- Remove any decorative items, toys, or obstacles from stairs. A stair is a hazard when there is anything on it that doesn’t belong.
- Ensure handrails are secure and at least 34 inches high. This is both a safety and building-code issue.
Hallways and Bedrooms: General Safety
Cord and Cable Management
- Bundle and secure all electrical cords, phone chargers, and cables away from walking paths. Use cord organizers, clips, or clips along the baseboard.
- Secure doorstops and door hinges so they do not pinch fingers. Door pinch guards are $15–30 for a set.
Sleeping Spaces Beyond the Nursery
- If your toddler sleeps in a bed (not a crib), use bed rails to prevent falling. Top-of-bed rails and under-bed rails are both available.
- Keep pillows, blankets, and excess stuffing out of toddler beds. These are suffocation hazards and should not be present until around age 3.
Closet Safety
- Install a closet door lock or remove the closet door so your baby cannot get trapped or suffocate in an enclosed space. Older closet doors can be problematic.
- Store all items on high shelves. Anything within reaching distance is potential ammunition or a climbing aid.
Age-Stage Adjustments
0–6 Months (Immobile Infant)
At this stage, your baby cannot yet roll consistently or grasp with intention. The focus is on the sleep environment and preventing caregiver errors.
- Crib safety is your priority. Firm mattress, bare sleep surface, correct positioning (back sleeping).
- Monitor temperature to prevent overheating and SIDS.
- Ensure anyone holding or bathing your baby knows the hazards: dropping, unsafe bathing temperatures, suffocation risks.
- Cabinet locks, stair gates, and cord covers are less urgent but should be installed before your baby becomes mobile (around month 6–7).
6–12 Months (Crawlers and Early Walkers)
Your baby now moves on their own and will reach for, mouth, and pull on everything.
- Install stair gates immediately. A falling crawler can suffer head and spine injuries.
- Lock all lower cabinets and drawers.
- Do a floor-level sweep for small objects and choking hazards.
- Secure all furniture that can be climbed or pulled on.
- Outlet covers and corner guards become critical. Your baby will mouth outlets and fall into sharp edges.
12–24 Months (Toddlers)
Toddlers understand cause and effect, climb, and deliberately test boundaries.
- Stove guards and oven locks are essential. A toddler will actively try to climb or open these.
- Upgrade to higher, childproof locks if your toddler figures out push-to-open latches.
- Install window guards if any window can be opened.
- Expect furniture climbing and continue anchoring. Your toddler will pull themselves up on drawers and attempt to climb dressers.
- Anticipate medication and toxin access. An 18-month-old can actively unscrew a bottle cap.
24+ Months (Older Toddlers)
Older toddlers climb, open doors, turn knobs, and deliberately ignore rules.
- Start teaching safety rules alongside barriers. “We don’t touch the stove” is reinforced by a gate, not replaced by it.
- Maintain all locks and gates, but understand that many toddlers will defeat basic locks. Multi-step, high-difficulty locks are sometimes necessary.
- Begin removing some barriers (like pressure gates) as your child demonstrates understanding, but never remove hardware gates from stairs.
- Supervise all access to kitchens, bathrooms, and areas with hazards.
Common Mistakes Everyone Makes
Mistake 1: Relying on Pressure Gates at the Top of Stairs
Use hardware-mounted gates at the top of stairs; pressure gates are not safe there, regardless of what the packaging suggests. Pressure gates (also called expandable gates) are appropriate at doorways and the bottom of stairs, but they are not secure enough for the top of a staircase. Per CPSC accident data, babies can push forward or pull from behind and dislodge them. A hardware-mounted gate bolts to the wall and cannot be pushed or pulled open.
Mistake 2: Installing Covers Instead of Tamper-Resistant Outlets
Outlet covers and caps are a minor inconvenience for adults and a puzzle-like challenge for toddlers. Many toddlers will remove them. Tamper-resistant (TR) outlets have built-in, spring-loaded shutters that close when no plug is inserted. If your home has older outlets, retrofit kits or outlet replacement is inexpensive and much more effective than covers.
Mistake 3: Anchoring Furniture Incorrectly
Furniture anchors fail when the strap is too short, installed at the wrong height, or affixed to drywall only (not a stud). The correct install:
- Use a stud finder to locate wall studs (typically 16 inches apart).
- Anchor to at least one stud, ideally two.
- Install the strap about two-thirds of the way up the furniture (not at the very top).
- Test by pushing the top forward gently; no rocking motion should occur.
Mistake 4: Underestimating Choking Hazards
Parents often assume a toy is “safe because it’s marketed for babies,” but toys designed for older siblings are not. The 1.25-inch rule (if it fits through a toilet paper roll, it’s a choking hazard) applies to all children under 3. A baby can swallow a button, a bead, a coin, or a battery in seconds.
Mistake 5: Skipping Window Safety
Window guards and safety locks are often the last thing parents install, and they are tragically underestimated. Second-story falls are common and severe. Windows should not open more than 4 inches for any room where a baby or toddler sleeps or plays. Guards are inexpensive and unobtrusive.
FAQ
Q: At what age can I stop babyproofing?
A: Most families reduce or remove gates and locks around age 3–4, when children can understand and follow safety rules. Furniture anchors and stair gates should remain in place longer, some families keep gates until age 5 or 6. Every child is different; some toddlers respect boundaries earlier, and others test them constantly. Your pediatrician and your own judgment are the best guides.
Q: Are magnetic cabinet locks better than push-to-open latches?
A: Magnetic locks are harder for toddlers to defeat (they cannot figure out where the release is), but they require a separate magnetic key that you must keep nearby. Push-to-open latches are more intuitive for adults but a determined toddler may figure them out within months. Many families use both: push-to-open latches on frequently accessed cabinets (dishes, food) and magnetic locks on hazardous ones (cleaning supplies, medications).
Q: Do I really need a stove guard if I’m always watching the kitchen?
A: Supervision is always the primary safeguard, but accidents happen in a second. Your attention wavers, or someone else (a partner, a visitor, an older sibling) is briefly in charge. A stove guard is inexpensive insurance against a catastrophic burn. Most safety experts recommend one if you have a crawler or toddler.
Q: What’s the difference between a furniture anchor and a furniture strap?
A: A furniture strap is a flexible band that loops around the furniture frame and connects to a wall anchor or stud. A furniture anchor is often a bracket or brace that bolts the furniture directly to the wall. Functionally, both work; anchors are typically more secure, while straps are easier to install and remove.
Q: Is it safe to use hand-me-down baby gear, like a used crib?
A: Only if it meets current CPSC standards. Cribs manufactured before 2010, or any crib with recalls or missing parts, should not be used. Check the CPSC website for your crib model number before reusing it. Mattresses, bedding, and soft goods should be replaced or thoroughly cleaned. Furniture anchors, gates, and safety equipment should be inspected for damage and replaced if worn.
Pro Tips
- Do a floor-level crawl. Get down on your hands and knees and look at your home from your baby’s perspective. You will spot hazards you missed from standing height (cords, outlets, small objects).
- Involve your partner and regular caregivers. Safety is only as strong as the least-careful person in your baby’s life. Walk through your babyproofing plan with anyone who cares for your baby.
- Plan for stairs before your baby crawls. By the time a baby is crawling (around 6 months), you should have gates installed. Waiting until an accident happens is too late.
- Keep toxic substances locked, even if your baby is not yet crawling. Older siblings, visitors, and your own forgetfulness can create a hazard. Lock first.
- Check recalls regularly. Visit the CPSC website and search for your baby’s equipment by model number. Cribs, car seats, high chairs, and other gear are recalled periodically; knowing about a recall before an accident is critical.
Final Checklist
Nursery:
- [ ] CPSC-approved crib with firm, snug mattress
- [ ] Bare sleep surface (no bumpers, pillows, blankets, positioners)
- [ ] Window blind cords cut, bundled high, or replaced
- [ ] Monitor placed outside the crib
- [ ] Room temperature maintained at 68–72°F or baby in sleep sack
Bathroom:
- [ ] Toilet seat lock installed
- [ ] Anti-scald device on tub faucet; water heater set to 120°F max
- [ ] Medications and supplements locked in cabinet
- [ ] Cleaning supplies and personal care items locked separately
- [ ] Bath drain covered; tub emptied immediately after use
Kitchen:
- [ ] Stove guard installed
- [ ] Oven lock installed or stove gate in place
- [ ] All lower cabinets and drawers locked
- [ ] Hot beverages and food kept out of reach
- [ ] Cords secured; small appliances unplugged after use
Living Room:
- [ ] All tall furniture anchored to wall
- [ ] TV and speaker cables secured
- [ ] Blind cords secured or cordless blinds installed
- [ ] Small objects removed or stored high
- [ ] Fireplace gates and corner guards in place
Stairs:
- [ ] Hardware-mounted gate at top of stairs
- [ ] Pressure-mounted gate at bottom (optional but recommended)
- [ ] Balusters (spindles) retrofitted if gap is >4 inches
- [ ] Banister secure; no gaps where a head could get trapped
Throughout Home:
- [ ] All outlets covered with tamper-resistant covers or retrofitted
- [ ] All cords bundled and secured
- [ ] Door hinges protected with pinch guards
- [ ] Window guards installed on upper-level windows
- [ ] Medications, toxins, and small objects inventoried and locked