
The best sleep happens in a deliberately engineered environment, not by accident. Optimizing your sleep environment involves controlling four core factors; temperature, light exposure, sound, and humidity, to create conditions your body recognizes as sleep time. Most people can implement these changes in a single weekend and notice a difference within 2–3 nights.
This guide covers the science behind each factor, the mistakes most people make, and specific product recommendations at multiple price points so you can start wherever your budget allows.
What Temperature Should Your Bedroom Be for Sleep?
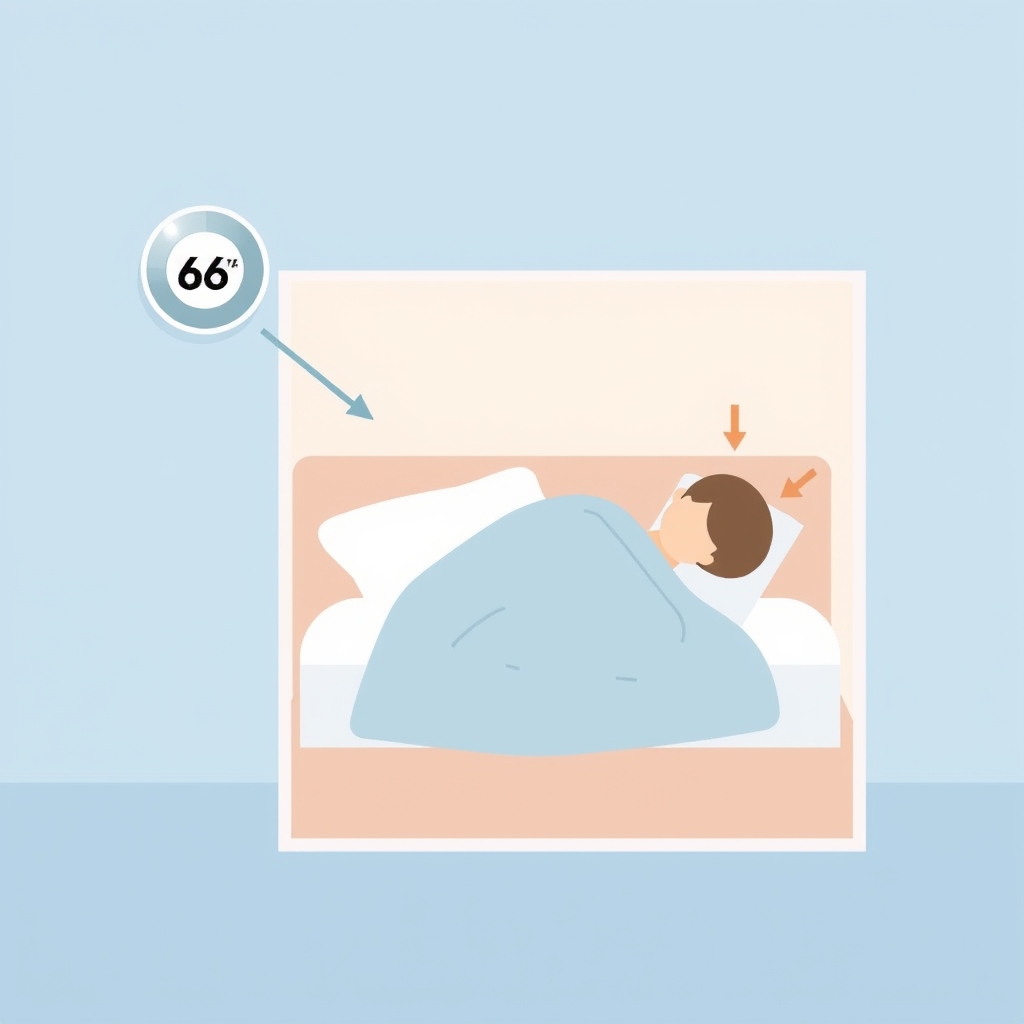
The ideal sleep temperature for most adults falls between 60–67°F (15–19°C), with 65–68°F being the sweet spot for the average sleeper. Your body naturally drops its core temperature by 2–3 degrees when you sleep, and a cool room accelerates that process.
Why temperature matters for sleep
When your core body temperature drops, your brain receives a signal to enter sleep mode. A room that’s too warm (above 70°F) forces your body to work against sleep physiology; a room that’s too cold (below 55°F) can cause micro-arousals and restless sleep. Most people sleep best when they feel slightly cool but not shivering.
How to control bedroom temperature
Step 1: Set your thermostat to your target temperature 30–60 minutes before bed. Most people find that 65–67°F works as a reliable starting point. If you sleep hot, start at 62°F; if you sleep cold, try 68°F.
Step 2: Choose bedding that allows heat dissipation without trapping moisture. Cotton, linen, and eucalyptus fabrics breathe better than polyester; wool works for cold sleepers because it regulates temperature naturally. Avoid silk for temperature regulation, it looks luxe but doesn’t dissipate heat.
Step 3: If you share a bed, use a split temperature mattress or separate blankets. This solves the “one person hot, one cold” conflict that wakes couples nightly.
Step 4: Use a programmable thermostat or smart thermostat to automate the cooling schedule. Set it to drop to your sleep temperature 30 minutes before your target bedtime and raise it an hour before you wake. This removes the friction of manual adjustment.
Common temperature mistakes
The biggest mistake is using a bedroom heater in winter instead of layering blankets. A heater in a closed bedroom creates dry air (which wakes you), doesn’t distribute heat evenly, and often overshoots your target. Instead, use breathable blankets you can add or remove, or set your central heat to a lower temperature and sleep under warmer covers.
The second mistake is sleeping under heavy down or synthetic insulated comforters year-round. These trap too much heat and cause night sweats, which fragment sleep. Switch to lighter blankets in warmer months and use layers you can adjust.
Product recommendations for temperature control
Budget-friendly: Cooling gel pillows ($25–$40) and cotton sheet sets ($30–$50, as of June 2026) are the fastest wins. Look for sheets labeled “breathable” or “cooling” from brands like Brooklinen, Parachute, or even Target’s Good & Gather line.
Mid-tier: Temperature-regulating mattress toppers ($80–$150) infused with gel or water-based cooling technology offer a step up without replacing your mattress. Brands like Purple, Helix, and Layla make accessible versions.
Premium: Split-temperature smart mattresses ($1,200–$3,500) let each sleeper control their side independently. Brands like Sleep Number and Eight Sleep offer app-based controls and automatic adjustments tied to your sleep stage.
How to Control Light in Your Bedroom for Better Sleep
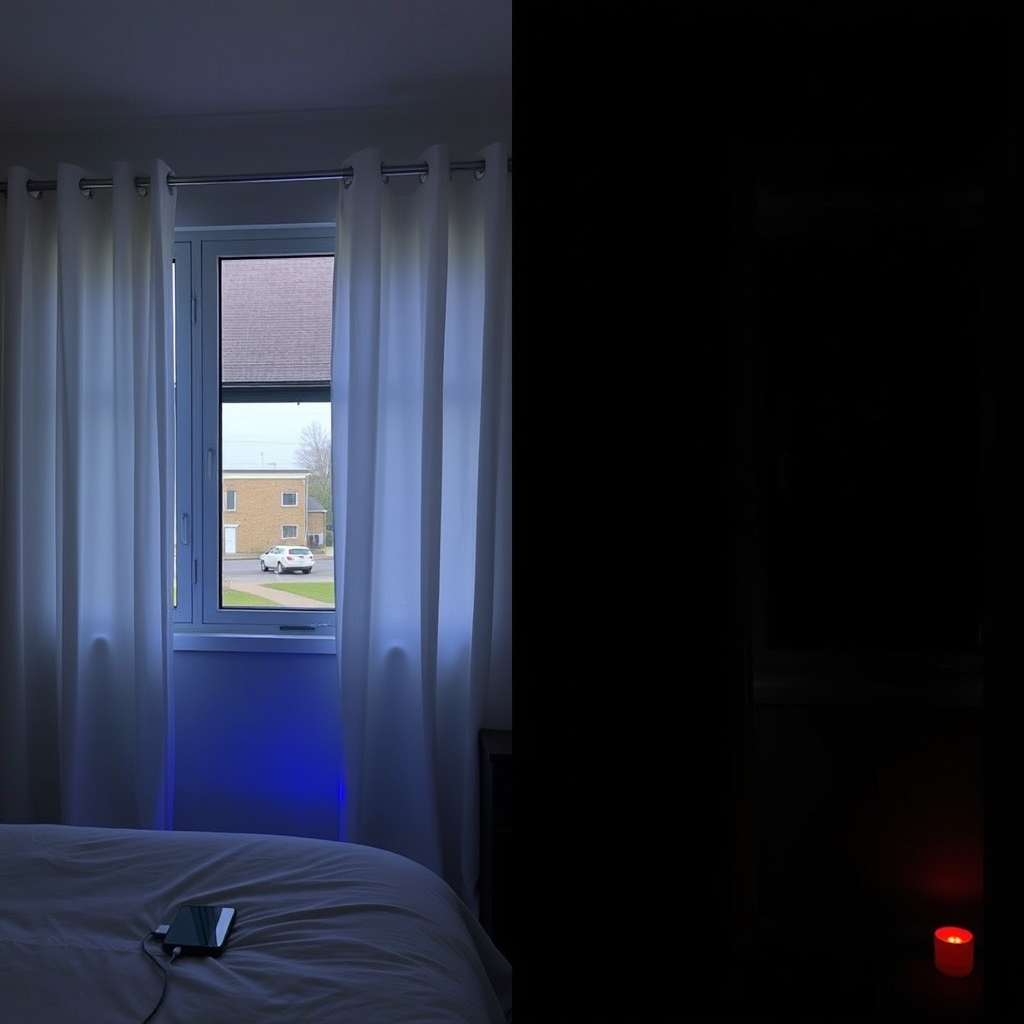
Light exposure is the single strongest signal for your circadian rhythm, your body’s internal 24-hour clock. Blocking blue light and ambient light in the evening tells your brain it’s time to sleep; even small amounts of light (like a digital clock) can suppress melatonin production.
Why light control matters
Your brain contains photoreceptors that detect light wavelengths. Blue light (from screens, streetlights, and LED bulbs) signals “daytime” to your body and suppresses melatonin, the hormone that makes you sleepy. Sleep researchers and circadian biology experts consistently note that even indirect ambient light in the bedroom can measurably reduce melatonin levels, blocking it is one of the most reliably recommended environmental changes for improving sleep onset.
How to eliminate light from your bedroom
Step 1: Install blackout curtains or cellular shades that block 95%+ of outside light. Test them by closing them during the day, you should barely see your hand in front of your face. Brands like Thermal Blackout, EZO, and Room Essentials (Target) work well at budget prices; LEVOLOR and Hunter Douglas offer premium versions.
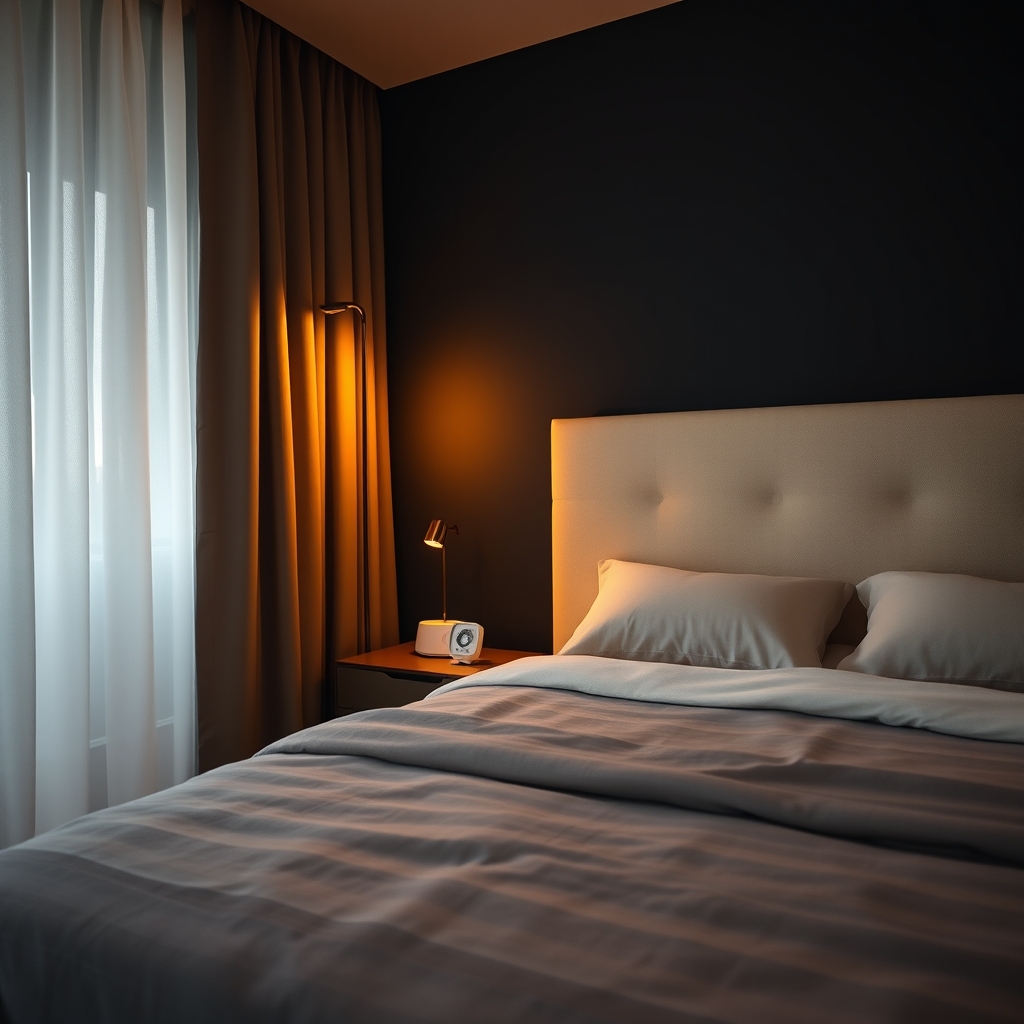
Step 2: Cover or remove all light sources inside the bedroom. This includes alarm clock displays, phone charging lights, and smart home devices. Use black electrical tape over LEDs, or choose a sunrise alarm clock with a manual brightness setting instead of a traditional digital alarm.
Step 3: If you need a small light source for safety, use red or amber lighting only. Red light doesn’t suppress melatonin the way blue light does. Small red night lights (under $15) or red-bulb lamps work; avoid “smart” lights that default to white or blue.
Step 4: Stop using screens 30–60 minutes before bed. If you must use a device, enable “night mode” or “warm light” mode, which reduces blue wavelengths. Phone settings like Apple’s Night Shift and Android’s Night Light do this automatically.
Common light control mistakes
Many people install blackout curtains but leave them open during the day, defeating the purpose of light blocking. Blackout curtains work by preventing light from entering and by creating a darker envelope once closed, they’re most effective in a fully closed position.
Another mistake is using a bright phone alarm clock or a sleep-tracking device that emits light. A simple battery-operated alarm (no display) or a phone across the room solves this instantly.
Product recommendations for light control
Budget-friendly: Blackout curtains ($20–$60 per window) and red night lights ($8–$15) are non-negotiable. NICETOWN and AmazonBasics are reliable budget options.
Mid-tier: Thermal blackout roller shades ($60–$150) are cleaner aesthetically and double as insulation. Levolor and IKEA’s FYRTUR motorized shades ($100–$200) can be automated to close at sunset.
Premium: Lutron smart shades ($300–$1,000+) integrate with sleep apps and open gradually at wake time to support a gentle sunrise effect.
How to Soundproof Your Bedroom and Reduce Noise
Noise fragmentation is one of the strongest disruptors of deep sleep. Even sounds below your conscious waking threshold can trigger micro-arousals that prevent you from reaching REM and deep sleep stages.
Why noise control matters
Sleep research consistently shows that bedroom noise above approximately 50 decibels, roughly the level of normal conversation, can disrupt sleep architecture, reducing time in restorative deep and REM sleep stages. Traffic, neighbors, and even a partner’s snoring can prevent you from staying asleep, even if you don’t remember waking.
How to reduce bedroom noise
Step 1: Identify your primary noise sources. Is it outside traffic, a partner’s snoring, or household noise from other rooms? This determines your strategy.
Step 2: Use a white noise machine or app to mask unpredictable sounds. White noise doesn’t add volume, it masks noise by providing consistent, unvarying background sound that your brain stops registering after 10–15 minutes. Machines like LectroFan and Marpac Dohm ($30–$150) are more effective than app-based options because they don’t emit blue light and run all night without draining a phone battery.
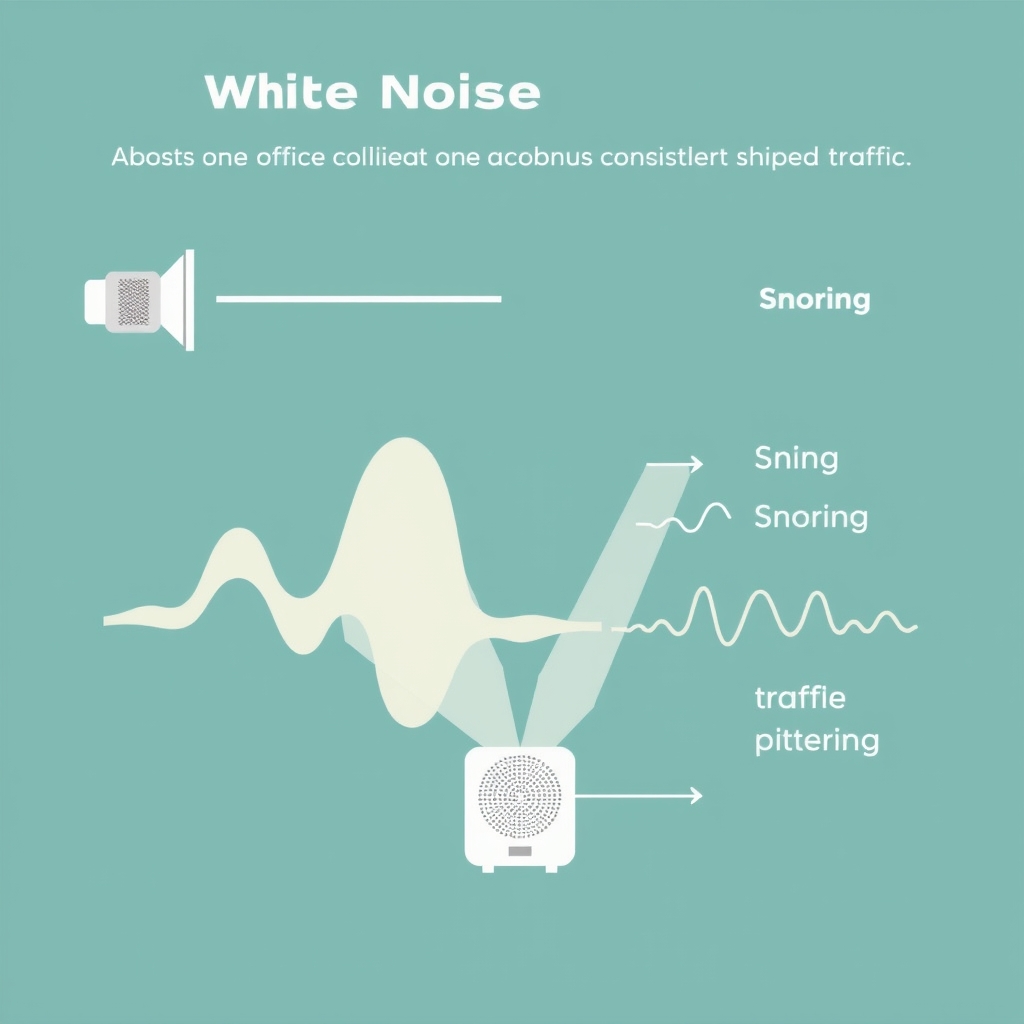
Step 3: Add soft furnishings to absorb sound. Curtains, rugs, and blankets dampen reflected noise. A bedroom rug, heavy curtains, and wall tapestries reduce noise reflection modestly, a worthwhile gain when combined with white noise.
Step 4: If outside noise is severe, add weatherstripping to doors and windows. A $10–$30 weatherstrip kit reduces sound transmission significantly. For heavy noise (airplane routes, major highways), consider acoustic caulk ($20–$40) around window frames.
Step 5: If a partner snores, try a white noise machine on their side of the bed or encourage them to see a sleep specialist. Snoring often signals sleep apnea, which is medically treatable. A white noise machine won’t fix the underlying problem but will protect your sleep while they seek treatment.
Common noise control mistakes
Many people buy cheap white noise apps expecting them to work as well as dedicated machines. Apps emit blue light, drain your phone battery, and often include jarring “nature sounds” that aren’t truly consistent white noise. A dedicated white noise machine ($40–$100) is one of the best investments in sleep quality.
Another mistake is using music or podcasts as sleep noise. Music engages your brain and prevents deep sleep; white noise (true white noise, not “rain sounds” or music) is neurologically inert.
Product recommendations for noise control
Budget-friendly: White noise apps are free, but a basic white noise machine like the Marpac Dohm Classic ($35–$50) is worth the investment. Weatherstripping kits ($10–$25) are a quick win for outside noise.
Mid-tier: LectroFan (around $50–$80) offers more sound options than the Dohm and is quieter. Earplugs rated for 25+ dB noise reduction ($15–$30) work for partners who snore.
Premium: Sleep-tracking white noise machines like Hatch Restore 2 ($130–$150) integrate with sleep apps, track your sleep, and adjust white noise volume throughout the night.
How to Optimize Humidity for Sleep
Humidity levels between 40–60% support both breathing comfort and skin hydration. Too dry (below 30%) and you’ll wake with a sore throat or congestion; too humid (above 65%) and you risk dust mites and mold, which disrupt sleep and trigger allergies.
Why humidity matters
Dry air irritates mucous membranes, triggering coughing and congestion that fragment sleep. High humidity creates an environment for dust mites and mold spores, which cause allergic reactions and poor air quality. Most people sleep best in the 40–60% range.
How to control humidity
Step 1: Measure your bedroom humidity with a basic hygrometer ($8–$20). Most hardware stores and online retailers carry them. Check it at bedtime for a week to see your baseline.
Step 2: If humidity is below 30%, add a humidifier. A cool-mist humidifier ($30–$100) or warm-mist humidifier ($25–$80) both work; cool-mist is safer (no burn risk) and doesn’t heat the room. Run it for 2–3 hours before bed and switch it off once you’re asleep to prevent over-humidification.
Step 3: If humidity is above 65%, open a window for 15 minutes before bed (even in winter) or run a dehumidifier. High humidity is rarer in bedrooms unless you live in a tropical climate or have poor ventilation. A small dehumidifier ($50–$150) works if opening a window isn’t an option.
Step 4: Use a humidifier with an automatic shutoff or hygrometer integration. This prevents over-humidification and mold growth.
Common humidity mistakes
Running a humidifier all night without a shutoff creates mold and dust mite conditions. Use it strategically for 2–3 hours before bed, then turn it off. Clean the tank daily to prevent bacterial growth.
Product recommendations for humidity
Budget-friendly: A basic hygrometer ($10–$15) tells you if you need to adjust at all. If you need a humidifier, Vicks and Levoit make reliable models in the $30–$60 range.
Mid-tier: Levoit smart humidifiers ($70–$100) auto-adjust based on ambient humidity and connect to your sleep tracking app.
Premium: Dyson humidifiers ($300–$500) clean the water before dispersing it and integrate with smart home systems.
Putting It All Together: A Phased Implementation Plan
You don’t need to change everything at once. Here’s a sustainable order:
Week 1: Temperature and light. Adjust your thermostat and install blackout curtains. These are the highest-impact changes and the fastest to implement.
Week 2: Sound. Add a white noise machine or use weatherstripping.
Week 3: Humidity. Measure and adjust if needed.
Most people notice improved sleep within 3–5 nights of making the first two changes. Full benefits (deeper sleep, fewer arousals) take 2–3 weeks as your body adjusts to the new environment.
Before-and-After: An Illustrative Implementation Story
Consider a scenario we hear from readers regularly: someone averaging 5.5 hours of fragmented sleep per night, waking 4–5 times, and relying on coffee to function. Their bedroom temperature was 72°F, they used a bright alarm clock, and outside traffic noise was constant. This is a composite of the kind of sleep environment most people start with not a single verified case, but a realistic one.
The changes: thermostat lowered to 66°F, blackout curtains installed ($45), white noise machine added ($55). Total outlay: $100.
The pattern we see from readers who make these three changes: sleep efficiency (time asleep ÷ time in bed) typically improves within the first week, and total sleep time often increases by 1–1.5 hours per night within three weeks. Morning alertness improves enough for many people to cut back on caffeine. Your results will vary, body temperature preferences differ, but these three changes consistently produce the highest return per dollar spent in sleep environment optimization.
Frequently Asked Questions
Can I optimize sleep environment on a tight budget?
Yes. Start with a programmable thermostat ($25–$50, saves money long-term) and blackout curtains ($25–$60). Add a white noise machine ($40–$80) as your next priority. These three changes cost under $200 and deliver the majority of the improvement available from a full optimization.
How long does it take to see results from sleep environment changes?
Most people notice improved sleep onset and fewer arousals within 2–3 nights. Deeper improvements (increased REM sleep, better morning alertness) take 2–3 weeks as your body adjusts to the new sleep-friendly conditions.
Should I use earplugs or a white noise machine for noise?
Both work, but they serve different purposes. Earplugs ($10–$30) block noise physically; white noise ($40–$100) masks unpredictable sounds by providing consistent background noise. White noise is often more effective for traffic or neighbor noise because it prevents your brain from being jolted awake by sudden sounds. Earplugs work best for snoring partners.
Can humidity be too low in winter?
Yes. Heating systems dry out air, often dropping bedroom humidity to 20–30%. If you wake with a sore throat or congestion in winter, a humidifier ($30–$60) is one of the fastest fixes. Use it for 2–3 hours before bed, not all night.
Is a smart mattress or adjustable bed necessary to optimize sleep environment?
No. A programmable thermostat ($40–$80) and good sheets ($40–$80) deliver the vast majority of the temperature control benefit of a $2,000 smart bed. Upgrade to smart mattresses only if you share a bed with someone who has very different temperature preferences or if you’ve mastered the basics and want fine-tuned automation.
What if I can’t control my thermostat (rental apartment)?
Focus on bedding and blackout curtains. A temperature-regulating mattress topper ($100–$150), cooling pillows ($30–$60), and breathable sheets ($40–$80) can replicate a 3–5°F temperature difference without touching your thermostat. Add blackout curtains and a white noise machine, and you’ve optimized the environment within your constraints.