
How to Waterproof a Jacket: The Quick Answer
Waterproofing a jacket restores its water-repellent coating by applying a protective spray or treatment directly to clean fabric, typically taking 20–30 minutes of active application. Most jackets need refreshing every 6–12 months with regular wear, depending on material, weather exposure, and how often they’re washed. The process is straightforward: clean the jacket, apply your chosen treatment (spray, wash-in, or brush-on), and let it cure for 24 hours before wearing.
This guide walks you through product selection, application methods, and maintenance schedules so your outerwear stays water-resistant year after year without sending it to a professional or buying a replacement.
What You’ll Need
Before you start, gather these basics:
- A clean, dry jacket – wash and dry it fully before applying any treatment
- Waterproofing product – spray-on, wash-in, or solid bar (depends on material)
- A well-ventilated space – outdoors or a garage, never indoors
- Soft brush or applicator (optional, for some products)
- 24 hours of cure time – the jacket must dry completely before wearing
If your jacket has visible stains or odor, wash it first using cool water and a gentle detergent designed for technical fabrics. Rinse thoroughly and air-dry completely moisture left in the fabric will interfere with waterproofing adhesion.
Step-by-Step: How to Apply Waterproofing Spray
Spray treatments are the fastest, most popular option. Here’s how to do it right:
Step 1: Set Up Your Workspace
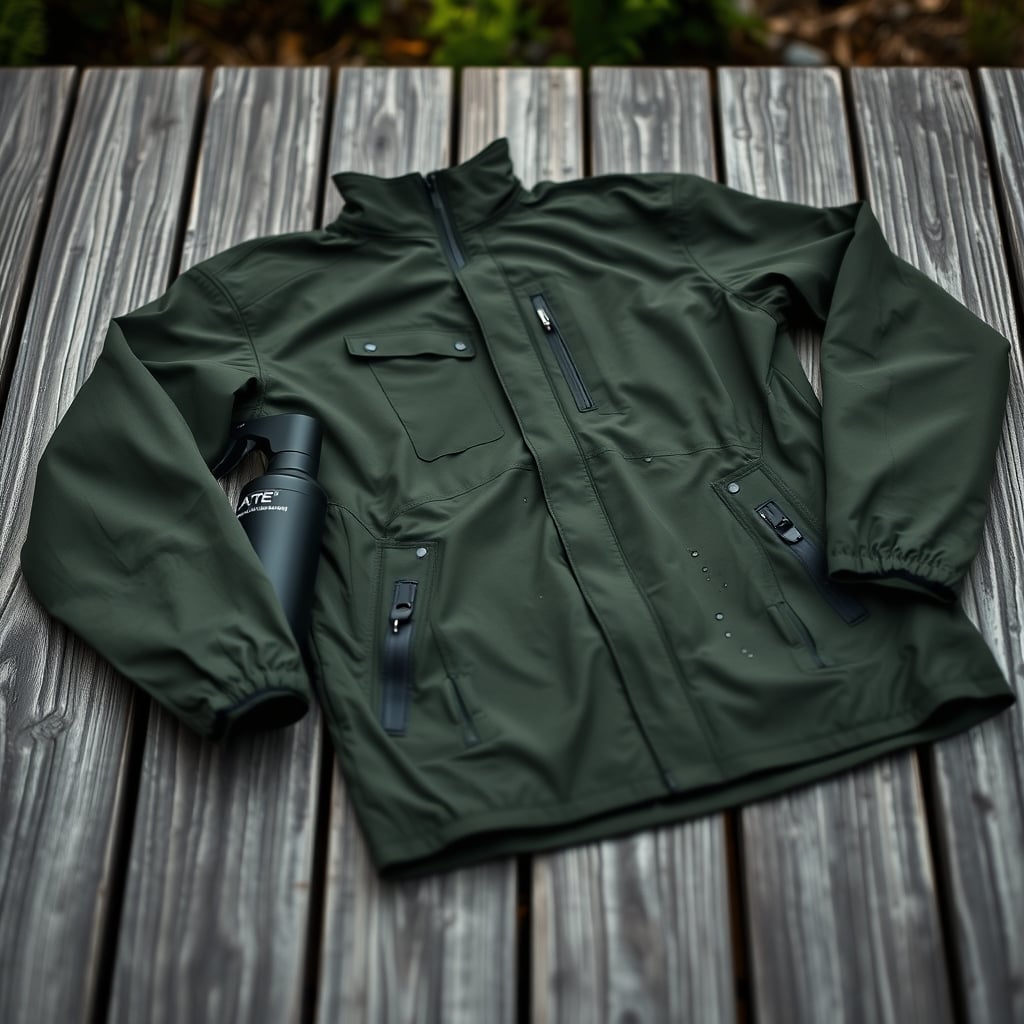
Work outdoors or in a garage with the door open. Lay the jacket flat on a clean surface a tarp, old sheet, or cardboard works. The spray creates a fine mist that should not be inhaled indoors. Ensure good air circulation so the product can dry and cure evenly.
Step 2: Prepare the Jacket
Unzip all pockets and open every seam or closure so spray reaches all surfaces. Flip the jacket inside-out if the label or instructions suggest treating the inner layer (most modern technical jackets have DWR applied to the outer shell, but checking the tag is worth it). Smooth out any wrinkles with your hand.
Step 3: Shake the Bottle
Agitate the spray bottle for 15–20 seconds. Uneven shaking leaves the active ingredient sitting at the bottom, which means your first sprays will be weak and later ones too strong. Read the specific product’s guidance some ask for 30 seconds.
Step 4: Apply in Light, Even Coats
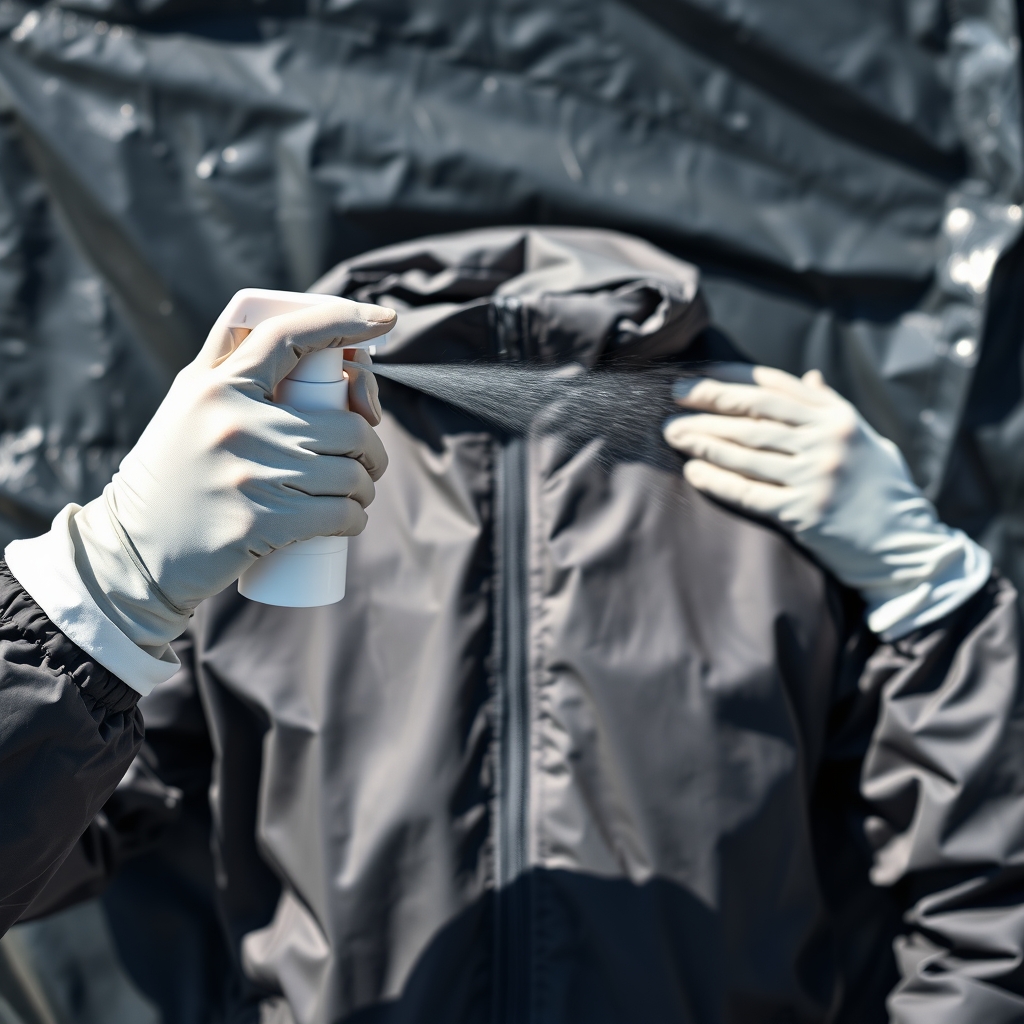
Hold the bottle 8–12 inches from the fabric and spray in slow, overlapping passes. Apply one coat across the entire jacket sleeves, body, collar, hem without pooling the liquid. A second thin coat is better than one thick one. The fabric should feel slightly damp, not soaked. If water beads on the surface immediately, you’ve applied enough; if it absorbs, add another light coat.
Step 5: Let It Cure for 24 Hours
Leave the jacket flat or hang it in an open, dry space. Do not wear or fold it during this time. The treatment needs a full day to bond to the fabric fibers. Some products specify 48 hours for optimal durability check your bottle.
Step 6: Test the Water Resistance
After curing, sprinkle water on the jacket’s surface with your fingers or a spray bottle. Water should bead up and roll off, not absorb. If it absorbs, apply another coat and cure again.
The Mistake Everyone Makes
Spraying the jacket while it’s still damp or on a humid day. Water and moisture interfere with how the DWR coating adheres to fabric fibers. If you’re in a humid climate (coastal, tropical, rainy seasons), wait for a dry day or use a wash-in treatment instead, which works better in moisture. The same applies to applying spray indoors near a shower or kitchen the humidity defeats the treatment.
Another common error: reapplying spray to an already-waterproofed jacket without testing first. Over-treating can stiffen the fabric, especially on delicate synthetics or merino wool. Test water resistance before spraying again.
Important Caveat: When NOT to Waterproof
Down-filled jackets: Down loses loft and insulation value if the fill gets wet. Before waterproofing the shell, make sure the down inside is not treated with water-resistant coating waterproofing the shell is enough. If you waterproof the down fill itself, it can trap moisture and reduce warmth. Check the care tag; most down brands apply DWR to the shell only.
Leather jackets: Traditional leather absorbs oils naturally and breathes. Spray waterproofing on leather can seal it, which can trap moisture and cause the hide to stiffen or crack over time. For leather, use a dedicated leather conditioner or beeswax-based treatment instead (see below).
Gore-Tex and premium membrane jackets: These often already have DWR applied at the factory. Reapply only if water stops beading. Overtreatment can clog the membrane’s pores and reduce breathability. Always test first.
Waterproofing by Jacket Material
Down Jackets
Best approach: Spray the outer shell only. Down jackets already come with DWR applied to the shell fabric (the nylon or polyester covering the down). Use a standard synthetic-fabric spray (like Nikwax TX.Direct or Granger’s Extreme Wash-In) on the exterior.
Timeline: Refresh every 12 months with regular use, or sooner if you notice water soaking into the shell instead of beading. Down jackets are worn less frequently in seasons when you need waterproofing most, so annual refreshing usually suffices.
Caveat: If the down fill itself has gotten wet, do not waterproof the jacket until it has fully dried and regained loft this can take days. Attempting to waterproof a jacket that’s still damp internally will trap moisture.
Wool Jackets
Best approach: Use a wool-specific treatment or a gentle wash-in formula. Wool is naturally water-repellent but loses that property when oils are stripped by frequent washing. Spray treatments can work, but wool-specific wax bars or wool-safe wash-in formulas preserve the fiber’s breathing quality and feel.
Products to consider: Granger’s Extreme Wash-In (designed for merino and wool) or a wool conditioner like Eucalan or Soak applied during rinsing.
Timeline: Refresh every 8–10 months, or after three machine washes. Wool dries slowly, so wash less frequently to extend treatment life.
Caveat: Do not use silicone-based or plastic-coating sprays on wool they can suffocate the fiber and create a stiff, unpleasant hand feel.
Synthetic Jackets (Polyester, Nylon, Fleece)
Best approach: Standard spray treatments are ideal. Synthetics tolerate most DWR formulas well and cure quickly. Nikwax TX.Direct, Granger’s Extreme, or similar fluorocarbon-free sprays all work reliably.
Timeline: Refresh every 6–9 months with regular wear. Synthetics are durable and often see more active use (hiking, sports) where waterproofing is critical.
Caveat: Some budget synthetics are already over-treated at manufacturing and may not need reapplication for 12+ months. Test first before spraying.
Leather Jackets
Best approach: Skip waterproofing spray. Instead, use a leather conditioner (mink oil, neatsfoot oil, or beeswax-based balms) that adds water resistance while preserving the hide’s suppleness.
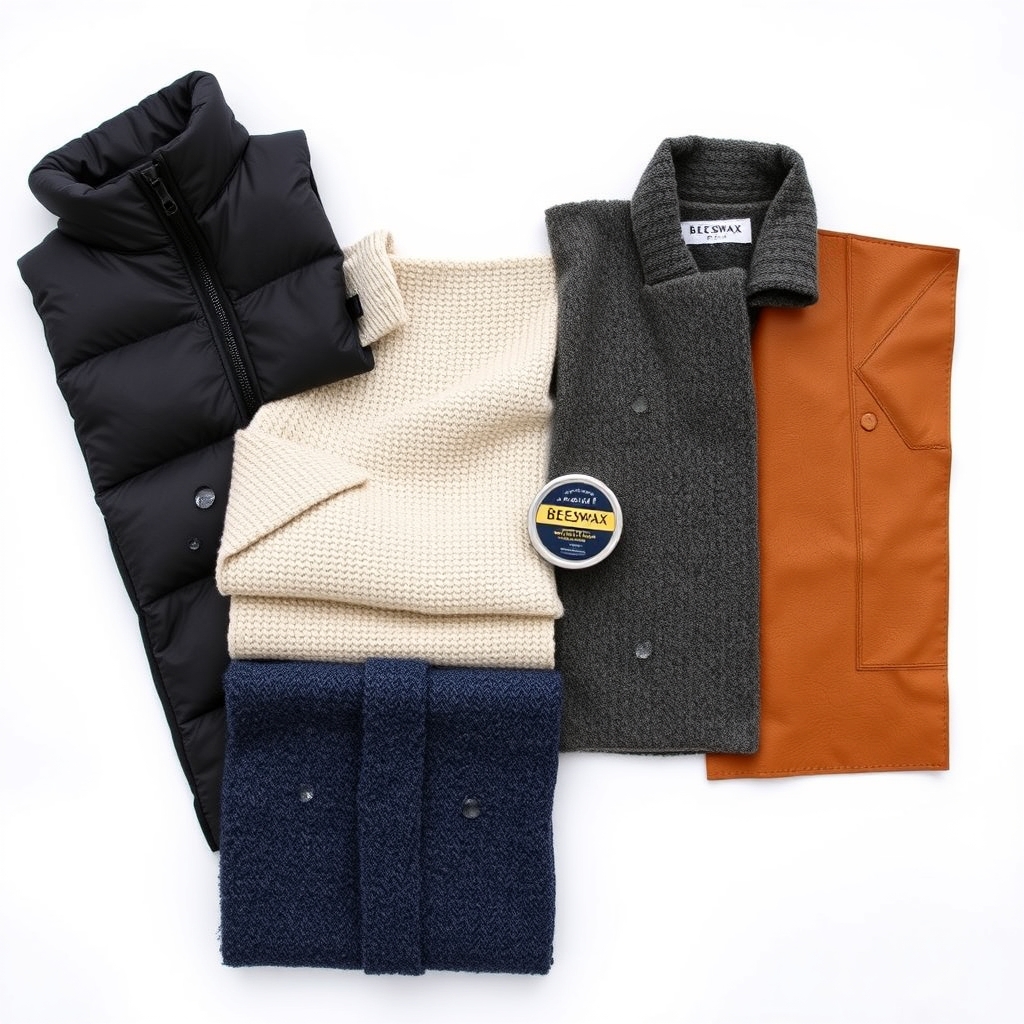
Products to consider: Leather conditioners like Huberd’s Shoe Grease, Obenauf’s Heavy Duty, or a simple beeswax-leather balm.
Application: Apply sparingly with a soft cloth, working it into seams and high-wear areas. Buff off excess. Do this every 3–6 months.
Caveat: Over-conditioning leather can make it dark and shiny, which some prefer and others avoid. Test on a hidden area first.
Wash-In Treatments: The Alternative Method
If spraying outdoors isn’t convenient, wash-in treatments offer a faster cure and work in any climate.
How Wash-In Treatments Work
You apply the product during the rinse cycle of a regular wash. The treatment bonds to the fabric fibers as water passes through, and the jacket dries already waterproofed no 24-hour wait.
Step-by-Step: Wash-In Application
- Wash the jacket first. Use a gentle technical-fabric detergent (like Granger’s or Nikwax Tech Wash) on a cool, gentle cycle. Rinse until the water runs clear.
- During the final rinse, add the wash-in treatment. Pour the product into the rinse cycle (not the wash cycle). Do not add detergent again.
- Spin and dry. Run a final spin cycle to remove excess water, then air-dry the jacket fully. No heat hang it flat or on a hanger.
- The jacket is waterproofed immediately. No 24-hour cure needed, though letting it dry fully ensures even distribution.
Pros and Cons
| Aspect | Wash-In Treatment | Spray Treatment |
|---|---|---|
| Cure Time | Immediate | Approximately 24 hours |
| Outdoor Space Needed | No | Yes |
| Durability per Application | 6–9 months | 6–12 months |
| Works Well in Humid Climates | Yes | No |
| Suitable for Wool & Delicate Fabrics | Yes | Sometimes (check product label) |
| Learning Curve | Low | Low |
Maintaining Water Resistance Between Treatments
The 80/20 Rule: How Often to Refresh
Water resistance degrades with time and washing, not evenly. The first 6 months see minimal loss if the jacket stays dry most of the time. Months 6–12, beading begins to slow. After 12 months of regular wear (especially in rainy climates), most jackets need refreshing.
Check your jacket every 3 months: Sprinkle water on the shoulder or upper arm. If water still beads and rolls off, no action needed. If water soaks in slowly, apply a fresh coat. If water absorbs immediately, refresh without delay.
Washing Extends Treatment Life
Each wash strips away some DWR, even with gentle detergent. Wash only when necessary (visible dirt, odor) rather than routinely.
- Down jackets: Wash once per season or every 6–8 wears.
- Wool jackets: Wash every 4–6 wears, or spot-clean instead.
- Synthetics: Wash every 8–10 wears, or as needed.
- Leather: Spot-clean; full cleaning is rare.
Use Technical Detergents
Standard laundry detergent leaves residues that can interfere with DWR. Use Granger’s Tech Wash, Nikwax Tech Wash, or similar products designed for technical fabrics. These clean without leaving buildup.
Air-Dry, Never Heat
Tumble dryers, radiators, and direct sunlight can degrade DWR coatings. Always hang-dry your jacket in shade or indoors. This also preserves elastic cuffs, zippers, and down fill.
Pro Tips for Longer-Lasting Waterproofing
- Store in a breathable bag. Plastic garment bags trap moisture. Use a breathable cotton bag or hang the jacket on a padded hanger in a dry closet.
- Treat seams and zippers explicitly. If your spray product includes a seam-sealing pen or if you’re using brush-on treatment, paint the taped seams and around zippers these are the first places water breaches.
- Refresh after heavy rain. If you’ve been caught in a downpour, let the jacket dry completely, then inspect. If water is no longer beading, reapply treatment.
- Consider a dedicated waterproof jacket for extreme use. If you’re in a wet climate wearing the same jacket daily, rotating two jackets doubles the time before each needs refreshing (they dry between uses).
- Test new products on an inconspicuous area first. Some sprays can slightly darken or stiffen fabric. A small test patch prevents surprises.
Before and After: What Successful Waterproofing Looks Like
Before (water-resistant coating failing):
- Water soaks into the fabric instead of beading.
- Moisture reaches the insulation underneath (you feel damp).
- The jacket darkens when wet and takes hours to dry.
After (treatment applied and cured):
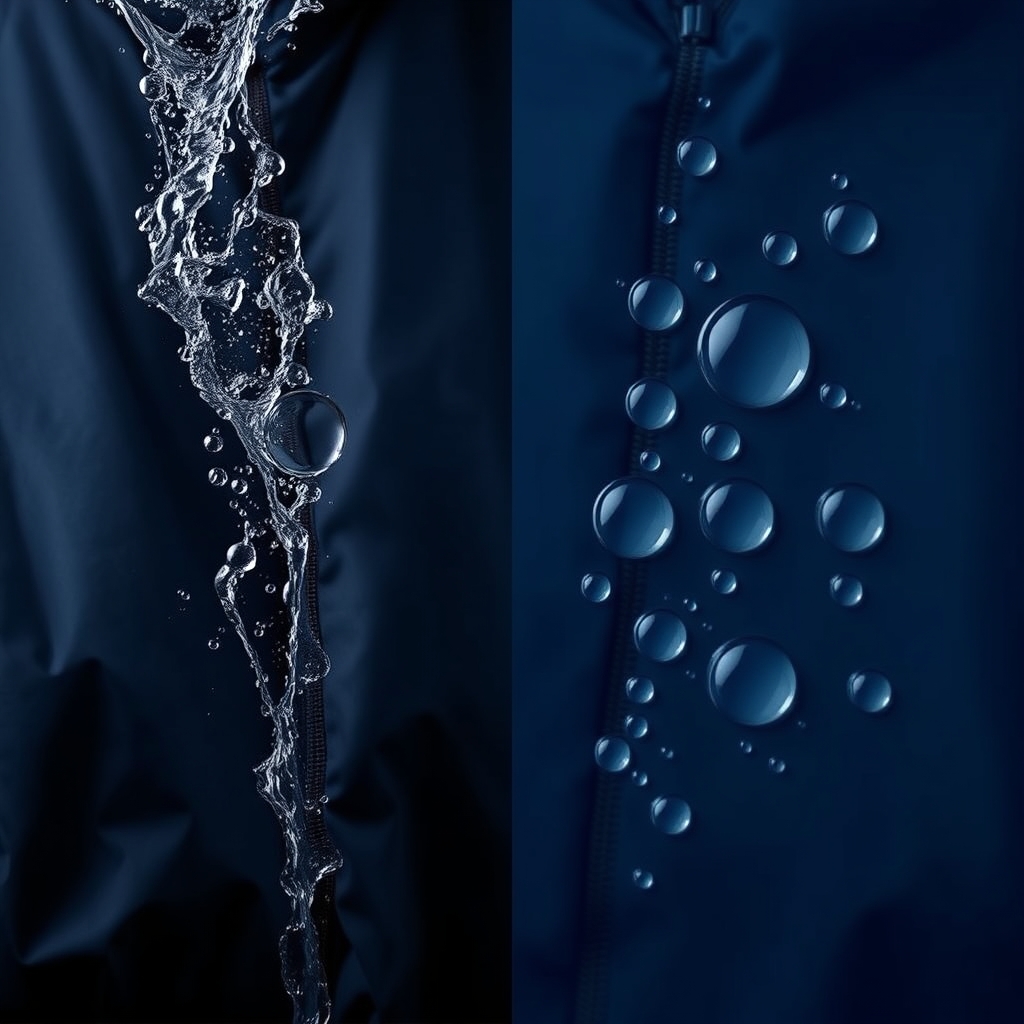
- Water beads on the surface and rolls off in droplets.
- The jacket stays dry inside even in light rain.
- Drying is fast often 30 minutes in a breeze.
Common Questions
How long does waterproofing spray actually last?
Most sprays last 6–12 months with regular wear in temperate climates. In wet, rainy regions or with frequent washing, reapply every 6 months. In dry climates with light use, 12–18 months is typical. The best indicator is the water-beading test do that every 3 months to stay ahead of failure.
Can I waterproof a jacket that’s already been washed multiple times?
Yes, absolutely. Age and washing remove the factory DWR, but the fabric itself hasn’t changed. A fresh coat of spray or wash-in treatment restores water resistance on older jackets. This is one of the simplest ways to extend a jacket’s useful life.
Will waterproofing spray make my jacket less breathable?
Modern DWR sprays (especially fluorocarbon-free options like Nikwax TX.Direct) add minimal impact on breathability. However, applying excessive layers or using old silicone-based products can reduce airflow. Stick to the recommended amount one or two light coats and test on a hidden area if you’re concerned.
Is fluorocarbon-free waterproofing as good as PTFE-based spray?
Fluorocarbon-free products (PFOA-free, PFC-free) are now mainstream and perform comparably to older PTFE formulas for most users. They’re gentler on the environment and still provide 6–12 months of protection. Unless you’re in an extreme expedition environment, fluorocarbon-free is a solid choice and aligns with most manufacturers’ current recommendations.
Can I waterproof a jacket at home, or should I send it to a professional?
Home waterproofing is straightforward and requires no special skills spray or wash-in treatments are designed for consumer use. Professional cleaning services (offered by some dry cleaners and outdoor retailers) may offer a convenience option, but they typically cost $20–$50 and aren’t necessary. Home treatment saves money and takes 30 minutes of active time.
What’s the difference between water-resistant and waterproof?
Water-resistant means water beads and rolls off temporarily but will eventually soak through if exposed long enough. Waterproof (truly sealed seams, submersible fabrics) is rarer and more expensive. Most jackets are water-resistant, and DWR refreshing maintains that level. For true waterproofing, you’d need a seam-sealed, membrane-lined technical jacket a different product category altogether.
Waterproofing a jacket is one of the easiest maintenance tasks that yields outsized durability payoff. Test first, apply when the weather is dry, and check every few months. A $15 spray or wash-in treatment keeps a $100+ jacket performing like new for years.