
You can build a functional home gym for $300–$1,000 (as of June 2026) depending on your space and fitness goals. The key is prioritizing multi-purpose equipment, using your existing space wisely, and buying only what you’ll actually use. Most people underestimate how much they can accomplish with a few durable basics and a clear layout plan.
Why Budget Home Gyms Actually Work
A home gym doesn’t require a dedicated room, expensive machines, or a personal trainer. The most effective home setups focus on compound movements exercises that work multiple muscle groups at once and adjustable resistance, which scales as you get stronger without forcing you to buy new equipment every few months.
The real advantage of a budget home gym is consistency. You’re far more likely to work out if the barrier to entry is your living room, not a commute to a commercial gym. And since you’re investing your own money into the space, you’re psychologically more committed to using it.
What You’ll Need Before You Start
Before buying a single piece of equipment, gather these non-negotiables:
- A measuring tape (to assess your actual floor space)
- A notebook or phone notes app (to sketch your layout and list priorities)
- Realistic expectations about your available space (a corner, a bedroom, a garage, or just a hallway)
- Honest assessment of your current fitness level (beginner, intermediate, or advanced)
- Knowledge of what exercises actually appeal to you (not what you think you should do)
Most budget-home-gym failures happen because people buy equipment they don’t like and never touch. If you hate rowing, don’t buy a rower no matter how “efficient” it is.
Step 1: [Measure Your Space and Decide Your Layout Type](https://keptlist.com/?p=1222) Your Space and Decide Your Layout Type
Start by measuring your available space in feet. You’re looking for:
- Floor footprint (length × width)
- Ceiling height (do you need overhead clearance for jumping or pull-ups?)
- Natural light and ventilation (gyms get hot and sweaty)
- Proximity to water (for refilling bottles and cleaning)
- Noise tolerance (if you live in an apartment, dropping weights is not an option)
Once you have those numbers, choose one of these three layout types:
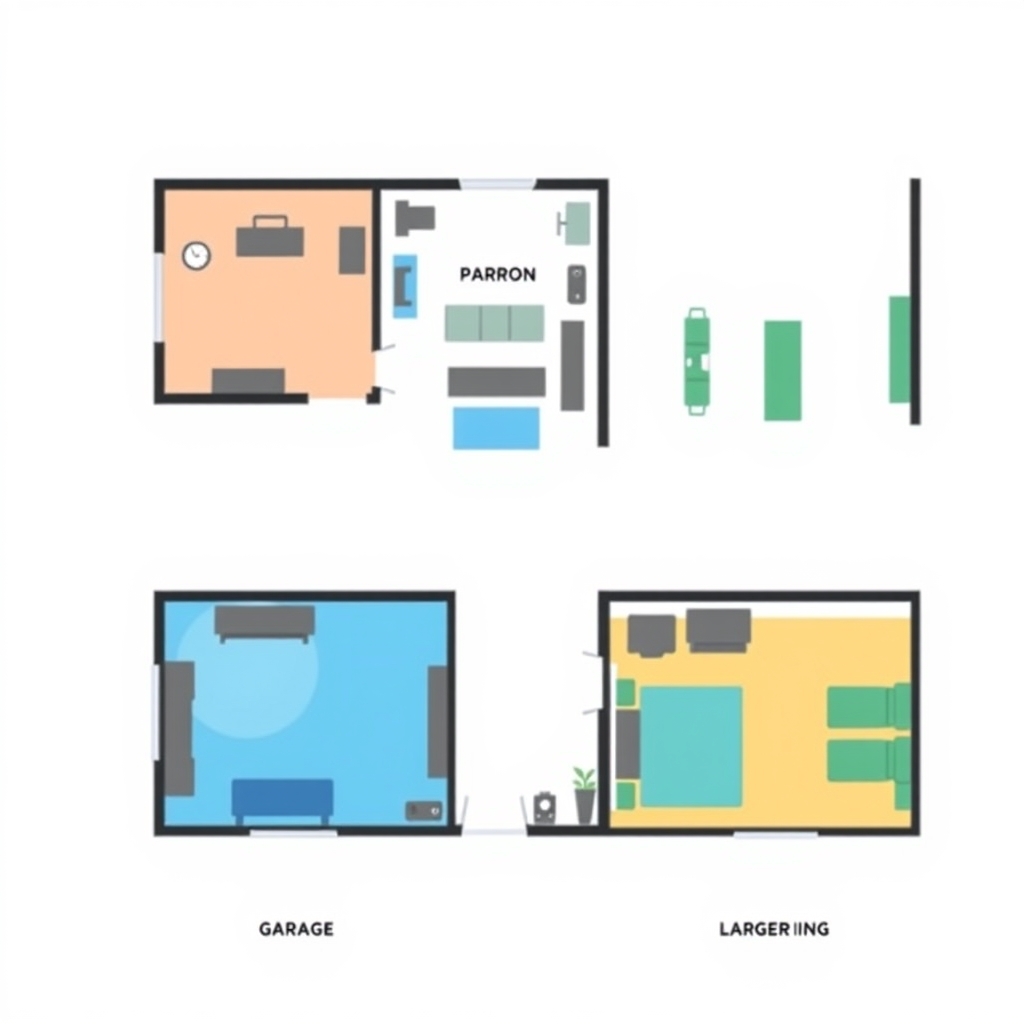
Layout Type 1: The Corner Setup (50–100 sq. ft.)
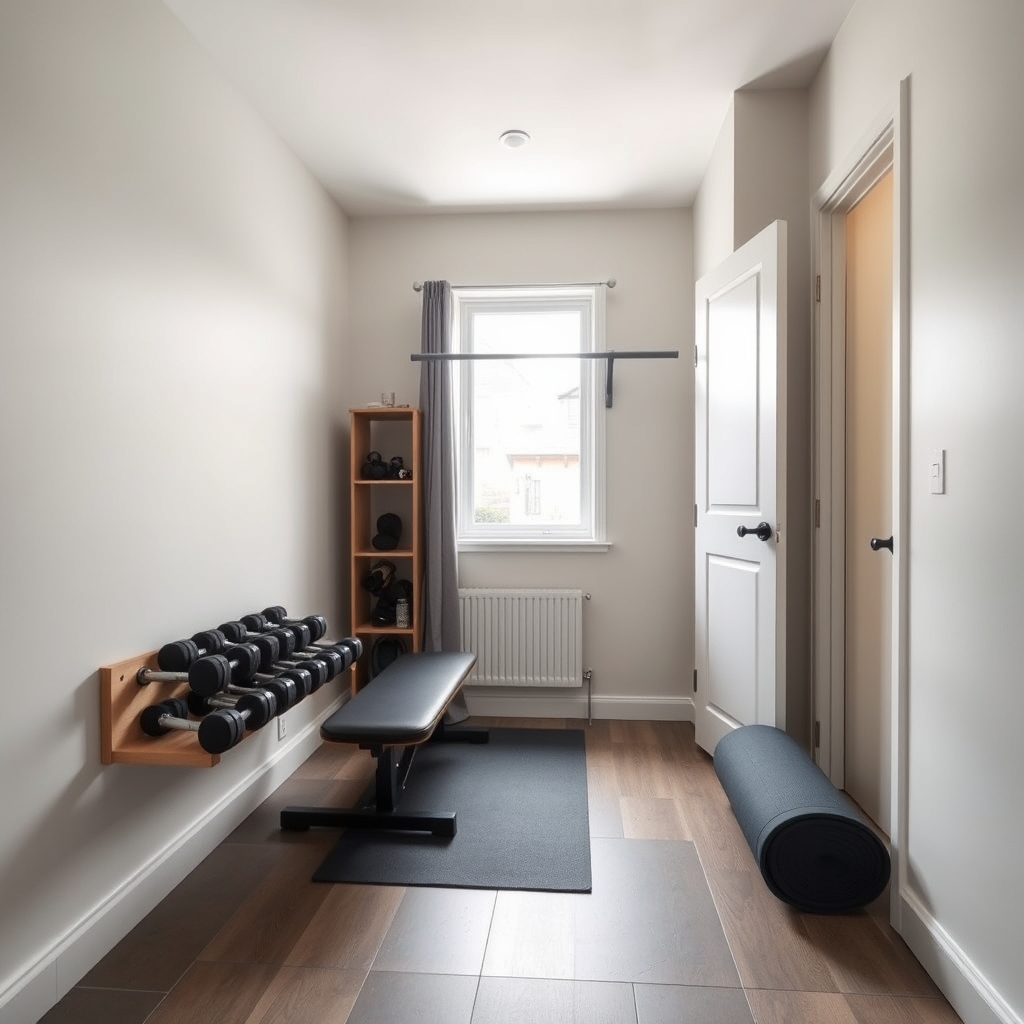
Ideal for apartments and small bedrooms. Stack your equipment vertically: wall-mounted pull-up bar or resistance bands, a bench or chair for pressing, dumbbells stored in a compact rack, and a rolled yoga mat in the corner.
Best for: Upper-body focus, bodyweight training, light to moderate weights.
Layout Type 2: The Multipurpose Room (100–200 sq. ft.)
You have a spare bedroom, den, or section of a basement. Create three zones: a movement zone (center floor, clear of obstacles), a weights storage zone (one wall or shelf system), and a cardio/stretching zone (near a window or fan).
Best for: Balanced full-body training, variety in exercise selection.
Layout Type 3: The Garage or Basement (200+ sq. ft.)
You have real estate. Dedicate zones by workout type: one corner for strength (rack, bench, weights), another for cardio (if desired), and a stretching/mobility area. Add mirrors on one wall if possible they’re psychologically motivating and help you check form.
Best for: No-compromise setups, heavier weights, noise tolerance.
Once you’ve chosen your layout type, take a photo of the space and sketch your equipment placement on paper before you buy anything. In our experience reviewing home-gym setups, this single step prevents the bulk of “I bought this and it doesn’t fit” mistakes it’s consistently the most common regret we see from readers who skipped it.
Step 2: Identify Your Primary Goals
Equipment decisions flow directly from what you actually want to do. Be specific:
- Goal: Build muscle → you need adjustable resistance (dumbbells, resistance bands, or a barbell)
- Goal: Lose weight → you need movement variety and a way to track effort (dumbbells + bodyweight + a timer)
- Goal: Stay flexible and mobile → you need floor space, a mat, and minimal “heavy” equipment
- Goal: Train for a sport → you need sport-specific equipment (kettlebells for explosiveness, a pull-up bar for climbing, etc.)
Write this down. It’s your filter for every purchase decision that follows. If a piece of equipment doesn’t support your primary goal, it doesn’t belong in your budget.
Step 3: Prioritize the Essential Tier (What to Buy First)
Regardless of budget, these items go in your home gym first:
Essential Tier Equipment
| Item | Why It Matters | Budget-Friendly Option |
|---|---|---|
| Adjustable dumbbells or resistance bands | Handles 80% of compound movements; scales with strength | Resistance bands ($20–$50 total) or used adjustable dumbbells ($0.50–$1.00/lb) |
| Sturdy bench or sturdy chair | Enables chest press, incline work, seated exercises | Flat bench ($40–$80) or repurposed dining chair with padding |
| Pull-up bar (optional but high ROI) | One of the best upper-body tools; doorway bars work anywhere | Doorway pull-up bar ($25–$50) |
| Yoga mat or exercise mat | Protects your floor and your joints; defines your workout zone | Thin yoga mat ($15–$25) or folded towel as starter |
| Interval timer or phone app | Enables structure and measurable progress in workouts | Free smartphone app |
Cost for Essential Tier: $100–$150 (assuming you don’t own a bench or mat already). Prices reflect typical market rates as of June 2026.
If you can’t afford all of these at once, start with resistance bands + a sturdy chair + a mat. That’s genuinely enough for a full-body workout.
Step 4: Build Out by Budget Tier
Once essentials are in place, add equipment based on your actual budget. Here are three realistic scenarios:
Budget Tier 1: $300 Total (Essential + Foundational)
Starting point: $100–$150 in essentials (see above).
Additional purchases ($150–$200):
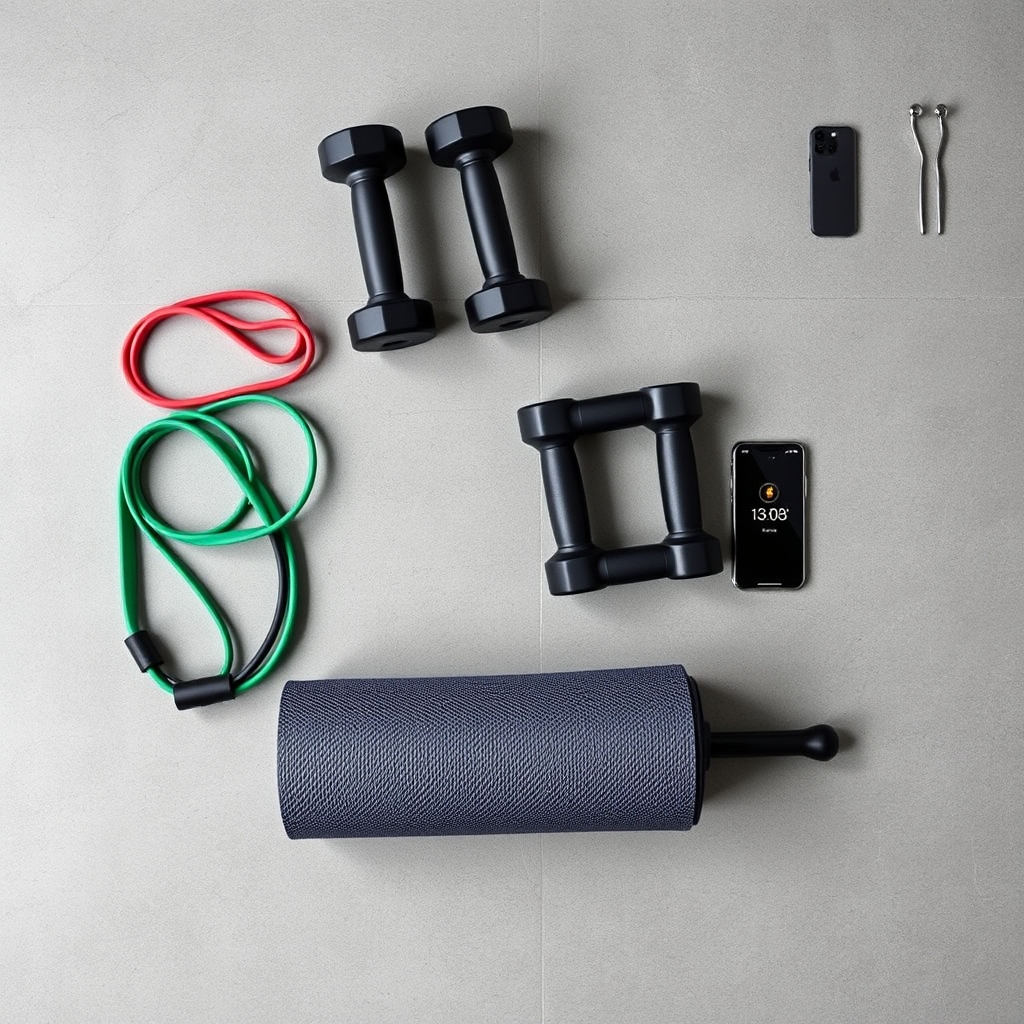
- Adjustable dumbbell set (5–25 lbs, around $100–$150 used or budget brands)
- Foam roller ($20–$30) for recovery and mobility
- Resistance band set (already counted, but good to have multiple levels)
What this covers: Full-body strength, hypertrophy (muscle-building), basic mobility.
What it doesn’t cover: Heavy compound lifts (barbell work), advanced cardio.
Layout for $300: Corner setup or small multipurpose room. Dumbbells + bench + mat + pull-up bar. One wall shelf for storage.
Budget Tier 2: $500–$600 Total (Comprehensive Strength Setup)
Starting point: Essential tier ($100–$150).
Additional purchases ($350–$450):
- Better adjustable dumbbells (5–50 lbs, $200–$300 used or modern budget brands like Bowflex or Yes4All)
- Flat weight bench with adjustable backrest ($60–$100 new, often cheaper used)
- Pull-up bar (if not already purchased, $25–$50)
- Mirrors ($50–$100 for one or two wall panels)
- Storage shelving or dumbbell rack ($40–$80)
What this covers: Full-body strength training, hypertrophy, mobility, form feedback (via mirrors).
What it doesn’t cover: Heavy barbell work, high-intensity cardio equipment.
Layout for $500–$600: Multipurpose room. Clear center floor (6×8 ft minimum), dumbbells on one wall, bench in a corner, mirrors opposite the bench, pull-up bar at the doorframe.
Budget Tier 3: $1,000+ (Balanced, Flexible Setup)
Starting point: Essential tier ($100–$150).
Additional purchases ($850–$900):
- Adjustable dumbbells (5–90 lbs, $400–$600 depending on brand and whether used)
- Adjustable weight bench (incline/decline option, $100–$150)
- Power rack or squat stand (if you want barbell training, $150–$300 budget options exist; heavy and permanent)
- Barbell + weight plates (basic set, $150–$250 if buying used)
- Mirrors and flooring ($100–$150 for rubber tiles or stall mats to protect floors)
- Fan or ventilation ($30–$50)
- Wall-mounted or freestanding storage ($50–$100)
What this covers: Nearly everything strength, hypertrophy, power work, flexibility, serious conditioning.
What it doesn’t cover: Specialized machines, commercial-grade cardio (though you can use jumping jacks, rowing, or put the money toward a secondhand stationary bike).
Layout for $1,000+: Dedicated multipurpose room or garage (150+ sq. ft minimum). Zones: strength (rack/bench area), storage (one full wall), and movement (clear center floor and stretching space).
Step 5: Choose Your Equipment: The Decision Framework
When evaluating specific pieces, use this three-axis heuristic:
Axis 1: Versatility (How many different exercises does it enable?)
- Dumbbells: High (100+ exercises)
- Resistance bands: High (100+ exercises, easier on joints)
- Kettlebells: Medium-high (60+ exercises, better for explosive/dynamic work)
- Machines: Low-to-medium (usually 1–3 exercises per machine)
Axis 2: Durability and Longevity (Will it last years, or will it break/degrade?)
- Dumbbells: High (essentially indestructible if kept dry)
- Resistance bands: Medium (in our review of owner reports, bands typically lose noticeable elasticity somewhere in the 5–7 year range, though this varies by brand and usage intensity)
- Benches: Medium-to-high (depends on build quality; budget benches wear faster)
- Mats: Low (typically degrade within a few years under regular use, depending on material and frequency)
Axis 3: Space Efficiency (How much room does it take up?)
- Dumbbells: High (stackable, compact storage)
- Barbell + rack: Low (requires 8×8 ft minimum, permanent placement)
- Resistance bands: Highest (coil into a bag)
- Benches: Medium (takes 3×2 ft of floor or can be stored upright)
Default recommendation: If you’re unsure and on a tight budget, prioritize adjustable dumbbells + resistance bands + a bench. You can’t go wrong, and all three scale with you as you progress.
Step 6: Plan Your Storage and Protect Your Space
One of the biggest mistakes is underestimating storage needs. Dumbbells and bands left on the floor create tripping hazards and signal that you’ve given up on the space.
Storage Solutions by Budget
- Free: Use a cardboard box, milk crate, or corner pile and accept the aesthetic cost
- $20–$40: Plastic storage shelving unit (4-shelf, basic brand)
- $40–$100: Wall-mounted dumbbell rack or pegboard system
- $100+: Custom shelving or dedicated storage cabinetry
Floor Protection
If you’re using dumbbells or doing any jumping/impact work:
- Concrete or hardwood floors: Invest in rubber mats or stall mats ($50–$150 for 100–150 sq. ft). They dampen noise, protect your knees, and define the space psychologically.
- Carpet: Put down a yoga mat or thin rubber underlay to prevent damage.
- Garage concrete: Even without mats, concrete is forgiving, but mats improve grip and reduce noise in shared spaces.
Step 7: Create a Layout Diagram (The 5-Minute Sketch)
Using your measurements from Step 1, sketch a top-down view of your space. Mark:
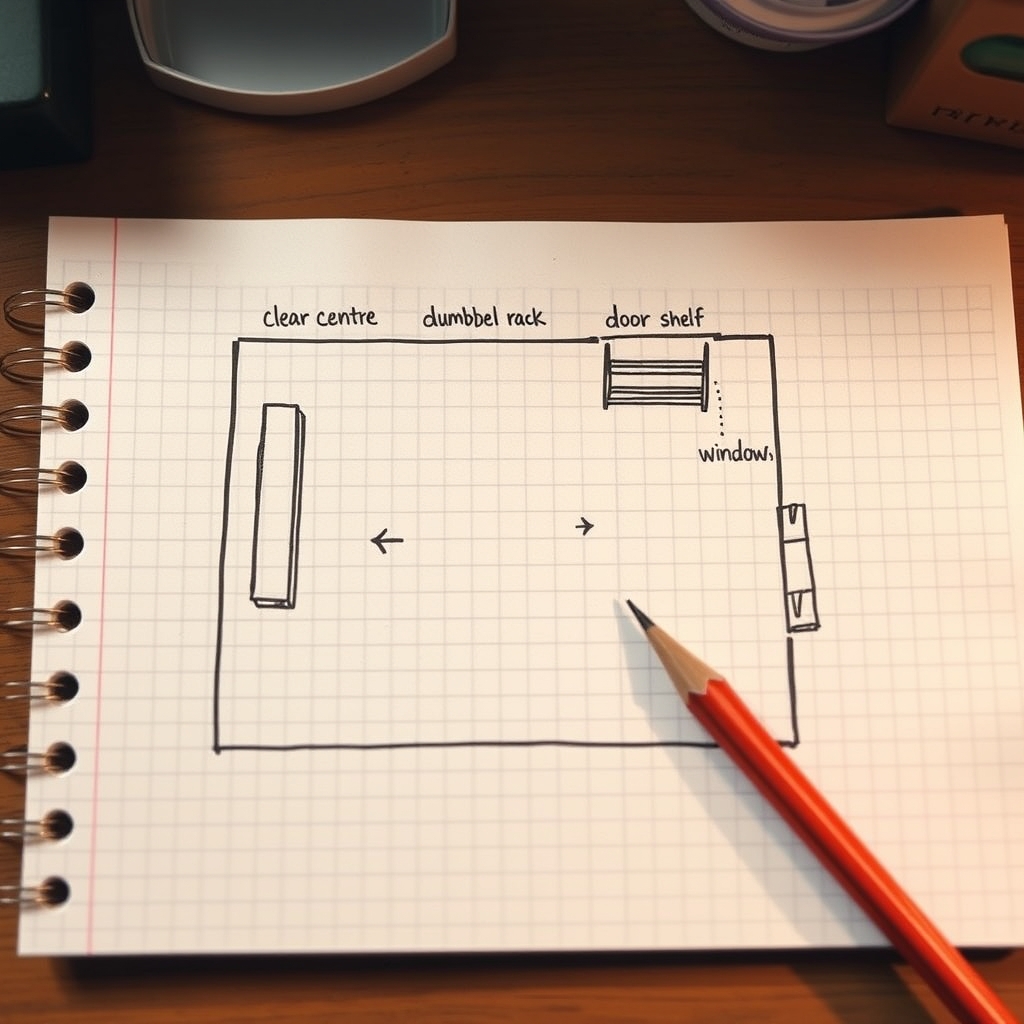
- Movement zone (at least 6×6 ft of clear floor for cardio, stretching, bodyweight work)
- Strength zone (bench location, rack location if applicable)
- Storage zone (where dumbbells, bands, and accessories live)
- Utilities (door, window, outlet for fan or speaker)
- Exit path (ensure you can move safely through the space)
This 5-minute sketch prevents the majority of “I can’t fit anything” regrets. A few examples:
Corner Setup (100 sq. ft apartment bedroom):
- Pull-up bar at doorframe
- Dumbbells in a vertical rack along one wall
- Bench against another wall (can be moved to center for use)
- Yoga mat in the remaining corner
- One mirror mounted above the bench area
Multipurpose Room (150 sq. ft):
- Dumbbells and storage along the left wall
- Bench and/or rack in the back corner
- Open floor in the center (8×10 ft) for movement
- Yoga mat and stretching area near a window
- Mirrors on the wall opposite the bench
Garage (300+ sq. ft):
- Strength zone (back left): rack, bench, barbell storage
- Cardio/movement zone (center): open floor
- Dumbbell storage (back right): wall-mounted or tiered rack
- Stretching zone (front): near ventilation, mirror on one wall
The Common Mistake Everyone Makes
Most people buy equipment based on what they think they should do, not what they actually enjoy. You buy a stationary bike because “cardio is important,” then use it twice. You buy a kettlebell because “functional fitness is trendy,” then realize you prefer dumbbells. You buy too much too fast and end up with a crowded, unusable space.
The fix: Start small. Use your $300 tier for one full month before upgrading. Work out 3–4 times per week with just dumbbells, a bench, and bands. Once you’ve proven you actually use the space and understand your preferences, then add the next tier.
The difference between a home gym that gets used and one that becomes a clothes rack is almost always this: you committed to testing the basics before spending real money.
Safety and Non-Obvious Caveats
Flooring and Structural Limits
If you’re planning to drop heavy weights or use a power rack, confirm your floor can handle the weight. Most residential floors can handle 50 lbs per square foot; a rack with 300 lbs of plates can exceed that if not distributed properly. Rubber mats and weight plates directly on concrete or a reinforced garage floor are safest. If you’re in a second-story apartment, skip the barbell and heavy rack.
Noise and Neighbors
Dropping weights, even from waist height, generates significant impact noise. If you share a wall or ceiling with neighbors, avoid:
- Dropping dumbbells from shoulder height
- Jumping exercises on hardwood
- Heavy rack work without mats
Alternatives: Resistance bands, controlled lowering (eccentric focus), and low-impact cardio like marching or step-ups.
Ventilation
A home gym gets warm fast, especially if you’re doing cardio or high-intensity circuits. Poor ventilation leads to:
- Sweat pooling on equipment (rust and degradation)
- Premature fatigue (overheating in the workout)
- Mold risk if humidity stays high
Solution: Open a window, use a cheap box fan ($30–$50), or install a small exhaust fan if you have a garage. Don’t skip this a $40 fan extends your equipment’s life meaningfully.
Electrical and Fire Safety
If you add a fan or speaker, use a surge-protected outlet. Don’t overload one outlet with multiple devices. Keep the space clear of clutter that could cause tripping or fire hazard.
FAQ: Home Gym Budget Setup
Q: Can I actually build a home gym for $300? A: Yes, absolutely if your focus is strength training with dumbbells and bodyweight work. You won’t have a barbell or fancy machines, but you’ll have 80% of what most people need. Add bands and a bench, and you’re essentially complete.
Q: Should I buy new or used equipment? A: Used dumbbells and benches are solid buys they’re nearly indestructible if not damaged. Used resistance bands are riskier (elasticity degrades); consider new for bands. Check used prices locally (Facebook Marketplace, Craigslist) and compare to new “value” brands before deciding. In our research, used equipment typically costs $0.50–$1.00 per pound for dumbbells; budget brands new run $0.60–$1.20/lb, so used isn’t always a deal.
Q: Do I need a pull-up bar? A: Not if you hate pull-ups. A pull-up bar is high-ROI for upper-body strength and takes minimal space, but resistance bands and dumbbells can substitute. Only buy it if you genuinely want to do pull-ups.
Q: What if I live in a tiny apartment with almost no space? A: Get a pull-up bar (uses the doorframe, zero floor space), resistance bands (fit in a shoebox), a yoga mat (rolls up), and one adjustable dumbbell or kettlebell. That’s a complete setup for 2 sq. ft of actual “gym.”
Q: How do I know if I should upgrade from my $300 setup? A: After 4–6 weeks of consistent use, you’ll hit plateau points where you need either more weight or more variety. At that point, upgrade. If you’re not using it after 2 weeks, stop buying and figure out why first.
Conclusion: Start Now, Upgrade Later
A home gym doesn’t require thousands of dollars or perfect planning. It requires honesty about what you’ll actually use, a clear space, and a willingness to start small.
Pick your budget tier ($300, $500, or $1,000+), sketch your layout, and buy the essentials first. Use the space for 4–6 weeks. Then, and only then, add the next tier.
The best home gym is the one you actually use. And the one you’ll use is the one that fits your space, your budget, and your real preferences not the one that looks impressive on Instagram.
Start today. Upgrade when you’re ready.