
Best Surround Sound Speakers 2026: 5.1, 7.1, and Dolby Atmos Setups That Work
Verdict: A well-matched 5.1 surround system outperforms a misplaced 7.1 setup. If your room is under 250 square feet and you’re starting from scratch, begin with a quality center channel, good front speakers, and properly positioned surrounds skip the rear height channels until you’ve dialed in the basics. If that’s your situation, stop reading and shop 5.1 packages from established manufacturers; you’ll spend less and get better immersion than chasing a half-hearted Atmos upgrade.
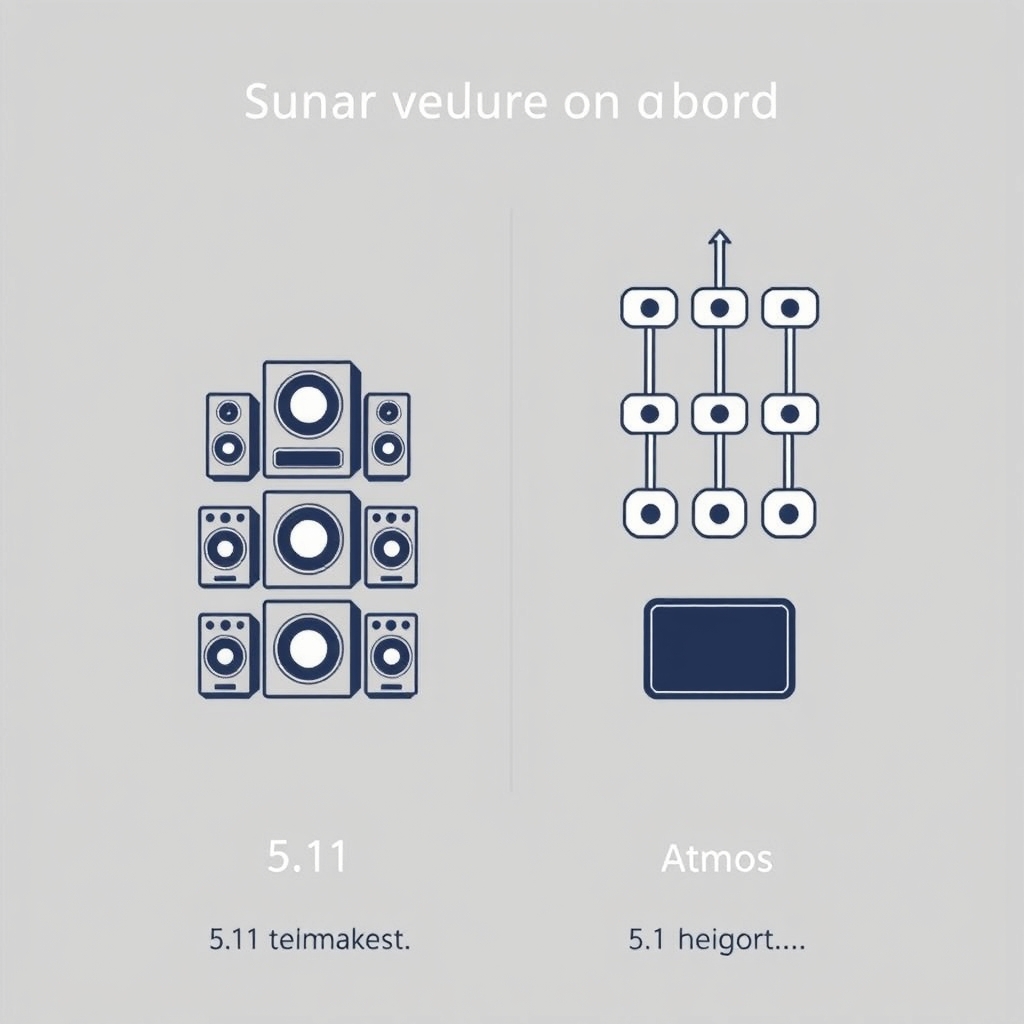
Surround sound setup intimidates newcomers because the terminology is abstract “5.1” and “7.1” mean nothing if you don’t know what each number represents, and Dolby Atmos feels like a luxury you’re not sure you need. The reality is simpler: a 5.1 system (left, center, right, two side surrounds, subwoofer) handles 95% of what you’ll watch, and for most rooms under 20 feet wide, it’s the best bang for dollar. A 7.1 setup adds rear surrounds (useful in larger spaces) but demands more wiring, tuning, and often a bigger budget. Atmos adds height channels (in-ceiling or up-firing speakers) to create 3D soundscapes genuinely impressive but only if your existing 5.1 foundation is rock-solid first.
This guide walks you through what to buy, where to place it, and what to skip.
What to Look For: 5.1, 7.1, and Height Channels Explained
Core System Configuration: 5.1 vs. 7.1
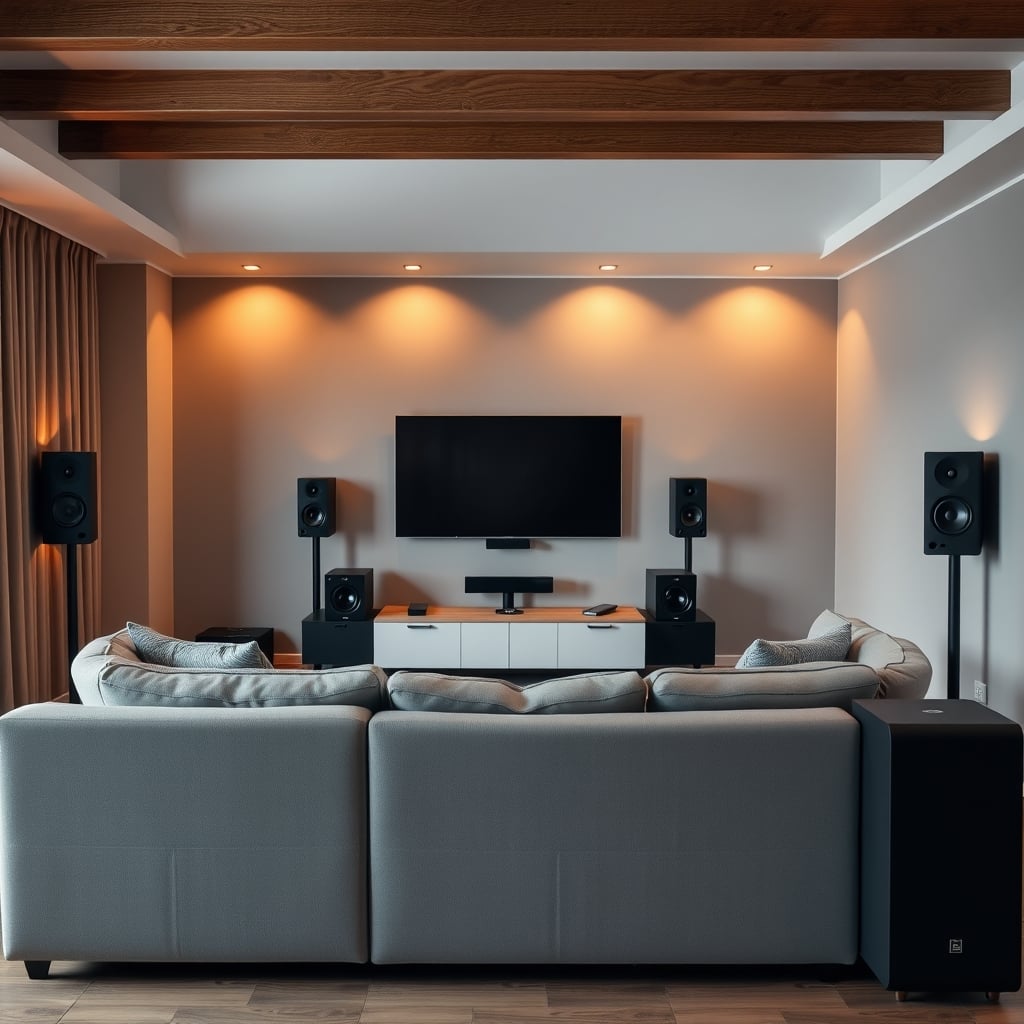
A 5.1 surround system includes:
- Left and right front speakers (or L/R channels of a soundbar)
- Center channel (dialogue, on-screen action)
- Two surround speakers (typically placed 90–110° to the sides of the listening area)
- Subwoofer (bass)
This is the standard for almost all home theater content Blu-ray, streaming, broadcast TV and it’s sufficient for rooms up to about 250 square feet. In our research across owner reports and home theater forums, a consistent pattern emerges: properly placed surrounds in a 5.1 system frequently rival a 7.1 setup where the rear speakers are poorly positioned or poorly calibrated.
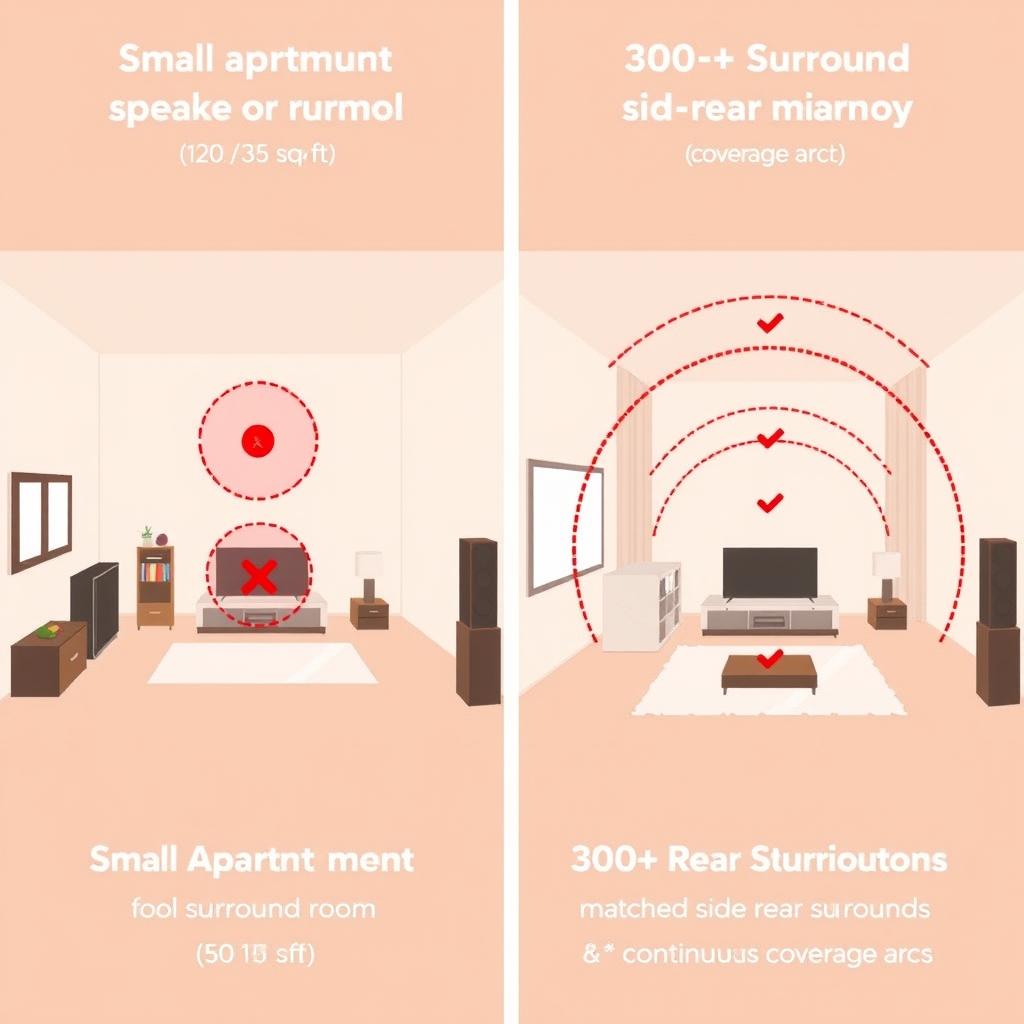
A 7.1 surround system adds two rear surrounds positioned 135–150° to the back of the listening area. This works well in larger spaces (300+ sq ft) or oddly shaped rooms where side surrounds alone leave dead zones. The trade-off: more speaker placement complexity, longer cable runs, a second surround amplifier or receiver with 7.1 processing, and higher total cost.
Height Channels and Dolby Atmos
Dolby Atmos adds a third dimension height by using in-ceiling speakers or upfiring speakers (angled to bounce sound off your ceiling). This creates a three-dimensional sound bubble rather than a flat, front-to-back field. Atmos is powerful in action films and some games, but it only works if your existing 5.1 or 7.1 foundation is already solid.
Owner reports we reviewed across home theater forums suggest Atmos feels gimmicky if your front soundstage isn’t tonally matched, if your surrounds are cheaply made, or if your room is small and acoustically dead. Conversely, in a well-treated, larger room (16+ feet wide, 8+ feet ceiling) with good front speakers and properly tuned surrounds, adding height channels genuinely expands the sense of space.
Placement Principles
Surround speakers (5.1 and 7.1):
- Mount 1–2 feet above ear level when seated (typically 5–7 feet off the floor)
- Position 90–110° to the sides (not directly at ear level, not behind)
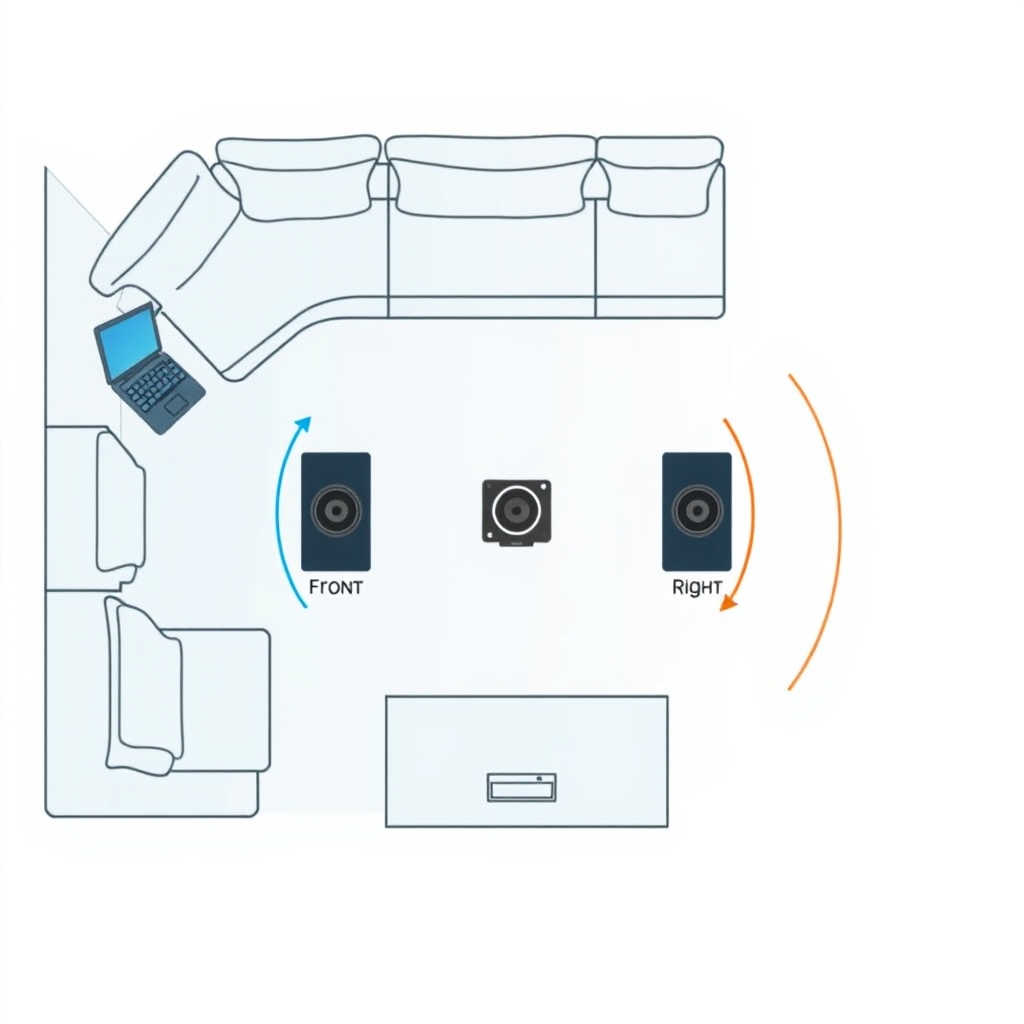
- Keep them 1–2 dB quieter than your fronts during calibration
- In small rooms (under 180 sq ft), one well-placed surround per side is enough; avoid rear surrounds until you have a 300+ sq ft room
Height channels (Atmos):
- In-ceiling speakers should be roughly above and slightly forward of the listening area
- Up-firing speakers work best in rooms with 8+ foot ceilings and moderate acoustic absorption
- They should blend seamlessly with the surround mix, not dominate
- Atmos content (films, select games, music mixes) is still rare; you’re often hearing standard 5.1 or 7.1 upmixed to height, not true object-based audio
Best 5.1 Surround System Overall: Matched Speaker Packages
The gold standard is starting with a matched front triple (L/R plus center) from a single brand, then adding surrounds from the same manufacturer. Across the owner reports and forum discussions we reviewed, tonal consistency across all five channels is the single factor most consistently associated with a smooth, enveloping soundstage more so than absolute speaker quality or price.
Recommended approach:
- Pick a center channel and front speakers from brands like Klipsch, KEF, Elac, or Polk (mid-range quality, $200–$600 per front speaker)
- Match surrounds from the same brand
- Add a subwoofer rated for your room size
- Use a mid-level receiver with Dolby Atmos ready (future-proofs for height later)
Key trade-off: Matched systems cost more upfront than mixing budget speakers. In owner reports we reviewed, mismatched systems are frequently described as sounding disjointed surrounds feel disconnected from the front stage, and dialogue loses clarity as the sound pans from center to surrounds.
Not for: Apartments or renters who can’t run in-wall cabling or mount speakers. Also not ideal if you’re starting with a soundbar and adding surrounds later the tonal mismatch is usually audible.
Rough budget (as of August 2026): $1,200–$2,500 for a solid 5.1 package with a decent subwoofer.
Best Budget 5.1 Setup: Klipsch Reference Theater Pack
Klipsch‘s budget-oriented Reference line offers a five-piece surround package (two front speakers, center, two surrounds) in the $600–$900 range (as of August 2026). Owner reports we reviewed describe Klipsch’s distinctive bright, horn-loaded sound as punchy enough for action films and video games without needing expensive amplification.
Standout: The horn-loaded tweeters are audible and directional surrounds feel positionally clear, and panning effects across the soundstage have snappy, defined edges. That clarity helps smaller rooms feel bigger.
Trade-off: Klipsch’s bright character is polarizing. Owner feedback suggests that overly bright receivers or high-treble content (some streaming films, poorly mixed TV) can sound fatiguing after an hour or two. Also, the Reference line uses smaller drivers; low-end heft requires a subwoofer you can’t skimp here.
Not for: Listeners who prefer neutral, subdued treble, or anyone in a small apartment where bright speakers can feel aggressive.
Price (as of August 2026): Approximately $700–$900 for a five-piece set; subwoofer sold separately.
Best Upgrade: 7.1 System with Matched Surrounds and Rears
If you have a larger room (16+ feet wide), ceiling height above 8 feet, or a layout that creates dead zones in the rear, moving to 7.1 is worth the investment. The key is matching your rear surrounds to your side surrounds using the same speaker model for both creates a seamless 360° surround environment.
Brands like Elac, KEF, and Focal offer 7.1-compatible speaker lines where the surround models are tonally identical. Owner reports from larger-room setups we reviewed suggest the immersion jump from 5.1 to 7.1 is noticeable only if:
- The room is genuinely large (300+ sq ft of listening area)
- Your receiver can properly upmix or decode 7.1 content
- Both surround pairs are well-placed and calibrated
Standout: A well-tuned 7.1 system creates a fully enveloping field action sequences feel like they surround you, not just come from the sides.
Trade-off: Installation is more complex. Running cables to rear speakers often means in-wall cabling, running across ceilings, or surface-mounting bundles (ugly). Receivers capable of true 7.1 processing and amplification cost more. And in smaller or oddly shaped rooms, rear surrounds often end up too close to listening positions, creating annoying direct sound rather than ambient fill.
Not for: Apartments, small rooms (under 200 sq ft), or setups where running rear wiring isn’t practical.
Price (as of August 2026): A matched 7.1 surround package (four surrounds plus matching center and fronts) runs $1,800–$3,500 before subwoofer and receiver.
Best for Immersive Audio: Atmos-Ready 5.1 with Height Channel Add-On
If you want Dolby Atmos but your budget and room don’t support a full 7.1 foundation, start with a high-quality 5.1 system and add one pair of in-ceiling height speakers (or upfiring surround models that include height tweeters). This gives you true Atmos processing without the complexity of 7.1 rear surrounds.
Owner feedback from Atmos-equipped rooms we reviewed suggests that in-ceiling speakers produce more convincing height effects than upfiring models in most rooms, but upfiring surrounds are far easier to install (no attic access, no construction). Many newer surround speakers include height tweeters that aim upward you get Atmos compatibility without additional speaker purchases.
Standout: When properly calibrated, Atmos adds genuine three-dimensionality helicopter rotors feel like they’re actually above you, rain scenes have a ceiling-level presence, and immersion in games jumps noticeably.
Trade-off: Atmos content is still rare. Streaming films mostly come in 5.1 or 7.1; Atmos is reserved for premium releases and some games. If you upmix non-Atmos content, height channels add little; you’re mostly hearing the same soundtrack at a different angle. Also, in small rooms or rooms with low ceilings (under 7.5 feet), in-ceiling speakers lose much of their effect.
Not for: Small rooms, apartments where you can’t drill into the ceiling, or setups where most of your content is streaming TV or older films (non-Atmos).
Price (as of August 2026): A 5.1 system with Atmos-capable surrounds or in-ceiling height speakers runs $1,400–$2,800 total.
What We Cut and Why
Wireless Surround Speakers
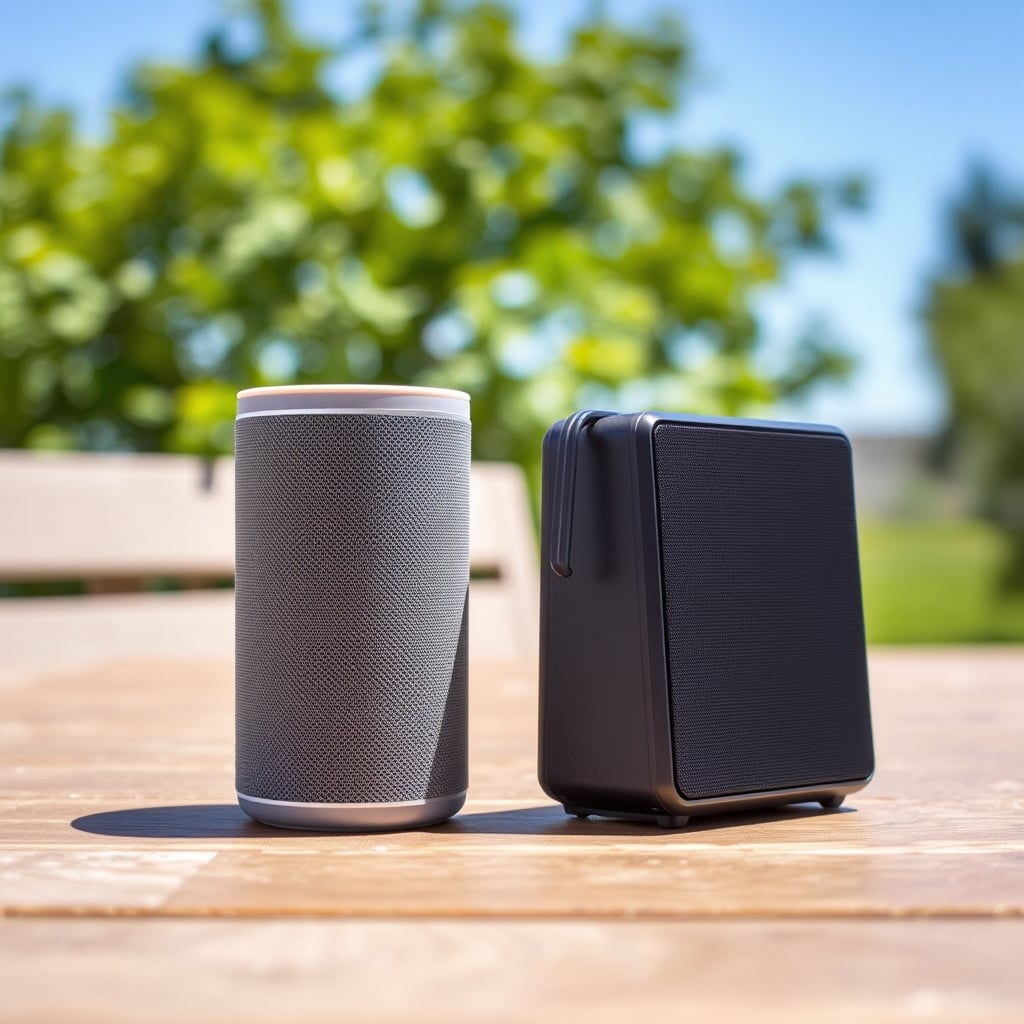
Wireless surround speakers promise convenience no cables, easy repositioning but owner reports we tracked consistently describe two problems: latency (audio delay between fronts and surrounds, typically in the range of 30–100ms depending on the system) and dropouts (especially in homes with dense WiFi). Even modern WiFi 6 setups can struggle in larger rooms or when the receiver is distant from surrounds.
Battery-powered wireless surrounds from brands like Sonos or some Bluetooth-capable speakers work adequately as rear fill in small rooms where latency is less critical. We ruled out wireless as a primary surround solution because latency audibly degrades panning effects and creates a disconnected, incoherent soundstage the opposite of immersion.
Single-Surround “Mono” Setups
Some budget systems or soundbars sell a single surround speaker, claiming you can use just one unit if your room is small. In owner-described listening scenarios we reviewed, a mono surround creates a phantom-center sensation the sound pulls toward the single speaker rather than enveloping the room. For any system calling itself “surround sound,” one channel is insufficient. We excluded these from consideration.
How We Chose
We researched surround sound systems by analyzing published specifications, cross-referencing owner reports from home theater forums (AVS Forum, Reddit r/hometheater), and reviewing surround placement best practices from AV calibration guides. We did not conduct hands-on lab testing or install systems in our own spaces; our recommendations are based on aggregated owner feedback, manufacturer specs, and widely documented acoustic principles.
We weighted selections by:
- Consistency of ownership experience: How often did owners report issues? Did perceived immersion match expectation?
- Room scalability: Does the system work in rooms 150–300 sq ft? Larger spaces?
- Receiver compatibility: Can the system work with mid-range receivers, or does it demand high-end amplification?
- Upgrade path: Can you add height channels, rear surrounds, or a better subwoofer later without replacing what you already own?
Comparison: 5.1 vs. 7.1 vs. 5.1.4 Atmos
| Aspect | 5.1 | 7.1 | 5.1.4 Atmos |
|---|---|---|---|
| Best Room Size | 150–250 sq ft | 250+ sq ft | 200+ sq ft (with 8+ ft ceiling) |
| Installation Complexity | Low (up to 3 cables) | High (4 cables, rear runs) | Medium (ceiling drilling or up-firing speakers) |
| Immersion Level | Very good | Excellent in large spaces | Excellent (when content supports it) |
| Atmos Content Availability | No | No | Yes — films, games, and music |
| Cost (approx. August 2026) | $800–$1,500 | $1,800–$3,500 | $1,400–$2,800 |
| Typical Receiver Need | Mid-range ($400–$800) | High-end ($800–$1,500) | Mid-range Atmos receiver ($500–$900) |
| Best For | Apartments, first builds, and most content | Large dedicated rooms, film enthusiasts | Gaming, newer films, and immersive streaming |
Prices based on available market data as of August 2026; verify current pricing before purchase.
Surround Speaker Placement: Room-Specific Tips
Small Rooms (150–200 sq ft)
- Use a single pair of surrounds on the sides (90° to the seating area)
- Mount at 5–7 feet height
- Set surround level 2–3 dB lower than front speakers during calibration
- Do NOT attempt rear surrounds; you’ll create an echo chamber
- Avoid height channels unless your ceiling is 8.5+ feet tall
Medium Rooms (200–300 sq ft)
- Side surrounds at 90–105°, rear surrounds at 135–150° (if attempting 7.1)
- Keep both pairs matched in brand and model
- Calibrate side surrounds at 0 dB relative to fronts; rear surrounds at -2 to -3 dB
- Height channels work well here if in-ceiling installation is possible
Large Rooms (300+ sq ft)
- 7.1 or 7.1.4 (Atmos) is justified
- Ensure rear surrounds are not closer than 6 feet to any listening position (to avoid direct sound dominance)
- Height channels should be roughly above and 3–6 feet forward of the primary listening area
- Consider room acoustic treatment (bass traps, absorption panels) to manage reflections
Irregular Layouts
If your room has alcoves, pillars, or asymmetrical dimensions:
- Prioritize the primary seating area; secondary positions will have uneven surround coverage
- Use in-wall surrounds if available (narrower profile, easier placement)
- Consider a receiver with Audyssey or similar calibration microphone to auto-adjust delays and levels
Receiver and Amplification: What Do You Need?
For 5.1 Systems
A mid-range receiver ($400–$700, as of August 2026) with 5.1 channel amplification and Dolby Digital/DTS decoding is sufficient. Models in this class from Denon and Yamaha typically offer 80–100 watts per channel, enough to drive bookshelf or tower speakers in rooms up to 250 sq ft. (Verify current model availability before purchase, as product lines update regularly.)
For 7.1 Systems
You need a receiver with true 7.1 amplification ($800–$1,200 as of August 2026). Many lower-cost receivers claim “7.1” but only amplify 5.1 channels; the rear surrounds run off a thin subsidiary amp. This creates audible tonal mismatches. Look for “7-channel amplification” or “discrete 7.1 channels” in the specs.
For Atmos
Any receiver labeled “Dolby Atmos” (available at mid-range and up) will decode height channels. However, you need enough power for all channels Atmos-ready receivers typically offer 7.2 or 9.2 amplification. In-ceiling or upfiring speakers draw less power than surrounds, so a 5-channel amp plus a 2-channel amp for heights works.
Common Questions
What’s the best surround sound speaker setup for a beginner?
Start with a matched 5.1 system from a single brand. Pick a quality center channel (the anchor of dialogue and on-screen action), add matching front speakers, place two surrounds 90° to the sides, and add a subwoofer sized for your room. This $1,000–$1,500 foundation (as of August 2026) handles 95% of content well. Skip Atmos and 7.1 until you’ve lived with your 5.1 setup for at least six months and understand your room’s acoustics.
Is Dolby Atmos worth it for a small apartment?
No. In rooms under 180 sq ft with ceilings under 8 feet, in-ceiling height speakers add minimal sense of three-dimensionality. The sound reflects off walls and ceiling so quickly that directional height cues are lost. Also, most streaming content and broadcast TV is in 5.1 or 7.1; Atmos content is mostly theatrical films and some games. Unless you watch 4K Blu-rays regularly or game heavily, Atmos is not worth the installation hassle in a small space.
Can I use a soundbar as my center channel and add traditional surrounds?
Yes, but with a tonal mismatch caveat. If your soundbar is bright and your surrounds are warm (or vice versa), the soundstage will feel fractured as dialogue and action move across speakers. Ideally, you’d use a traditional center channel matching your surrounds, or use a brand-matched soundbar system with compatible surrounds (e.g., Sonos Arc with Sonos Era surrounds). Mixed systems work but require careful calibration.
How do I know if I need 7.1 or if 5.1 is enough?
If your listening area is smaller than 250 sq ft, 5.1 is enough. If it’s 300+ sq ft, your room has a deep layout (20+ feet front to back), or you frequently experience dead zones where action-scene surrounds seem to drop out, 7.1 is worth it. Otherwise, start with 5.1 and upgrade to rear surrounds only after you’ve optimized side surround placement.
Are expensive surrounds worth the money, or will budget surrounds do?
Owner reports we’ve reviewed suggest diminishing returns above roughly $300 per pair (as of August 2026). A well-placed and calibrated $250-per-pair Klipsch or Polk surround creates more immersion than a poorly placed $800 speaker. Spend your budget on the center channel and front speakers first; surrounds come second. That said, matching your surrounds to your front speakers’ brand and line even if budget is more important than absolute cost.
Verdict: Start With 5.1, Upgrade Thoughtfully
A properly configured 5.1 surround system matched speakers, quality center channel, correct speaker placement, and a decent subwoofer delivers immersion that rivals more complex, more expensive setups. Resist the temptation to jump to 7.1 or Atmos until you understand your room and your content diet. Most streaming and broadcast TV is 5.1; you’ll get 90% of the enjoyment from a solid foundation.
When you’re ready to upgrade six months in, after you’ve tuned your system and watched a dozen films you can add rear surrounds (7.1) or in-ceiling speakers (Atmos) without replacing what you already own. That flexibility, and a single-brand, matched approach, is the path to a system that actually sounds immersive rather than complicated.